riderinstinct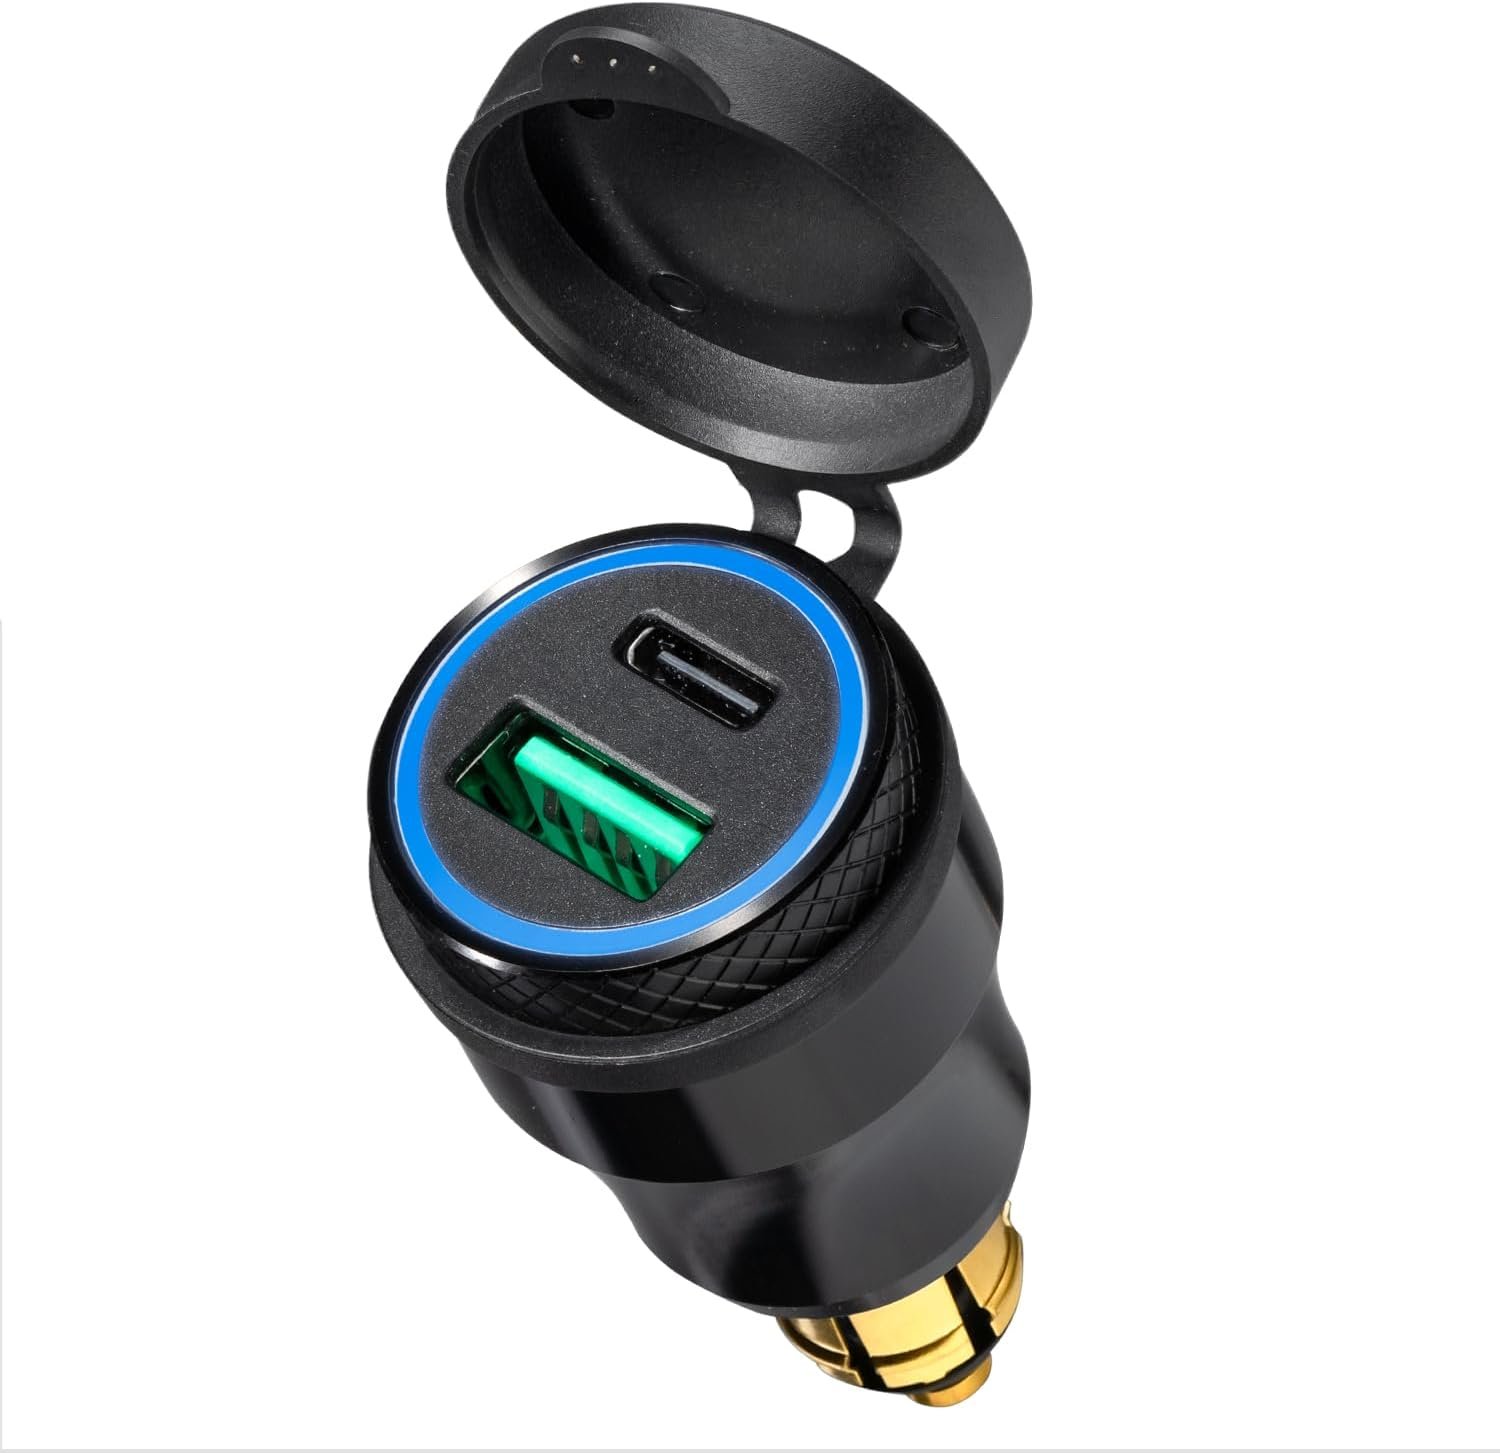
Why the right electronics matter (and what can go wrong)
Motorcycle electronics are tools: they help navigation, communication, theft deterrence and device power. Chosen well, they make rides safer and more enjoyable; chosen poorly, they create distractions, discharge your battery or fail in rain and vibration. Common failure modes are poor fitment (wrong connector), inadequate weatherproofing (low IP rating), and electrical mismatch (wrong supply voltage or excessive parasitic draw).
Before looking at features, start with use and installation: where will the device mount, how will it be powered, and who (if anyone) needs to communicate with you? That framework will filter hundreds of product options quickly and keep your installation safe and reliable.
Define your riding style and the features that matter
Not every rider needs the same electronics. Separate common styles and what matters most:
- Commuters: Simple, robust charging and a single-device headset for GPS/phone calls. Prioritise low cost, easy installation and good ingress protection.
- Touring and long-distance riders: Durable wired or DIN-mounted chargers with voltmeters, hard-mounted weatherproof displays or wireless CarPlay, and high-quality intercoms with long battery life and group functionality.
- Group riders/touring clubs: Multi-rider intercoms (DMC or large-group protocols), proven range and quick-pairing. Look for weatherproof units and easy-to-replace mounts.
- Sport or spirited riders: Minimal cockpit clutter, short, glove-friendly controls, and low-profile mounting. Choose comms and navigation that don’t obstruct focus or add aerodynamic noise.
Use this mapping to decide priorities: audio performance and group intercom for group touring, power reliability and battery monitoring for long-distance touring, compactness and low cost for commuting.
Power and charging: connectors, voltage and battery health
Power is fundamental. Ask these questions before buying a charger or voltmeter: Does my bike have a matching socket (DIN/Hella) or will I need to hardwire? What voltage range does the product support (12–24V is common for motorcycles)? Can the unit supply the wattage your device needs?
Examples from the RiderInstinct selection:
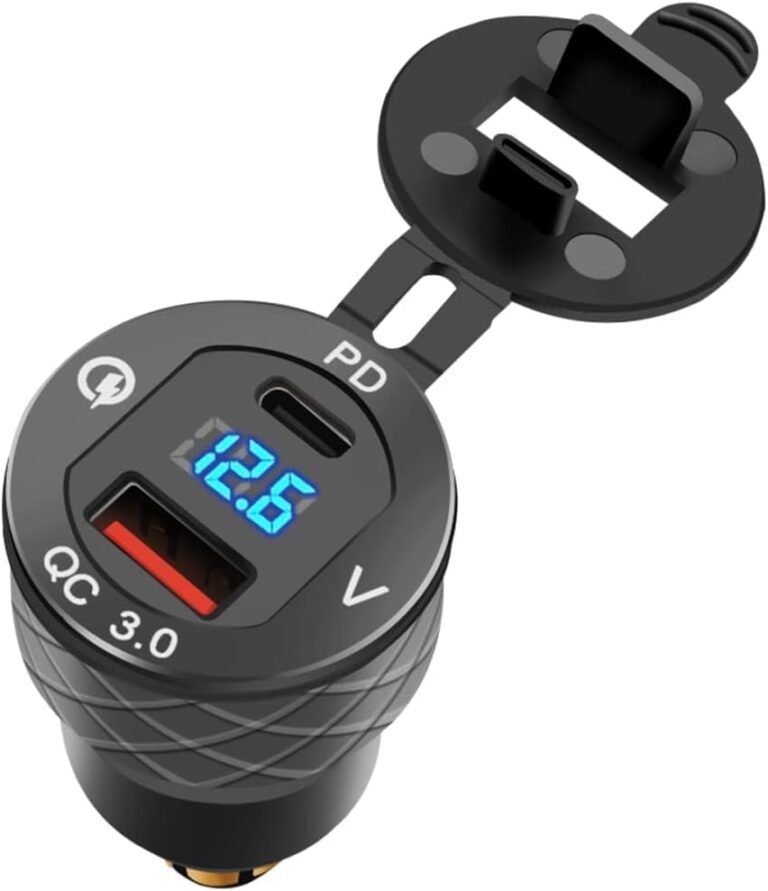
- The DIN-plug USB C 30W PD/18W QC adapter and the DIN Hella to QC3.0 & Type‑C adapter are purpose-built for motorcycle DIN/Hella sockets. They add on-bike fast-charging and, in one case, a voltmeter to monitor battery health. They’re good for riders who want a tidy, plug‑and‑play solution rather than adding a cigarette-socket or hardwiring.
- The PD3.0 DIN charger with voltmeter is helpful for touring riders: it gives a live battery readout so you can notice a sagging battery before you’re stranded. But remember: voltmeter readings can be affected while a port is charging—check the manufacturer documentation for exact measurement conditions.
Practical trade-offs:
- If you hardwire a device, ensure an inline fuse sized per the manufacturer’s draw figure. If the spec isn’t listed, contact the manufacturer or a qualified mechanic—don’t guess fuse values.
- Faster USB outputs (PD/QC) are convenient but draw more current—on older or marginal charging systems this can accelerate battery discharge if the engine isn’t supplying sufficient charging current at idle.
- Always verify that a DIN/Hella plug matches your bike’s accessory socket: these aren’t universal. If in doubt, check your motorcycle’s service manual or the product’s compatibility notes.
Helmet communication systems: audio, mounting, range and rider types
Helmet comms are one of the most personal motorcycle electronics purchases because fit, microphone type and controls matter to comfort and safety. When choosing a system, prioritise these factors:
- Mount & fit: How the unit attaches (clamp, adhesive, magnetic Air Mount) and whether the speaker/mic hardware fits your helmet model. Cardo’s Air Mount is an example of a magnetic system; confirm helmet compatibility on the manufacturer page.
- Audio hardware: Speaker size (e.g., 45mm JBL speakers on the Cardo PACKTALK PRO indicate a premium audio focus; 40mm speakers on some systems are still very capable). Bigger speakers often sound fuller but may need more internal space.
- Microphone options: Boom mics are better for open-face helmets; button/flush mics are common for full-face helmets. Check the product for both options if you switch helmets.
- Group capability and protocol: Systems using DMC (dynamic mesh communication) or manufacturer-specific multi‑rider tech manage bigger groups more reliably than basic 2‑way intercoms.
- Battery life and features: Look for real-world runtime figures (not just marketing). Some premium units include crash detection and auto on/off; verify the manufacturer’s instructions and scope of those features.
Examples and who they suit:
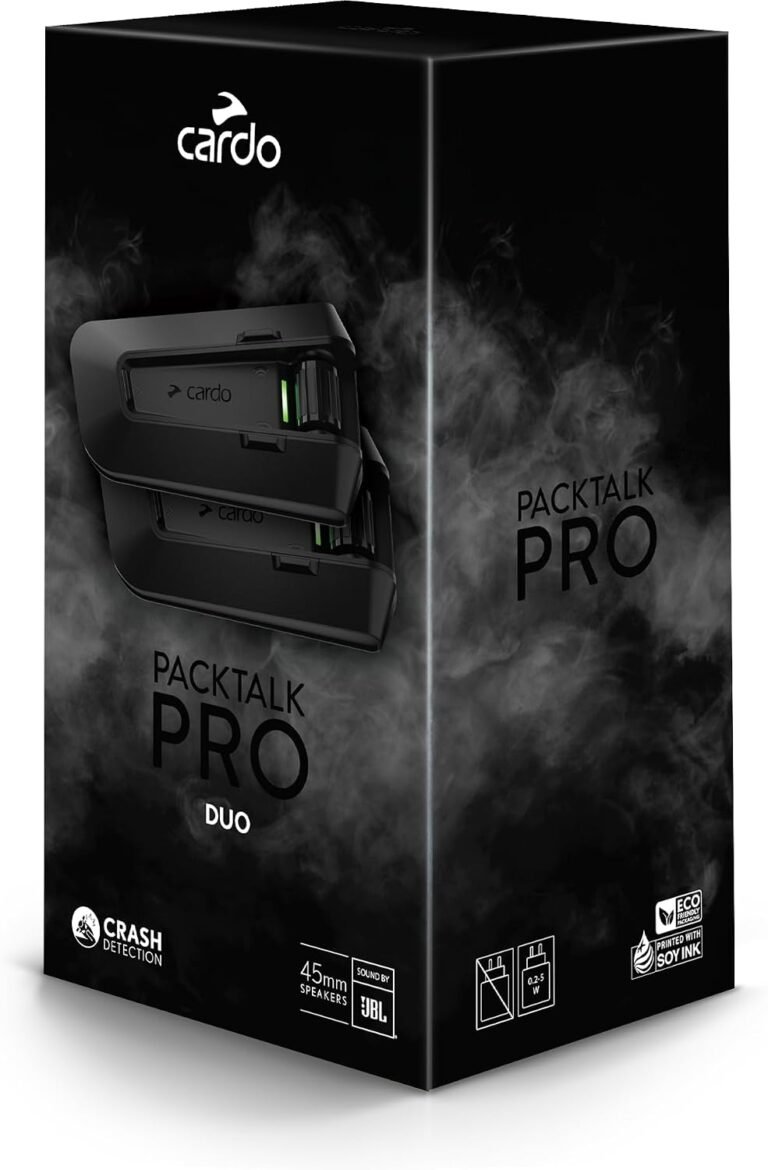
- Cardo PACKTALK PRO (dual pack): Premium option for group touring with 45mm JBL speakers, auto on/off, IP67 rating and DMC for up to 15 riders. Suits touring groups that prioritise audio and advanced group features. Verify battery runtime and helmet compatibility before purchase.
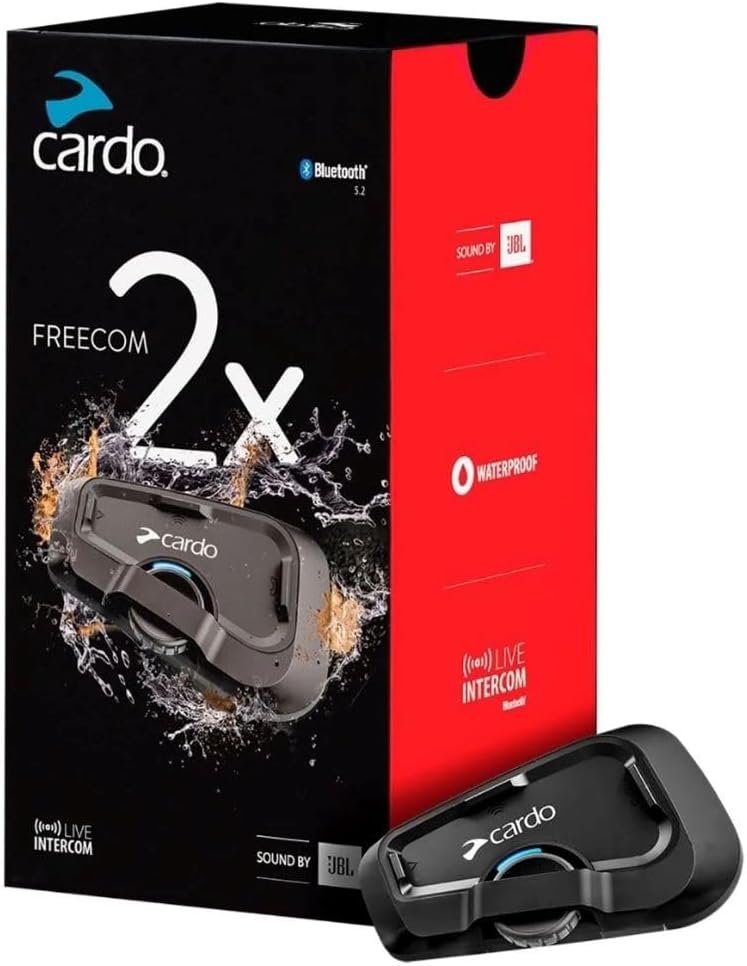
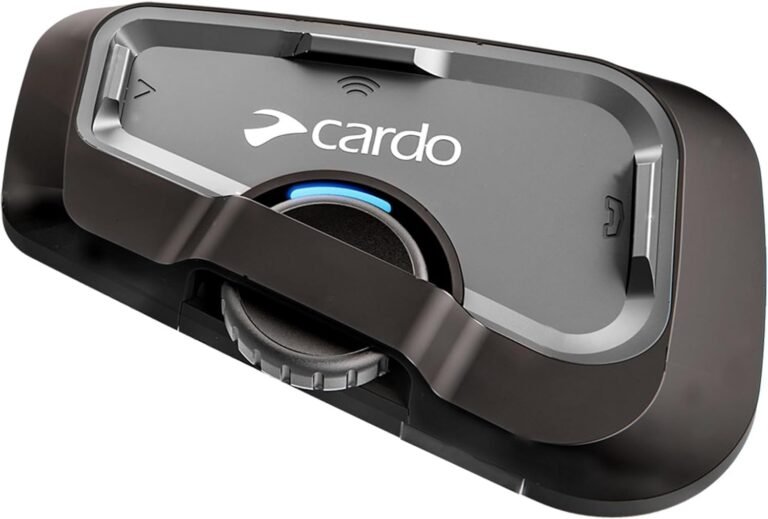
- Cardo FREECOM 2X (single pack): A simpler, robust option for riders who need good intercom performance without the premium price—suitable for pair riders or single riders wanting two‑way comms.
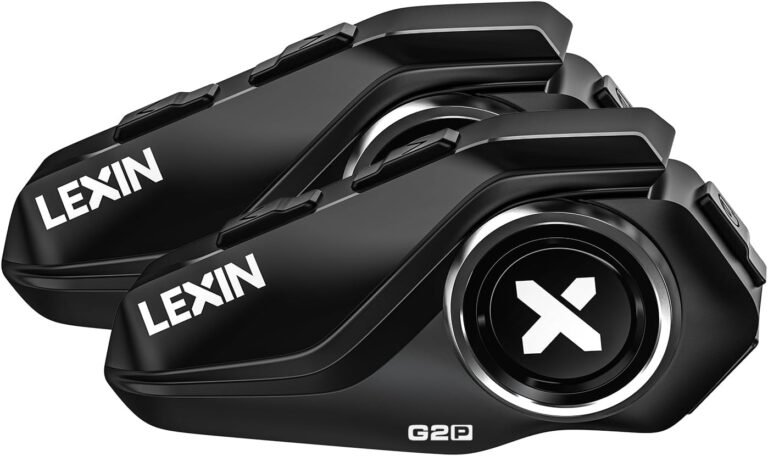
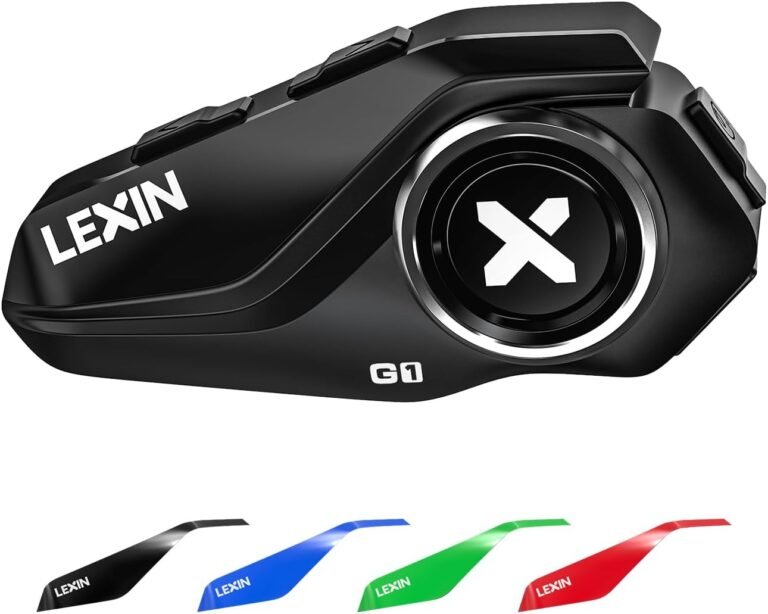
- LEXIN G2P (2‑pack): Feature-rich on paper: 6‑rider group intercom capability, IP67 weather resistance, 40mm speakers and both button and boom mics included. Good value for riders who want a strong feature set; confirm mounting details and seller warranty information.
Limitations to watch for: advertised intercom ranges rarely reflect real-world conditions (terrain, rider orientation and helmet aerodynamics all reduce range). Always seek verified user reviews or manufacturer-tested range info if long-range group comms are crucial.
Navigation and displays: CarPlay, Android Auto and dedicated GPS options
Navigation choices include helmet navigation via a comms unit, phone-mounted navigation (with on-bike USB power), or handlebar-mounted CarPlay/Android Auto screens. Consider visibility, mount security, glove-friendly operation and how the screen pairs with your helmet audio.
Examples from the catalog:
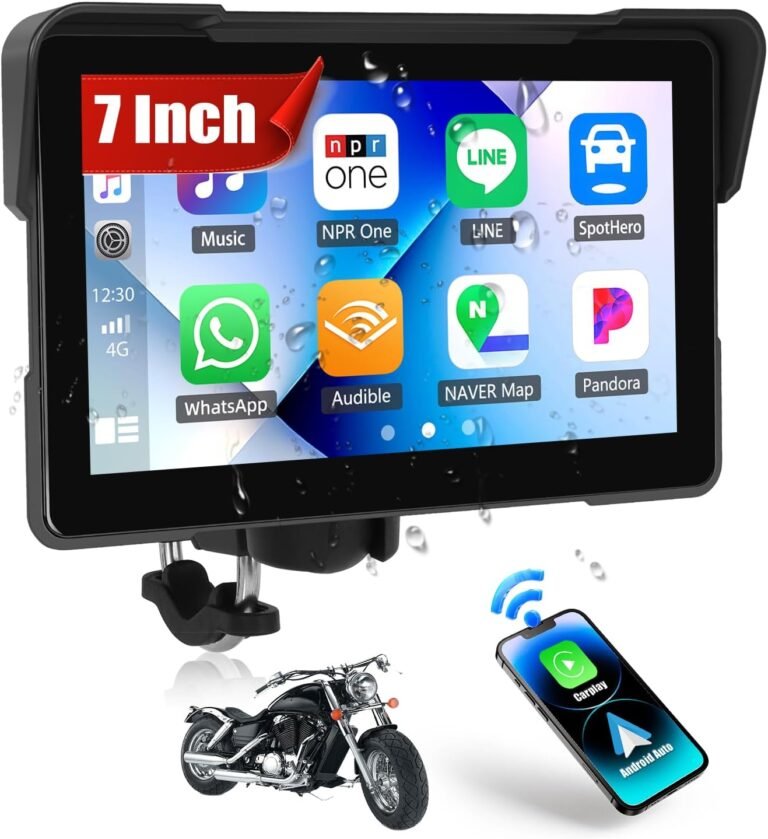
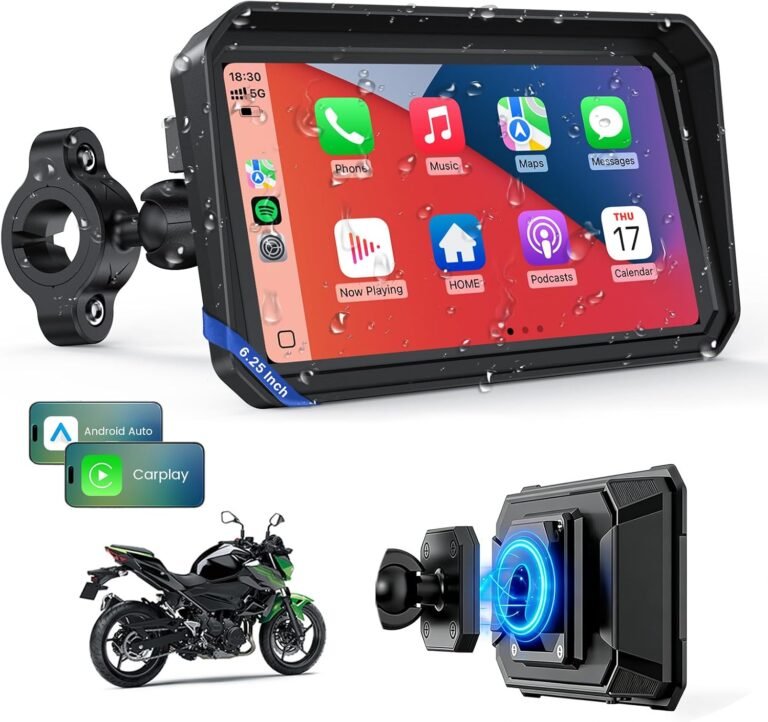
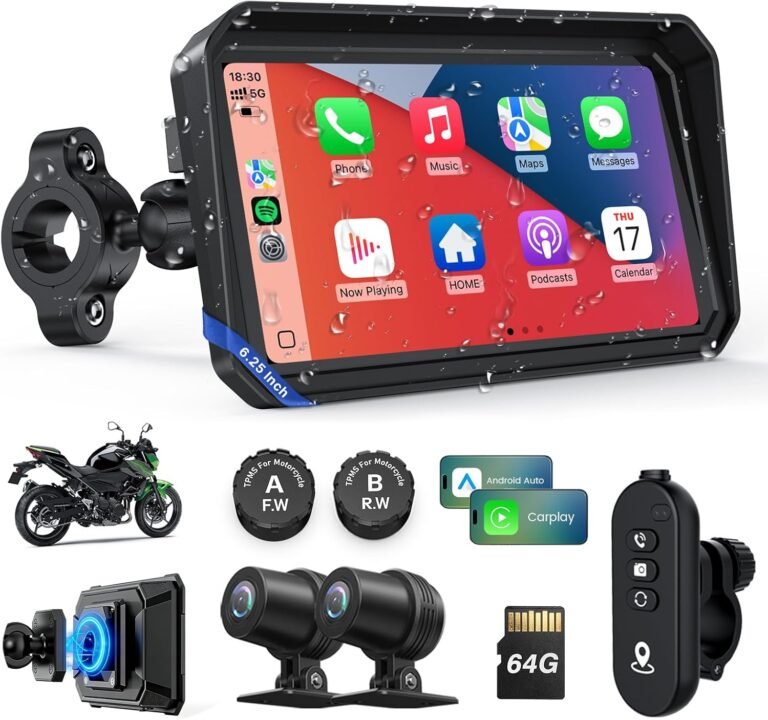
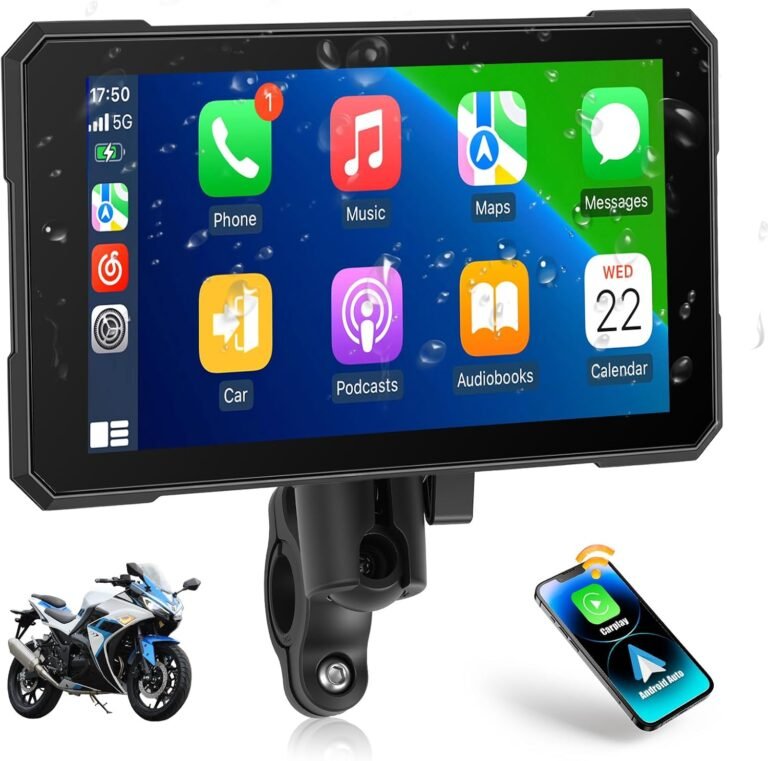
- The CAMECHO 7″ portable CarPlay/Android Auto screen and the 6.25″ wireless motorcycle CarPlay unit provide wireless CarPlay/Android Auto, dual Bluetooth and IP67/IP68 ratings in their specs. These suit touring riders who rely on maps, music and voice assistants and want a large, readable display dedicated to navigation.
- Smaller magnetic-mount screens with quick-release mounts can be convenient for anti-theft and for riders who park in public areas and want to remove the screen quickly.
Trade-offs:
- Portable screens give more interface and visibility than helmet-only solutions but require secure vibration-proof mounting and proper wiring to avoid parasitic drain.
- Wireless CarPlay is convenient, but wireless connections can be disrupted by heavy RF noise or phone software updates—verify if the unit supports over-the-air updates and how it handles disconnections.
- Check whether the unit has built-in GPS (many CarPlay units use the phone’s GPS over CarPlay/Android Auto) and whether it supports mirror-link or dual Bluetooth to pair both a phone and a headset at once.
Security: alarms and anti-theft choices that match your risk profile
The right security product depends on where you park and how long. A visible, hardwired alarm and immobiliser is best for long-term street parking; a small vibration alarm is acceptable for short stops in lower-risk areas.
Example:
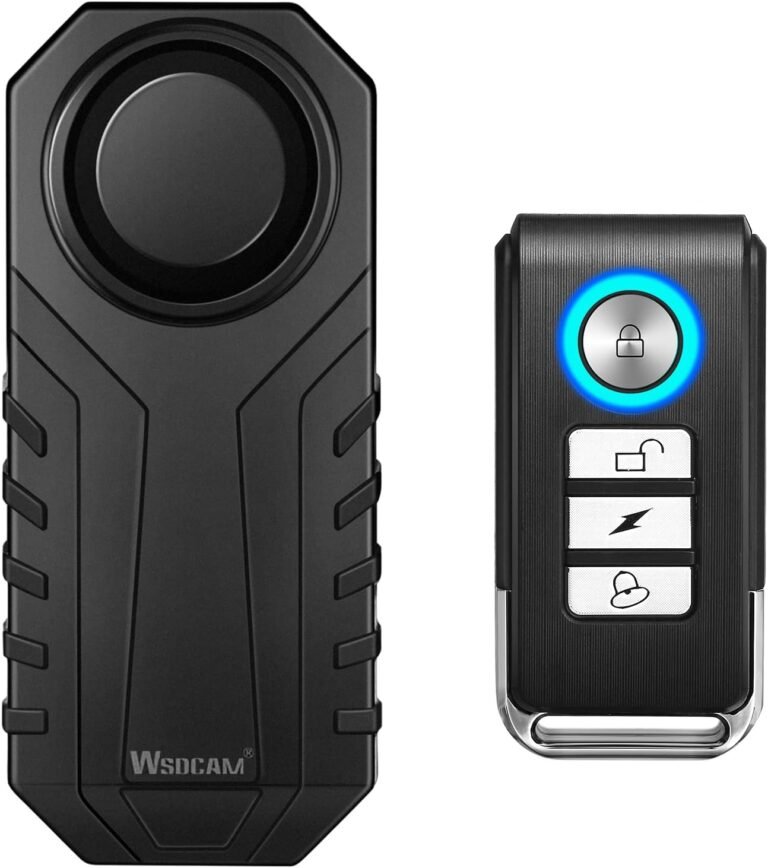
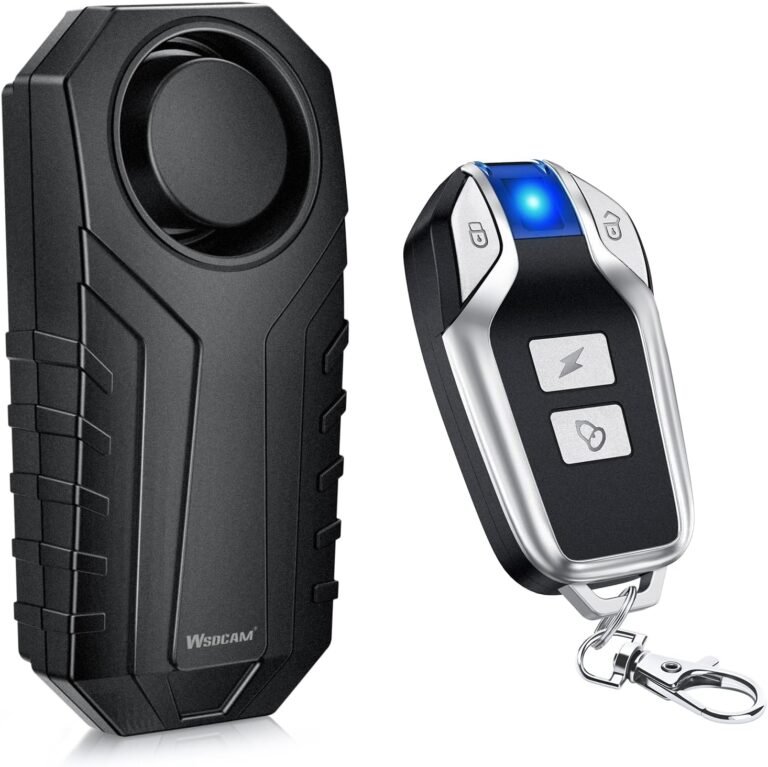
- The Wsdcam 113dB vibration alarm is a low-cost, portable option with up to 7 sensitivity levels, 3 volume settings and tilt-triggered SOS. It’s a good choice for riders who need a temporary, easy-to-fit deterrent for short stops. Its IP55 rating means it’s not fully weatherproof in heavy rain, so avoid permanent exposed mounting.
What to weigh:
- IP rating and permanent mounting: for daily street parking, choose a system with higher ingress protection or a hardwired alarm designed for motorcycles.
- Features vs permanence: basic alarms are convenient and portable but offer limited features (no immobiliser, no smartphone alerts). Advanced systems usually require professional wiring and integration with your bike’s electrical system.
Installation, wiring, and compatibility checklist
Installation mistakes are responsible for most electronics failures. Follow these practical rules:
- Match connectors and voltage: Confirm socket type (DIN/Hella vs cigarette-style) and voltage range (12–24V). The DIN-plug chargers in the RiderInstinct catalog require DIN/Hella sockets—don’t assume they fit every bike.
- Use fused wiring: Always install an inline fuse sized per the product’s current draw. If the product documentation doesn’t list current draw, contact the vendor or a qualified mechanic.
- Secure mounts and vibration damping: Use the supplied bracket kit or vibration-damping mount for screens and comm units. Poorly secured units are prone to wiring fatigue and connector failure.
- Weatherproofing for connections: Route cabling where water can’t pool, use rubber boots or dielectric grease on exposed connections, and respect IP rating limits (IP55 vs IP67/68 are meaningfully different).
- Test before finalising: Power the device, verify operation at riding RPM and idle, then perform a short ride test to check for noise, vibrations or disconnections.
If you’re not comfortable with motorcycle electrical systems, hire a professional installer with motorcycle experience—incorrect wiring risks melted insulation, blown fuses or worse.
Safety, maintenance and weatherproofing: what to verify and how to keep gear working
Electronics on motorcycles face water, vibration and UV. Treat maintenance like a routine part of ownership:
- IP ratings: IP67/IP68 indicates strong protection against dust and water ingress and is preferable for permanent exterior mounting. IP55 (like the Wsdcam unit) is OK for sheltered or temporary use but not full exposure in heavy rain.
- Regular connection checks: Inspect cable routing, connector seals, and fuses every few months. Replace cracked rubber port covers and re-seat loose mounts promptly.
- Battery and parasitic draw: If you add devices, track how they affect the bike’s charging system—especially if the bike sits for days. Use a voltmeter (or a DIN unit with a voltmeter) to check resting battery voltage and charging voltage when running. For safety-critical maintenance values (charging voltage, fuse ratings, acceptable parasitic draw), consult your motorcycle manufacturer’s service manual—do not rely on approximate values.
- Firmware and firmware updates: Keep units updated where possible. Over-the-air updates are handy (Cardo and some CarPlay units support them), but follow manufacturer guidance for when and how to update to avoid compatibility problems mid-ride.