riderinstinct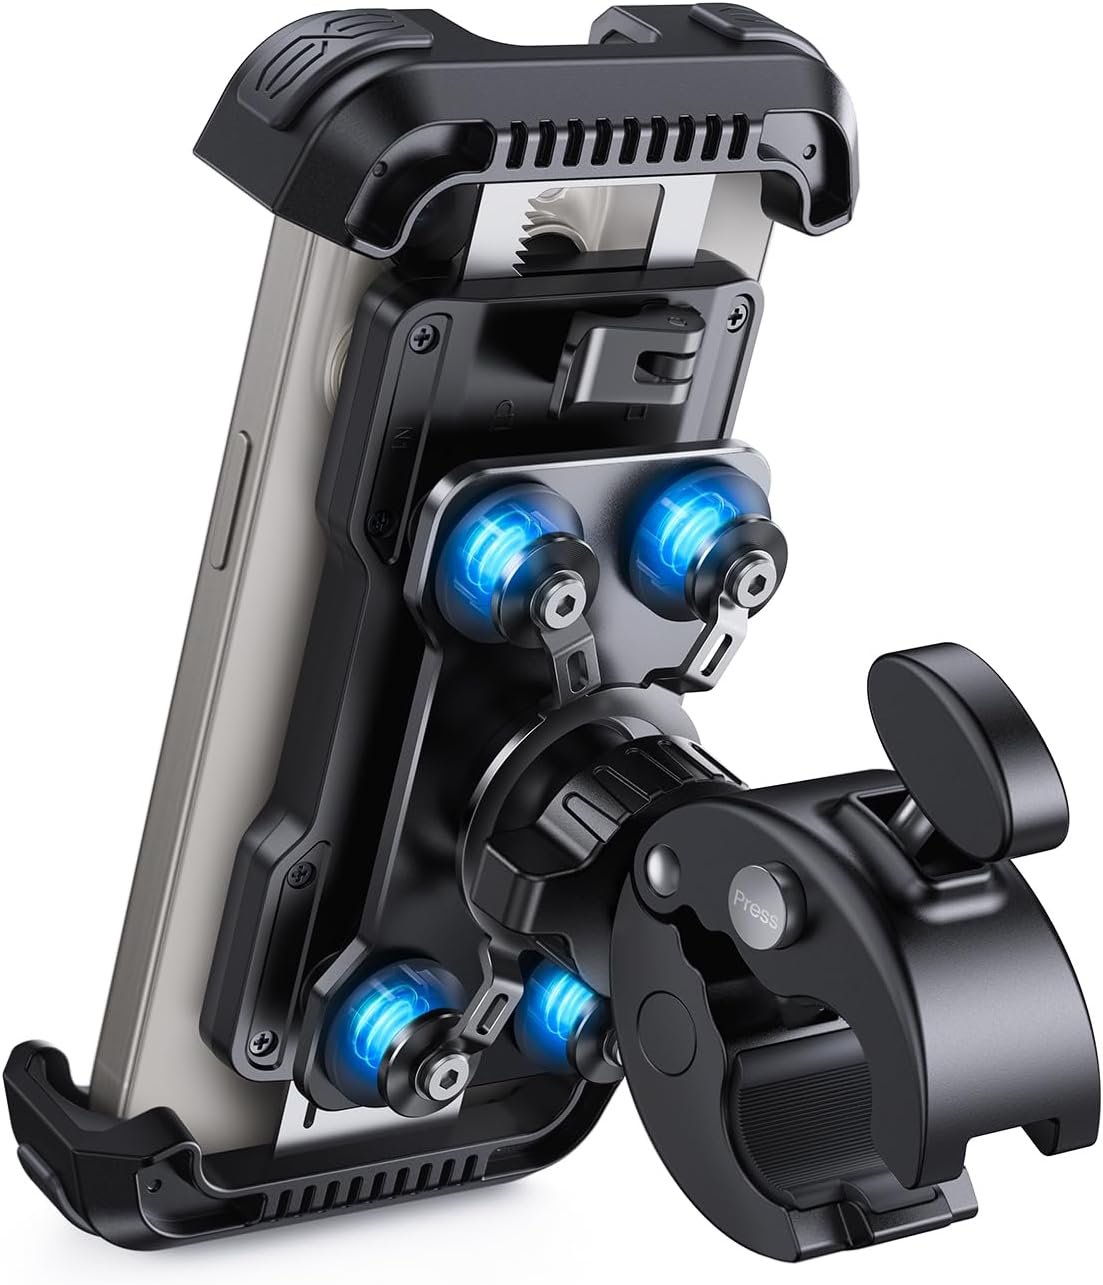
Why a purpose-built phone mount matters (decision framework)
Most riders buy a phone mount to read turn‑by‑turn navigation, change songs, or quickly glance at information without taking their hands off the controls. But that simple goal leads to different design priorities depending on the type of riding.
- Commuter/city riding — quick on/off, one‑hand operation and reasonable vibration control for short trips.
- Touring/long rides — weather protection, stable clamping for long hours, and often integrated charging.
- Off‑road/adventure — exceptional vibration isolation, robust metal parts, and secure locking to survive rough trails.
- Minimalist riders — small, light clamp or magnetic mount used only for occasional direction checks.
Work through this simple decision flow before you start comparing models: what do you need it for, how often will it be mounted and removed, can you run a power feed, and how exposed to weather and vibration will it be? Answering those questions narrows the field quickly and keeps you focused on the features that actually matter to your riding style.
Types of mounts and common attachment points
Phone mounts generally attach to one of a few locations. Each has pros and cons for visibility, vibration and installation complexity.
- Handlebar clamp — the most common. Easy to mount, can be very secure, and offers multiple clamp styles. Check handlebar diameter compatibility on the product facts.
- Mirror stem or rear‑view mirror mount — useful when handlebars are crowded; may require included mirror adaptor pieces.
- Adjustable extension arm / stem — provides flexible positioning (closer to instruments or further forward) at the cost of more parts that can flex or loosen.
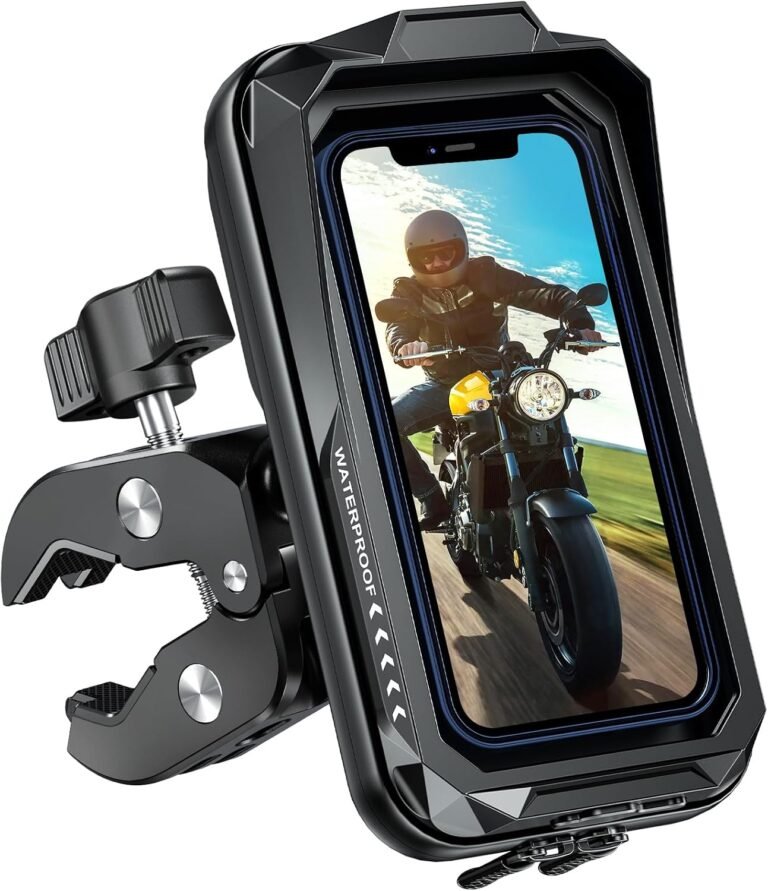
- Waterproof phone bags/cases — fully enclose the phone for weather‑proofing and touchscreen use; often used for touring and commuting in wet climates.
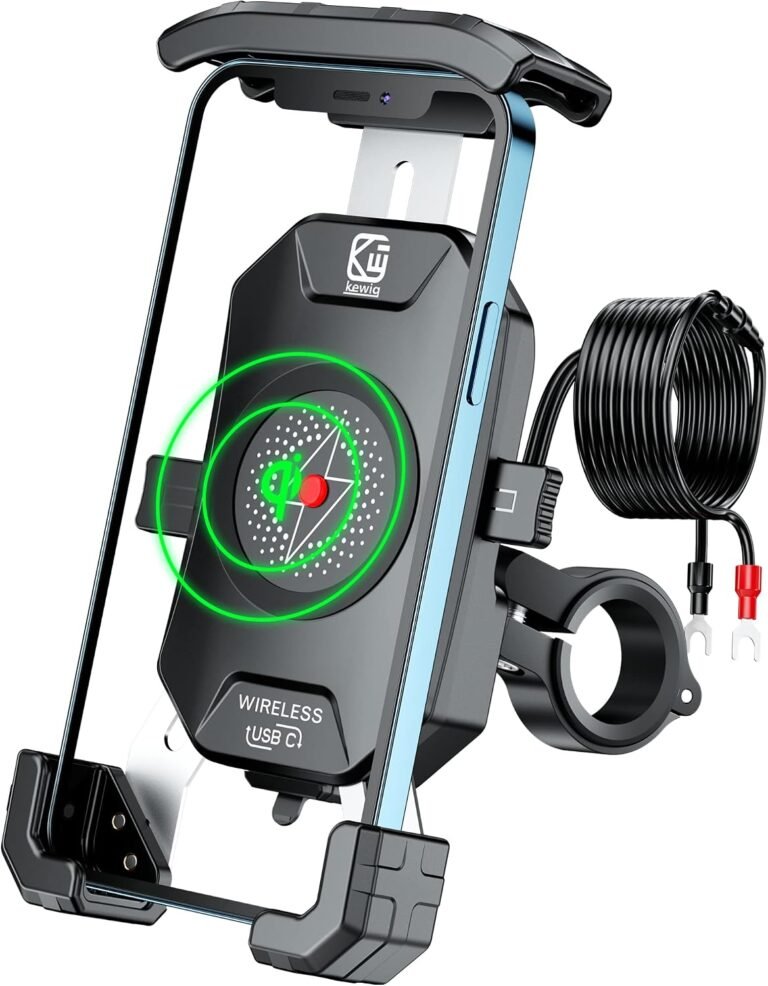
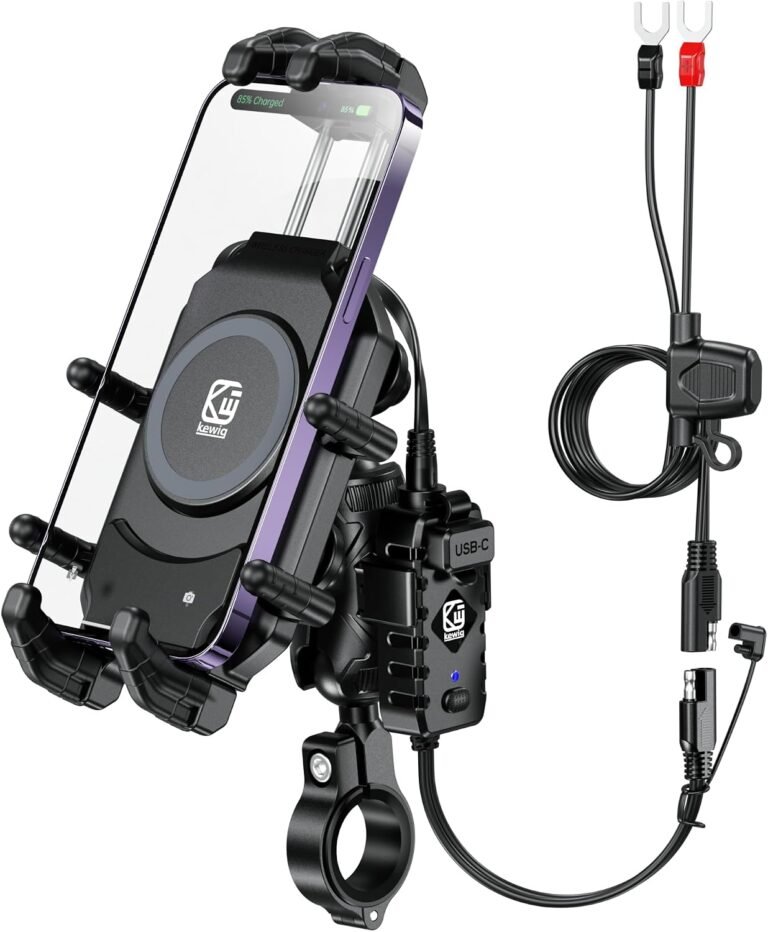
- Powered mounts — integrate wireless Qi or a USB‑C outlet and need a permanent 12V connection and routing for the cable.
When looking at models, prioritize the attachment method that fits your handlebar layout and offers the stability you need. Several of the example products in this guide are handlebar clamps with vibration dampening; others provide charging or full waterproof enclosures.
Features that actually matter — and the trade‑offs
Not all advertised features help you on the road. Here are the ones that make a real difference and what you give up to get them.
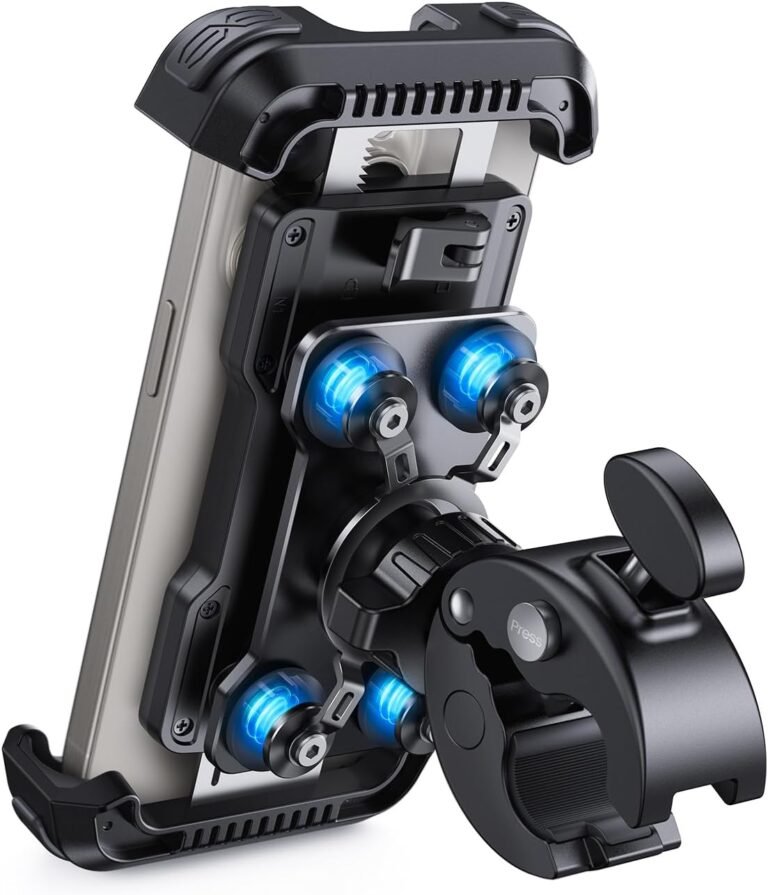
- Vibration dampening — reduces camera stress and makes screens readable. Mechanical dampers (springs or pneumatic dampers) work well for street and light off‑road use; aggressive off‑road still challenges most consumer mounts. Example: several models in our list emphasize dual or spring dampeners—good for protecting camera modules.
- Locking and theft resistance — anti‑theft screws and safety locks increase security but reduce speed of removal. Decide whether you want tool‑required anti‑theft hardware or a fast one‑hand release.
- One‑hand operation — convenient for quick stops; many mounts achieve this with a press‑to‑lock or auto‑lock mechanism. Useful for commuters but less desirable if you want maximum theft resistance.
- Adjustability and rotation — 360° ball joints or multi‑joint arms let you set portrait or landscape viewing. More joints add flexibility but are potential loosening points — quality of the joint matters.
- Compatibility limits — phone length/width AND case thickness. Some mounts list a max thickness (e.g., 0.59″ or 0.71″). If you use a bulky protective case or battery case, confirm the mount supports that total thickness.
- Weather and IP rating — Waterproof or IP66 ratings matter for touring. If a mount lacks a stated IP rating, assume it’s not guaranteed waterproof and plan accordingly.
- Integrated charging — convenient but requires safe wiring to your bike’s electrical system. Verify input voltage range and claimed outputs from the manufacturer and use a fused, switched connection — many mounts specify DC12–24V inputs and wireless or PD outputs.
Accept that each extra feature adds complexity and potential failure points. Favor robust materials and fewer moving parts for high‑vibration or off‑road use; favor fast access and lighter weight for daily urban use.
Fit and compatibility: what you must measure before buying
Buying a mount without measuring is the most common mistake. Three measurements matter:
- Phone length & width — measure your phone with the case on if you use one. Compare to the mount’s listed max height/width.
- Total phone thickness — battery cases and rugged cases add thickness; many mounts list a maximum (for example, 0.59″ or 0.71″). If your case is thicker than the spec, the phone may not lock or could be loose.
- Handlebar or mount point diameter — measure the outside diameter of the tube you want to clamp to. Mounts will list compatible ranges (for example, 15–40 mm or 0.59–1.57″).
Also note special incompatibilities. Several products in our selection explicitly warn about very large “Ultra” phones (e.g., Galaxy S23/S24 Ultra) or folded devices unless folded and without case. If you have a foldable or an unusual model, verify both dimensions and any manufacturer notes before purchase.
Safety first: installation and use considerations
Phone mounts are convenience tools — but a poor install creates hazards. Follow these safety checks:
- Maintain clear sight lines — don’t place the mount where it obstructs the instrument cluster, switches, or mirrors.
- Secure wiring for powered mounts — route cables away from moving parts and heat, fuse the feed and connect to a switched power source or accessory circuit. Verify the mount’s input voltage range before wiring.
- Tighten, then re‑check — tighten all clamps to the manufacturer’s instructions, then re‑check after a short test ride. Threads and fasteners can settle under vibration.
- Consider camera protection — some mounts are designed not to press on rear camera lenses; if yours doesn’t, re‑position the phone so the clamp won’t make contact.
- Weatherproofing — if you ride in rain, prefer mounts with a stated waterproof rating or use a waterproof case/enclosure. Do not assume any mount is waterproof unless the manufacturer claims an IP rating.
When in doubt about torque values or electrical wiring, consult your motorcycle’s service manual or a qualified technician. We do not provide vehicle‑specific torque or electrical wiring instructions here; verify with manufacturer documentation.
Example mounts and which riders they suit (practical picks)
Below are representative mounts from our saved product facts with the riders they suit and the limitations to watch for. Use these as examples of how to match features to needs.
-
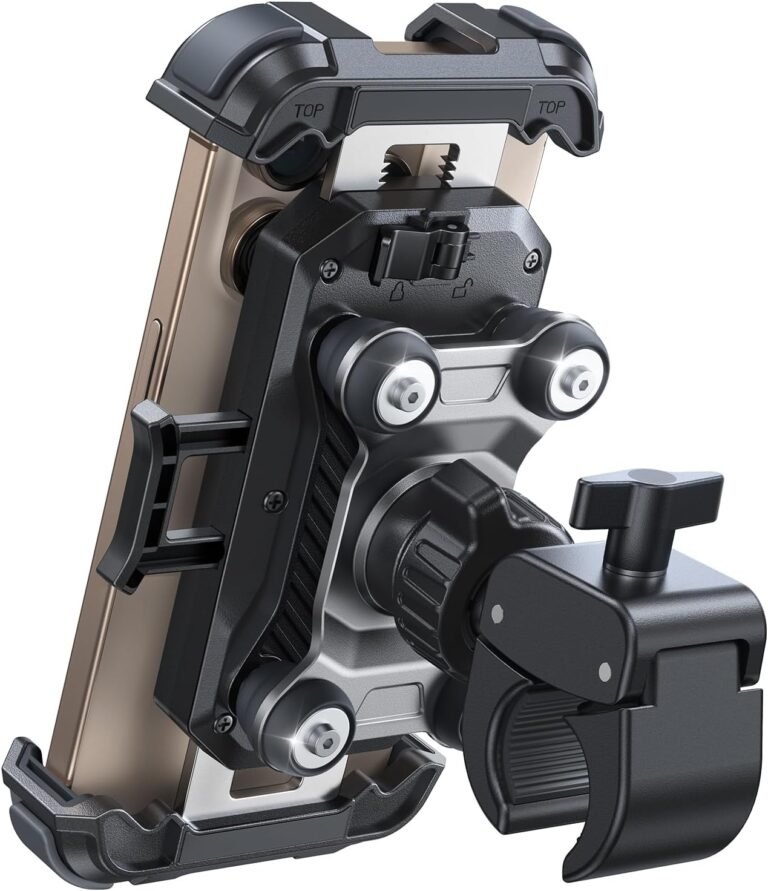
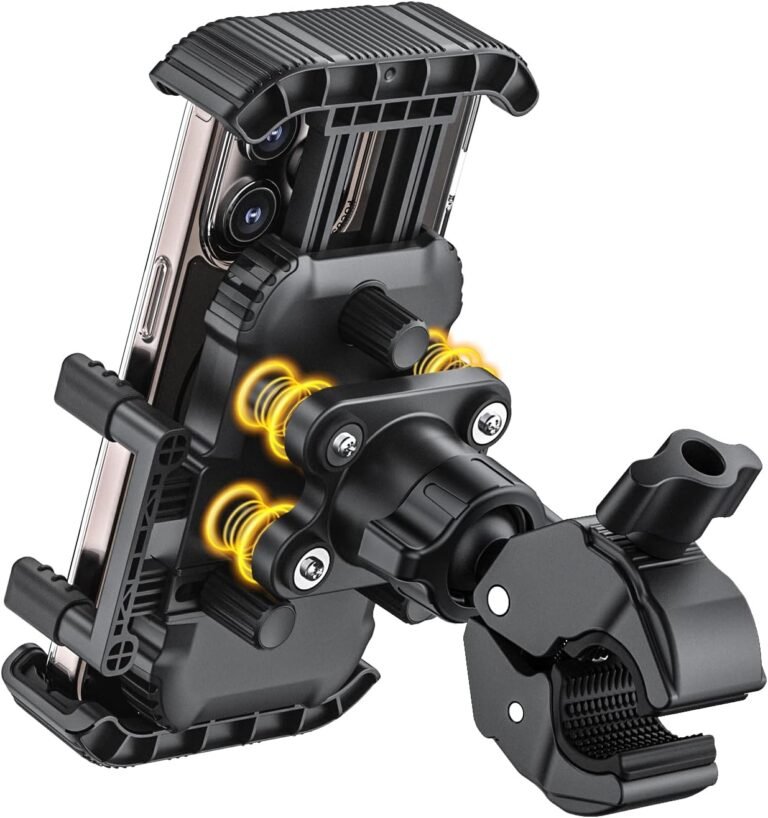
Lamicall Motorcycle Phone Mount (Dual Vibration Dampener) — good for riders who want vibration protection and quick one‑hand operation
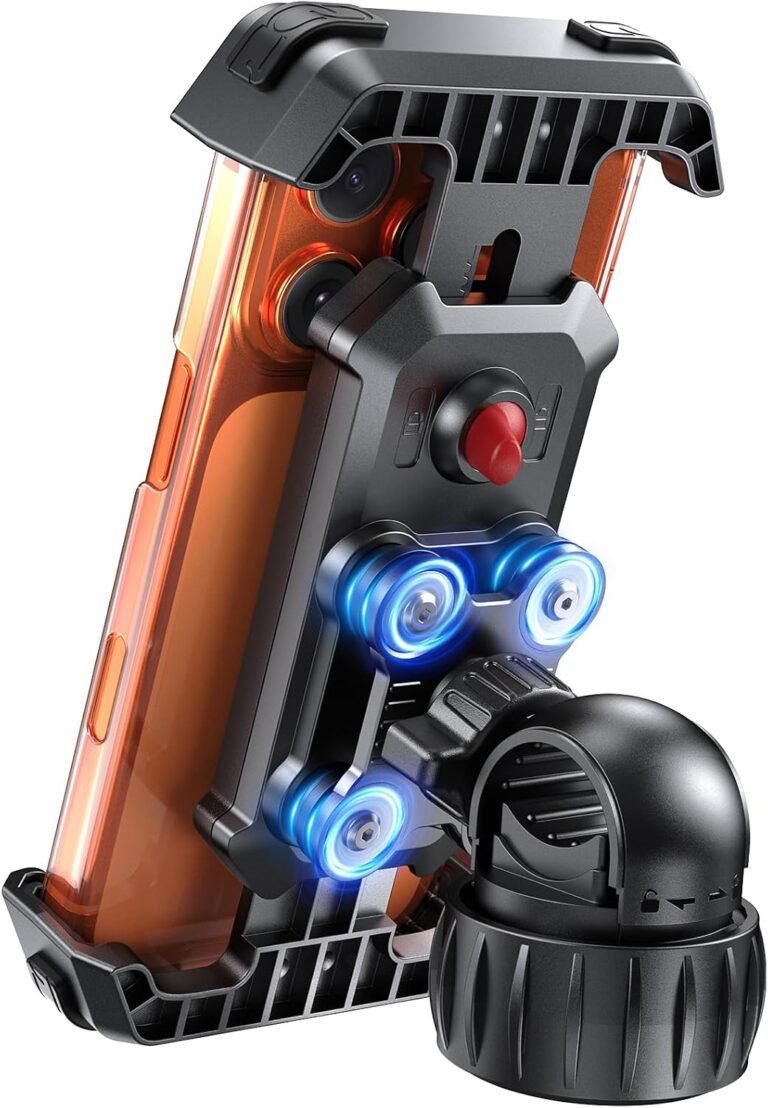
This quick‑lock handlebar clamp emphasizes vibration reduction with a patented four‑spring dampener and corner silicone pads. It lists compatibility for phones 4.7–6.7″ and a maximum thickness of 0.59″ and fits handlebars 15–40 mm diameter. Pros include sturdy alloy construction and fast one‑hand locking. Note the max thickness limit (0.59″) and that it names some large Ultra phones as incompatible — verify your phone and case before buying. (See product detail: Lamicall Dual Dampener.)
-
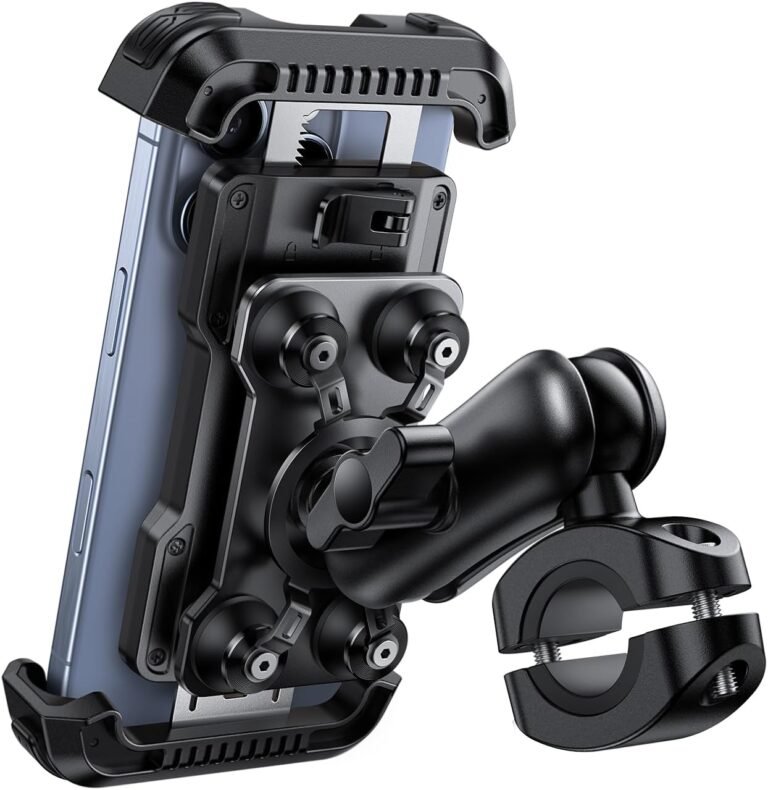
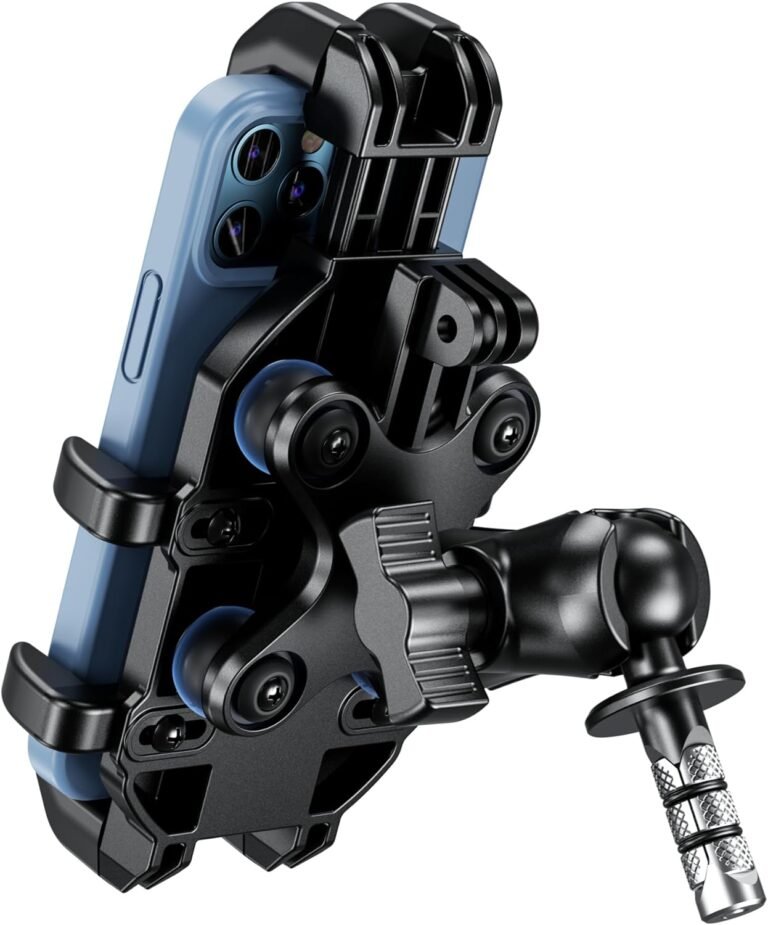
Lamicall with Metal 720° Arm & Anti‑theft hardware — for touring riders who want flexible positioning and theft resistance
This Lamicall variant adds a metal adjustment arm with two 1″ ball joints, 720° rotation and anti‑theft screws with wrench. It lists the same 4.7–6.7″ phone size and 0.59″ max thickness, and fits common handlebar diameters around 20–35 mm. The metal arm helps position the phone near instruments while anti‑theft hardware reduces casual removal — at the cost of faster removal convenience. Verify the thickness limit and the anti‑theft steps required for your use. (See product detail: Lamicall Metal Arm.)
-
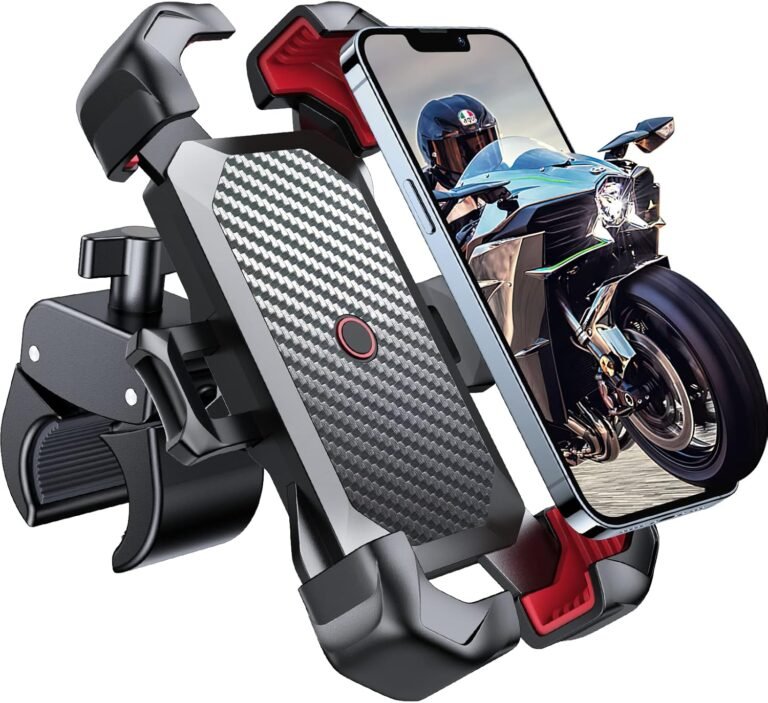
JOYROOM dual dampener & reinforced parts — budget anti‑vibration option for commuters and light off‑road
JOYROOM models often emphasize press‑to‑lock one‑hand operation and dual pneumatic dampening. The dual dampener version claims strong vibration reduction and supports phones roughly 4.7–7.0″ with case thickness up to 0.71″ on specified handlebar sizes. Manufacturer claims about vibration reduction and high‑speed stability are persuasive but are manufacturer statements rather than independent test results — treat them as useful guidance and verify fit for large phones. Good value for commuters and weekend riders who want vibration control without electronics.
-
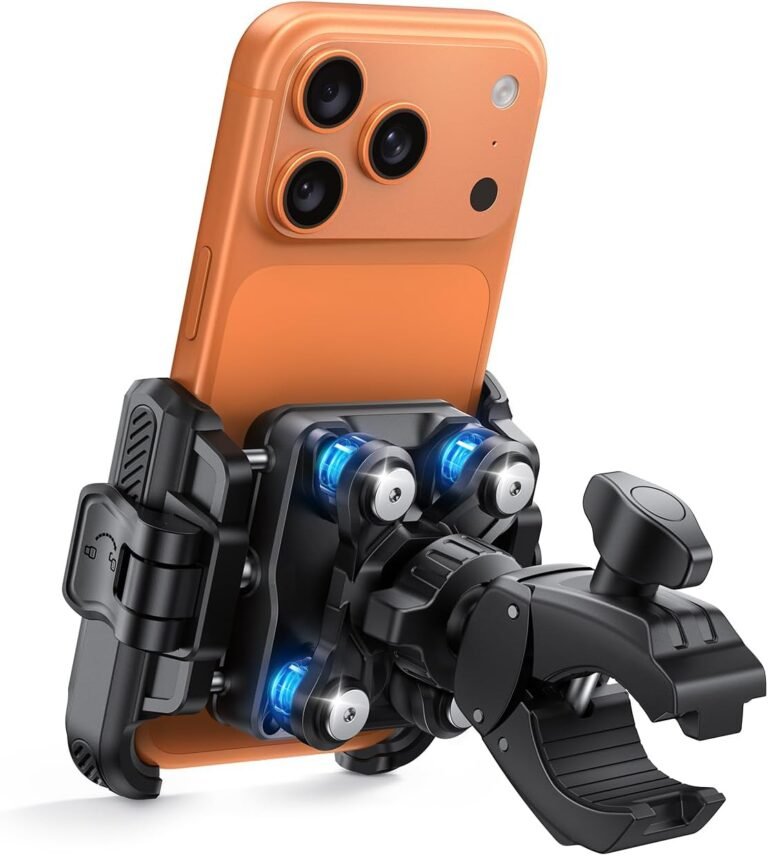
JOYROOM 1s auto‑lock model — fast one‑hand mounting for everyday riders
The JOYROOM one‑second auto‑lock model focuses on convenience: quick install, 360° rotation and advertised durability for the lock button. It supports phones up to 7″ and case thickness up to 0.71″ on standard bars. Ideal for riders who mount/unmount frequently; less ideal if you need tool‑level theft protection or a waterproof rating.
-
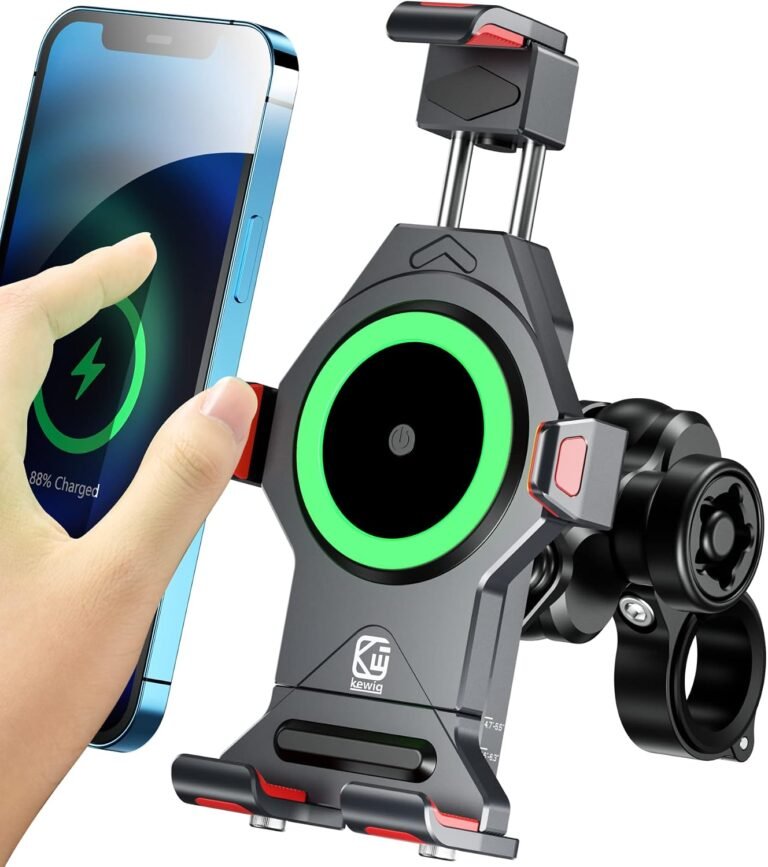
BRCOVAN & BRCOVAN (anti‑theft) wireless charging mounts — for riders who need charging on long rides
Two BRCOVAN models include Qi wireless charging (15W) and a USB‑C/PD port (20–30W on various listings), and advertise IP66 waterproofing. These are for riders who want integrated power. They require a 12–24V feed, careful wiring, and verification of actual output and waterproofing claims before use. Also check listed phone size and thickness ranges against your device. Powered mounts simplify long‑ride power but add installation complexity and potential points of failure.
-
HUANLANG waterproof phone bag/enclosure — for wet weather touring
HUANLANG lists a fully waterproof enclosure with touchscreen window and sun visor, rated to IPX6 in its facts. It supports phones 4.7–7.0″ and offers storage room and charging hole. Good choice for riders who need reliable weather protection and touchscreen operation; not ideal if you want direct access to physical buttons or want a slim clamp with vibration dampening.
-
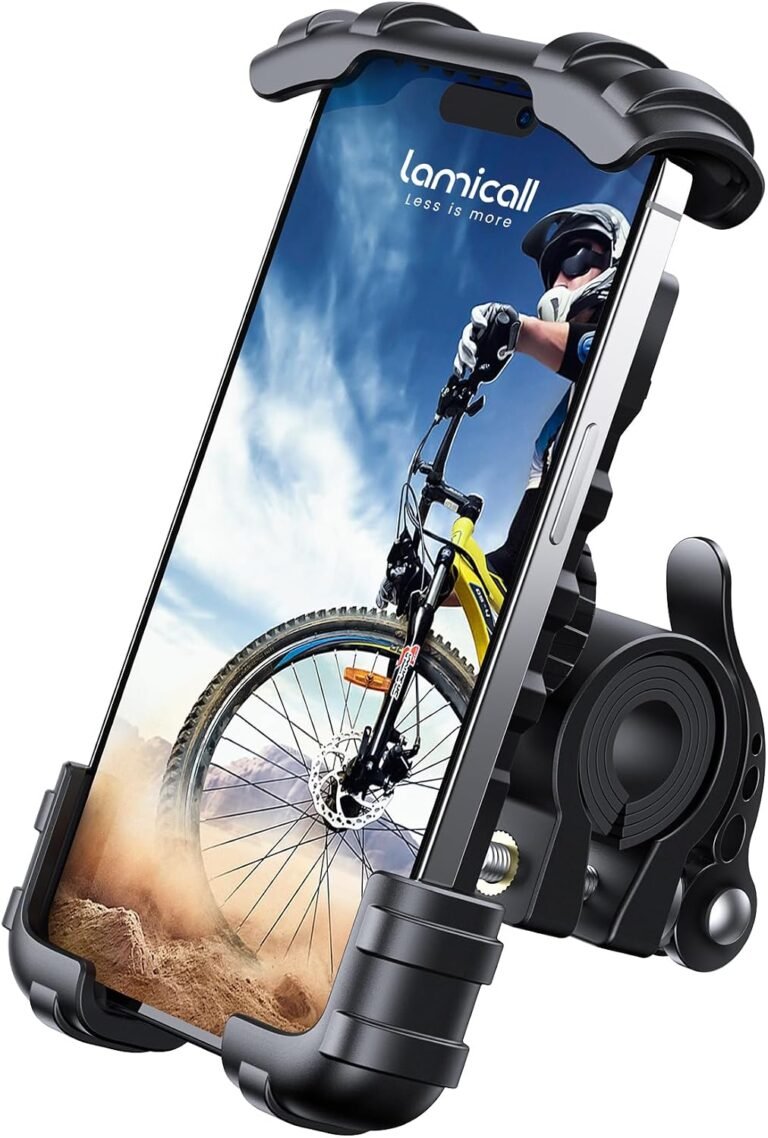
Lamicall Bike Phone Holder (simple lockable, low cost) — value everyday solution
An inexpensive, lockable handlebar mount with one‑hand operation and 360° rotation. Good for commuters and cyclists who want fast access and solid value. Check the 0.59″ max thickness and that it doesn’t present a stated waterproof rating for heavy rain.
These examples show common patterns: mechanical clamps with dampers give good vibration control for most riders, while powered mounts and waterproof enclosures address specific needs at the cost of complexity. Use the product facts and your measured fit values to decide which features you actually need.
Installation, setup and first‑ride checklist
Install properly and test before trusting the mount on a long ride. Use this quick checklist:
- Confirm measurements: phone height/width, case thickness and handlebar diameter match the mount’s specs.
- Mount in a location that doesn’t obstruct dials, switches or mirrors. If you use a multi‑joint arm, position it so joints are not fully extended.
- Tighten clamps per the manufacturer instructions. If the manufacturer includes torque specs, use a torque wrench; if not, tighten until snug and re‑check after a short test ride.
- For powered mounts, route the cable away from moving parts, connect via a fused circuit, and use a switched source or accessory connector to avoid draining the battery. Verify the mount’s stated input voltage and outputs from the product facts.
- Place the phone in the mount and test locking/unlocking procedures several times on the ground so you can do it quickly at a stop.
- Do a low‑speed test ride (slow parade of parking lot) and then a short road test. Re‑check fasteners after 10–20 miles and again after 50–100 miles.
If you’re installing anti‑theft screws or special wrenches, practice removal before relying on them; you don’t want to be stranded because you can’t remove the mount at a gas station or rest stop.
Maintenance and troubleshooting (keep it working longer)
Good maintenance prevents rattles and failures:
- Check fasteners and ball joints periodically and tighten as needed. Vibration loosens threads faster than you expect.
- Replace worn silicone pads and rubber inserts — they’re cheap and stop phone wear and slipping.
- If you see excessive vibration or the phone’s camera autofocus hunting, improve damping (switch to a mount with stronger dampers) or add small foam pads in non‑critical areas as a stopgap.
- For powered mounts, inspect the cable for chafing and secure any loose lengths with zip ties. If a mount shows water ingress and it isn’t rated for that exposure, stop using it in wet conditions and contact the manufacturer.
- Keep the mounting area clean and free of oil/grease to protect bar finish and maintain friction where rubber inserts are used.
When a mount repeatedly loosens or a joint degrades, replace it — the cost of a new mount is small compared to the risk of a dropped phone while riding.
Common buying mistakes and how to avoid them
New buyers often make the same mistakes — here are the most common traps and how to avoid them:
- Buying without measuring — measure phone + case and bar diameter before you click. Most incompatibilities come from overlooked thickness or oversized bars.
- Expecting integrated charging without wiring readiness — powered mounts are tempting, but they need a proper electrical feed and waterproofing. If you can’t install a fused, switched connection, avoid powered units.
- Confusing marketing claims with independent testing — some products quote dramatic vibration reduction or speed stability; treat these as manufacturer claims and test in your own use case.
- Placing the mount where it blocks instruments or interferes with controls — position the mount to keep all controls visible and accessible.
- Underestimating theft risk — leaving a phone in an unsecured mount invites loss; consider anti‑theft hardware or remove the phone whenever you leave the bike unattended.
Address these before buying to save time and avoid returns.
Final recommendation — matching mounts to riders
Pick a mount based on your primary use case:
- Daily commuter who wants fast access: A one‑hand auto‑lock mechanical clamp (e.g., JOYROOM 1s models) — fast mounting and removal, good value. Verify handlebar diameter and case thickness first.
- Touring rider needing weather protection and power: Consider a waterproof enclosure (e.g., HUANLANG IPX6 bag) or a wireless charging mount if you can wire it correctly (e.g., BRCOVAN wireless chargers). Confirm IP and charging specs and ensure a professional or careful DIY wiring job with proper fusing.
- Rider who prioritizes vibration control and camera protection: Mechanical mounts with dedicated dampers (Lamicall dual dampener, JOYROOM dual dampener) are sensible choices. Check the stated dampening approach and phone thickness limits.
- Adventure/off‑road rider: Favor mounts with robust metal components, reinforced ball joints, and strong dampening. Consider Lamicall’s metal arm options or higher‑end mounts designed specifically for off‑road; verify the build materials and fit to thicker cases.
- Minimalist or occasional GPS user: A low‑cost clamp with basic protection (e.g., Lamicall Bike Phone Holder) will do, but remove the phone when parked to avoid theft.
Across all categories: measure twice, check the mount’s thickness and handlebar compatibility, and decide whether you need charging or weatherproofing. If a product fact doesn’t list an IP rating, anti‑theft spec, or wiring details you need, contact the manufacturer or seller to verify before buying.