riderinstinct
What a motorcycle dash cam does — realistic expectations
A motorcycle dash camera records video (and sometimes audio, GPS and telemetry) while you ride. The most practical uses are documenting crashes or near-misses for insurance and legal follow-up, collecting footage of hazardous road conditions, and capturing memorable rides. They can also provide deterrence against theft if visible or help recover a stolen bike if linked to a tracker or cloud service.
It’s important to set realistic expectations. A dash cam won’t prevent a crash, automatically prove fault in every incident, or reliably record clear license-plate images in all conditions. Motion, vibration, darkness, adverse weather and small sensors all limit what’s captured. The goal is to maximize the chance of obtaining usable evidence, not to expect perfect cinematic footage in every scenario.
A practical decision framework: what to prioritize
Before shopping, decide your primary objectives. That decision directs which trade-offs to accept:
- Evidence after an incident: Prioritize stable mounting, image clarity in daylight and at speed, timestamp/GPS overlays, and a reliable power solution so footage is recorded when you need it.
- Low-light or night riding: Prioritize larger sensors or models with proven night-vision performance and good image processing. Don’t assume resolution numbers alone indicate low-light capability.
- All-weather commuting: Waterproofing, vibration resistance and a robust housing matter more than the highest resolution.
- Recreational ride recording and sharing: You might prioritize wide-angle lenses, higher frame rates and easy Wi‑Fi or app transfer features.
- Parking mode/theft evidence: Continuous power (hardwire or aftermarket battery pack), motion detection/G‑sensor and secure mounting to avoid easy removal are key.
With that priority in mind, compare real-world reviews and manufacturer specs for sensor performance, mounting options, power methods and proven reliability rather than focusing on marketing buzzwords.
Types of motorcycle dash cam setups and trade-offs
Common setups include single front-facing cams, dual front-and-rear systems, helmet-mounted cameras and integrated dash systems that combine a display and cameras. Each has pros and cons:
- Single front cam: Simpler, cheaper and easier to mount. Good for documenting incidents ahead of you but misses rear collisions and incidents from other angles.
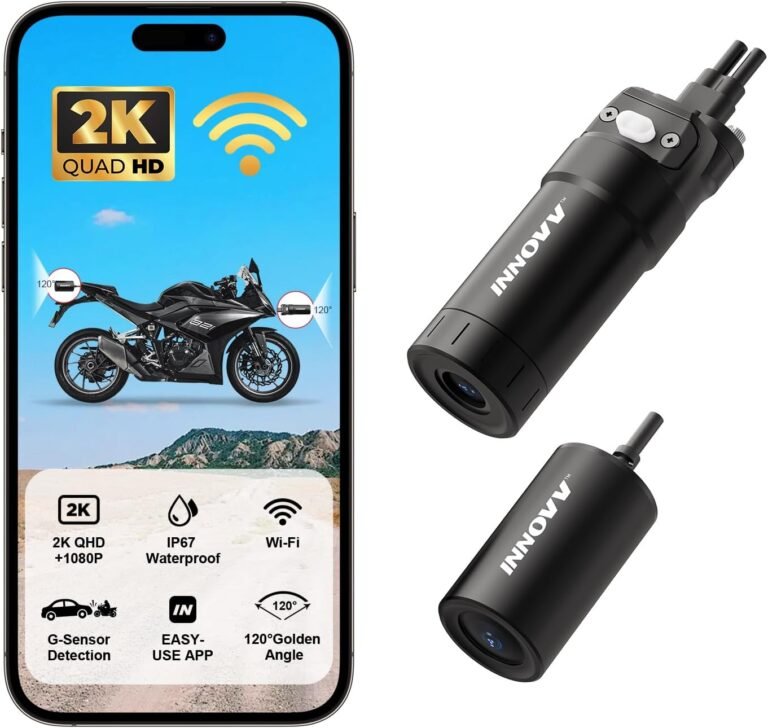
- Dual front-and-rear: Records more of the scene and is useful for rear-end incidents, but adds wiring complexity and more points of failure. Ensure both cameras are weatherproof and mounted securely.
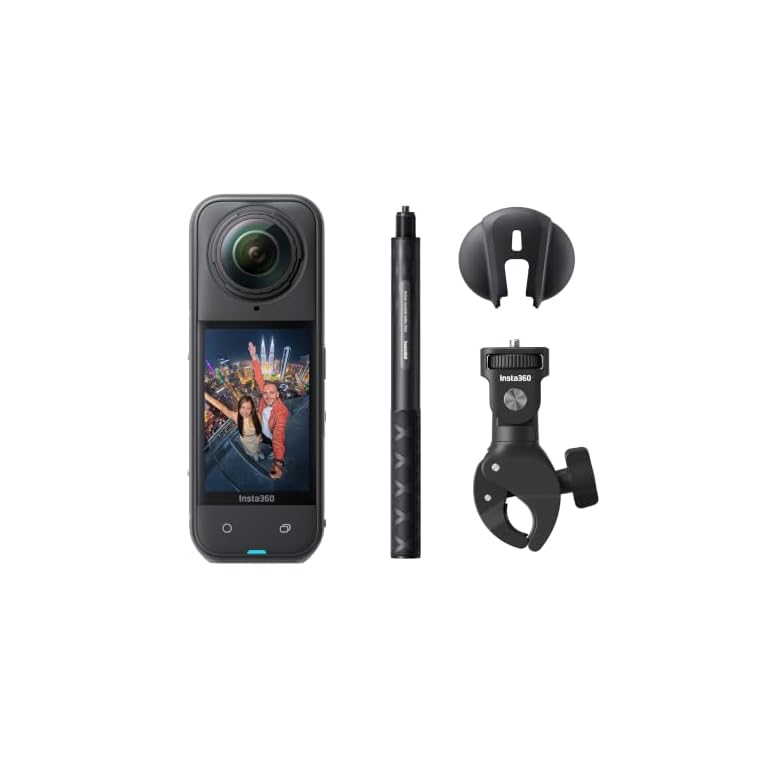
- Helmet cam: Records exactly what your head sees, which can be great for ride footage and cornering perspective, but can be unstable and less legally persuasive than a frame-mounted camera because of the motion.
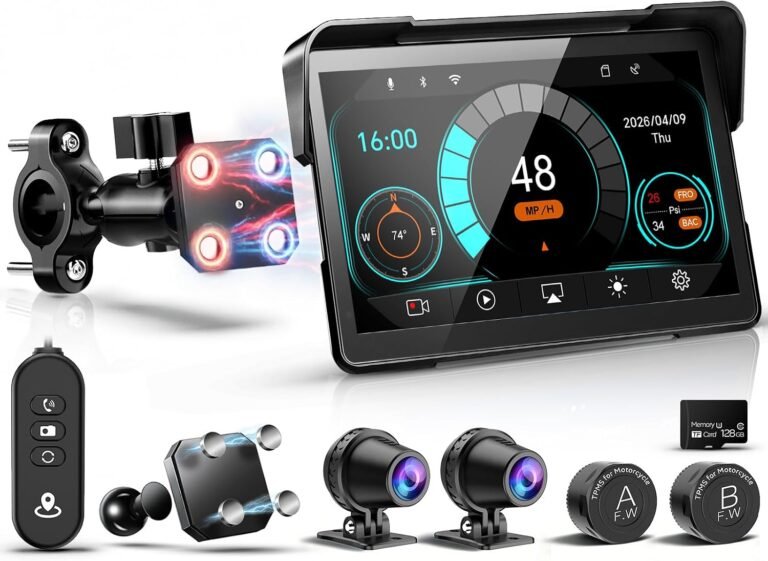
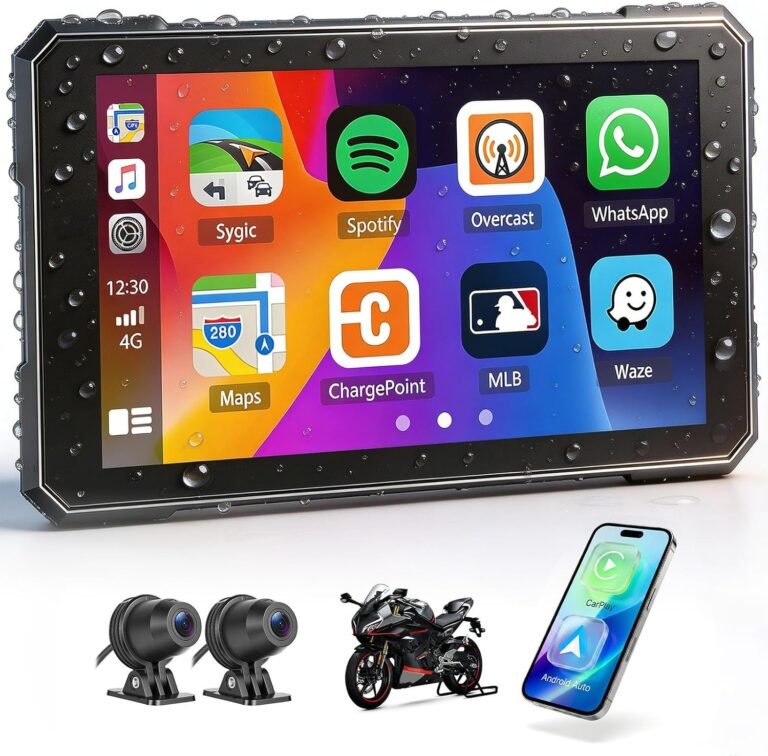
- Integrated units and dash displays: Provide convenient monitoring and controls, but can be bulkier and more expensive. They may offer features like built-in GPS, larger batteries and integrated storage options.
Think about ownership and theft risk too: small removable cameras are easy for thieves to snatch. Removable units are convenient for charging or downloading, while hard-mounted systems are less user-friendly but less likely to disappear.
Mounting, vibration and placement: how to get usable footage
Getting steady, readable footage is about mounting and placement as much as the camera itself. Motorcycles transmit more vibration than cars — that affects exposure, image stabilization and sensor performance. Follow these practical guidelines:
- Mount to a stable part of the bike: Use the fork crown, frame, crash bar or a dedicated camera clamp rather than flexible parts like plastic fairings that vibrate or flex. Verify the mount’s rated vibration resistance and load limits with the manufacturer.
- Aim for a low, forward-facing position: Too-high mounts can exaggerate shake; too-low can catch too much wheel/road detail and not enough of the scene. Test and adjust incrementally.
- Use vibration-damping pads or mounts: Many camera mounts include rubber or silicone dampers. These can reduce high-frequency vibration that ruins license-plate legibility.
- Secure cabling: Route cables where they won’t rub, snag or be pinched by moving parts. Use zip ties, adhesive-backed mounts and grommets where wires pass through fairings.
- Protect from the elements: Even IP67-rated units have seams and connectors that benefit from dielectric grease or small heat-shrink wraps at exposed terminations. Always follow the manufacturer’s sealing and connector guidance.
After installation, take a test ride and review footage at riding speeds to confirm the camera position and adjust as needed.
Powering your dash cam: batteries, hardwiring and power managers
Power strategy determines availability and features. There are three common approaches:
- Internal battery-only units: Easy to install and remove, but runtime is limited and can be exhausted before you return to the bike. Not ideal for parking mode or long rides without recharging.
- Hardwired to the motorcycle electrical system: Provides continuous power and supports parking mode and auto-on features, but requires careful wiring or professional installation. Improper wiring can damage the bike or camera and may affect warranty coverage.
- Dedicated power modules or externally-mounted lithium packs: These offer a middle ground: longer run time and parking surveillance without tapping directly into the bike’s wiring. They add weight and require secure mounting.
If you choose hardwiring, either use an ignition-switched feed for recording only when the bike is on, or a protected accessory feed for parking mode. Consider a power manager designed for dash cams that can cut off before draining the bike battery. Verify compatibility and installation instructions with the bike and camera manufacturers.
Image quality and conditions: what affects usable footage
Usable footage depends on several technical factors beyond resolution numbers like “4K” or “2K.” Consider these elements:
- Sensor size and low-light performance: Larger sensors and sensitive pixels record more usable detail at night. Manufacturers’ marketing rarely tells the full story — consult independent reviews for low-light test footage.
- Frame rate: Higher frame rates (60 fps) can reduce motion blur at speed, which helps when reading license plates or seeing fast events. Higher frame rates use more storage.
- Bitrate and compression: Higher bitrate retains more detail after compression. Two cameras with the same resolution can produce very different image quality depending on bitrate and encoder settings.
- Lens angle and distortion: A wide-angle lens captures more of the scene but can distort and make distant objects smaller. Pick an angle that balances field of view with useful detail; sometimes a narrower angle helps capture license plates at distance.
- Stabilization and image processing: Electronic stabilization and good image processing help reduce blur and improve clarity. However, aggressive stabilization can crop the image and introduce artifacts.
Because manufacturers sometimes emphasize specs over real performance, look for sample footage from other riders or trusted reviews. We have internal product pages and reviews that can be helpful examples when evaluating low-light and daytime performance (see product links below).
Legal, privacy and insurance considerations
Recording rules vary by country and state. Before mounting a camera, verify local laws about recording audio and video. Key points to check:
- Consent and audio recording: Some places restrict audio recording without consent. If a camera records audio, confirm whether you should disable it in your jurisdiction.
- Privacy and bystanders: Be mindful when recording in private spaces. Avoid using footage in ways that could violate privacy laws.
- Insurance and evidence handling: Insurers may accept dash-cam footage, but chain-of-custody and tamper evidence can matter. Preserve originals on separate media and document timestamps.
- Police and legal requests: If footage involves a criminal incident, law enforcement procedures for handling footage may apply. Consult legal counsel if you anticipate litigation.
We are not lawyers. Always check local statutes and, if necessary, get legal advice about recording and handling footage in your area.
Installation, maintenance and practical workflows
A good installation and maintenance routine keeps the system ready when you need it. Practical steps riders use include:
- Test before relying on it: After mounting and wiring, take short test rides at different speeds and light conditions. Check that timestamps, GPS overlays and event detection are working.
- Format and use quality microSD cards: Use cards specified by the camera maker, format them in-camera periodically, and replace cards on a schedule if you see errors. High-endurance cards are recommended for continuous recording.
- Firmware updates: Keep firmware up to date for bug fixes and improved performance. Only use official updates from the manufacturer.
- Secure mounts and connectors: Inspect mounts, screws and connectors after the first few rides and then periodically. Roads and vibration can loosen parts.
- Backup important footage promptly: Export any incident footage to a second device or cloud storage. Relying on the circular loop recording risks accidental overwrite.
Document your system: note model numbers, firmware version and microSD card ID in a file so you can reproduce or troubleshoot the setup later.
Using footage effectively after an incident
If you record an incident, follow a deliberate process to preserve the footage and support any insurance or legal claim:
- Stop and secure the camera: If safe, leave the camera powered or remove the microSD card to prevent the file being overwritten or corrupted.
- Make a forensic copy: Create an exact copy of the raw file(s) to a second storage device. Do not edit the original until you’ve secured a backup copy.
- Record context: Note the date, time, location, weather and a short written account of the event while it’s fresh. Take photos of vehicle damage and scene markers.
- Metadata matters: Keep GPS and timestamp overlays intact. If your camera supports checksum or file integrity metadata, preserve it and document the camera’s settings and firmware.
- Share deliberately: When sharing with insurers or on social media, prefer to share copies and be careful not to edit or reduce resolution unless you keep originals. Edited copies can be questioned later in disputes.
Insurers and police will have their own submission procedures — follow their instructions and retain originals until the case is closed.
Product types, examples and where to look next
After you understand priorities, look at product options that match your use case. RiderInstinct’s internal product pages and reviews can help you compare real-world performance and features. Examples on our site include dual-channel units, waterproof systems and models with enhanced night vision (see links below).
- Motorcycle Dash Cam Front and Rear Dual Lens, IP67 Waterproof HD DVR — an example of a dual-channel waterproof system useful for commuting and evidence capture.
- Magellan 2.5K+2.5K Motorcycle Dash Camera Review: STARVIS 2 Night Vision — a review that illustrates how night-vision capability can vary between models.
- INNOVV K6 — an example of a dual-channel, waterproof motorcycle camera system with Wi‑Fi and higher-capacity card support.
- Realdio Motorcycle Dash Cam Review — another dual front and rear option with IP67 rating.
- The Complete Dash Cameras Guide for Motorcycle Riders — for broader context and supplemental reading.
Do not assume any single model will meet all needs. Compare user-review footage, confirm IP ratings and mounting options, and verify the supported microSD capacity and recommended card type. If you plan to hardwire, check whether the manufacturer supplies wiring harnesses or recommends professional installation.