riderinstinct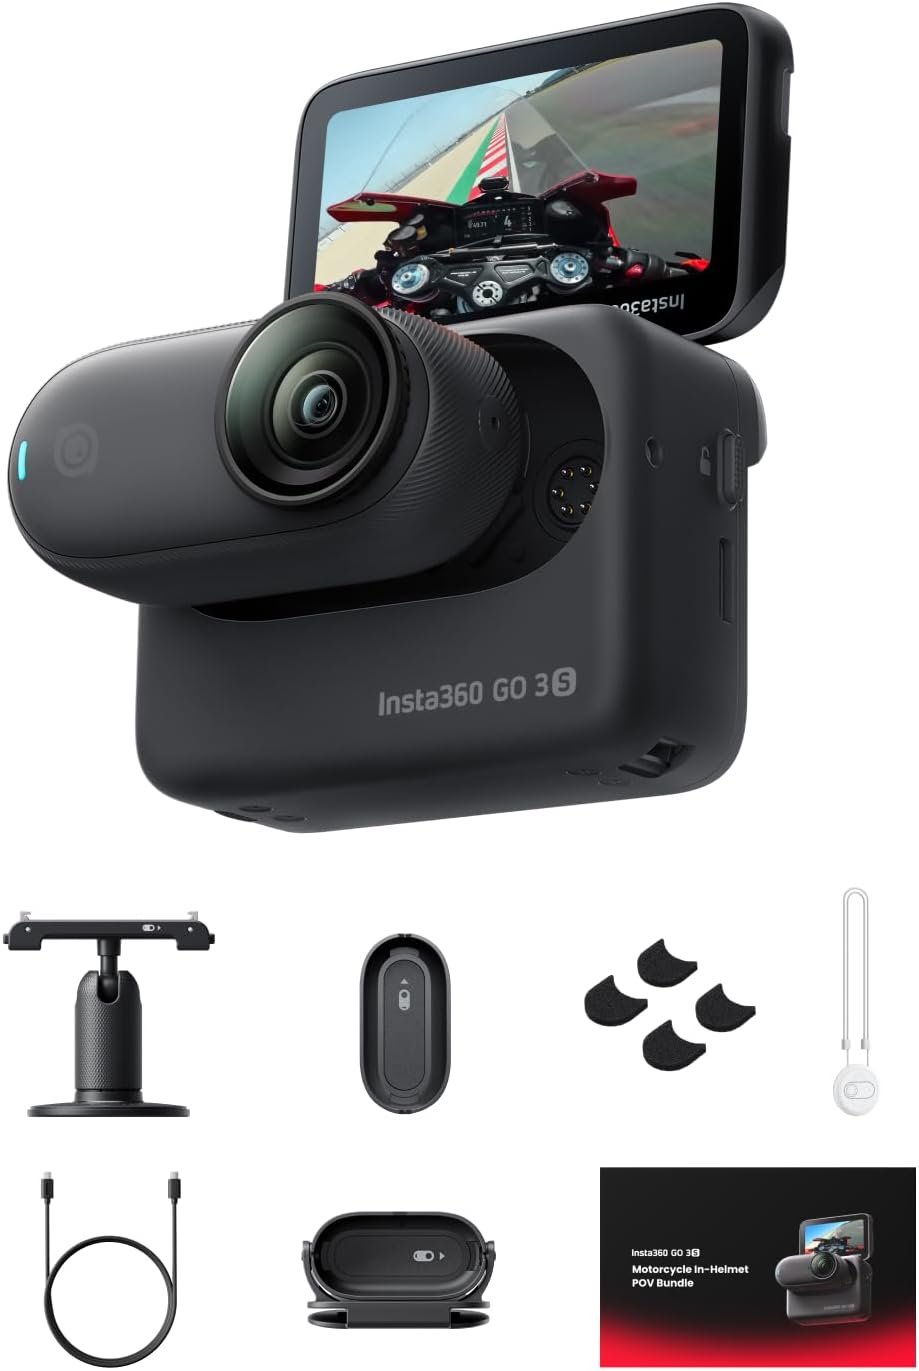
Why you need a buying framework before comparing cameras
There are far more action cameras and accessory bundles than differences you’ll actually notice riding. That’s why the first step is not picking a brand or resolution — it’s choosing the role your camera must fill. Ask: where will I mount it, what does the footage have to show, how long are my rides, and how much post-editing am I willing to do?
Start by grouping needs into three practical use cases:
- Helmet POV and vlogging: Minimal profile, hands-free operation, and low wind noise matter most.
- Handlebars / tank / car mounts: Stability under vibration and secure mounting are central.
- Immersive / creative capture (360°): Reframe-in-post and freedom of perspective outweigh single‑lens forward-facing fidelity.
Once you’ve picked the use case, evaluate five core areas (stabilization, audio, mounting, battery/storage, and durability/waterproofing). These are the practical trade-offs that determine a good purchase for riders, not marketing buzzwords or isolated megapixel counts.
Who each camera type suits (short decision map)
Different camera designs match different rider priorities. Use this short map to narrow your search:
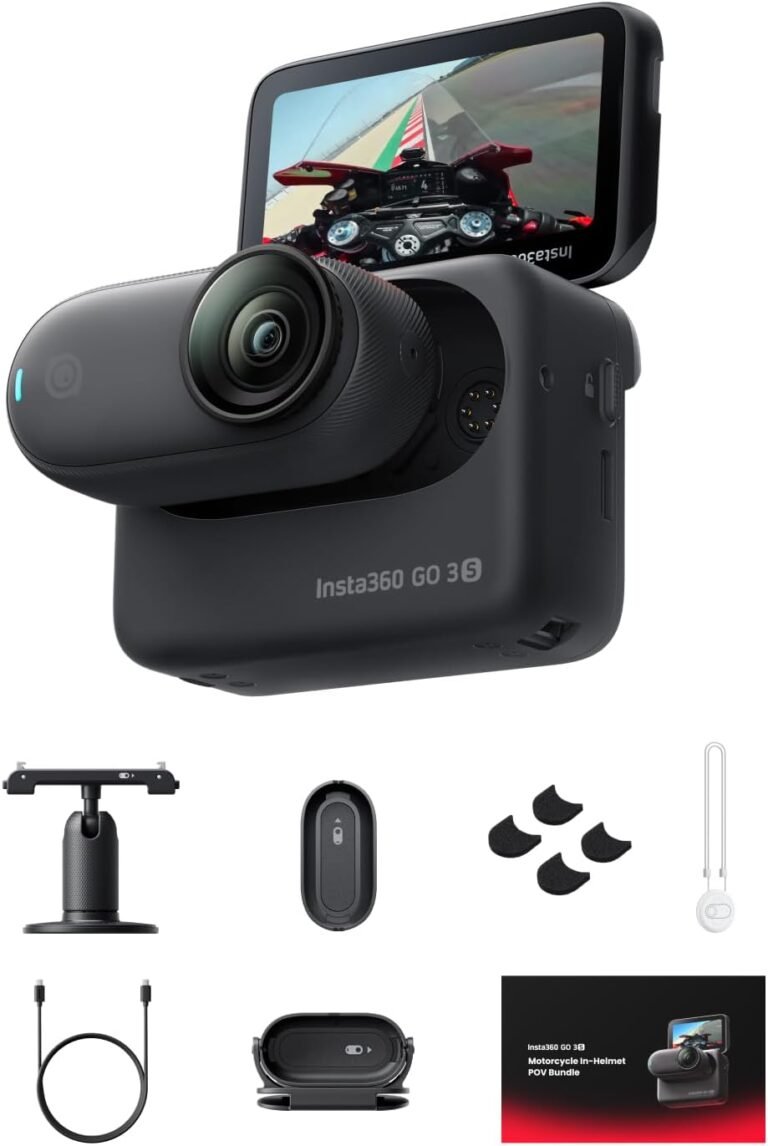
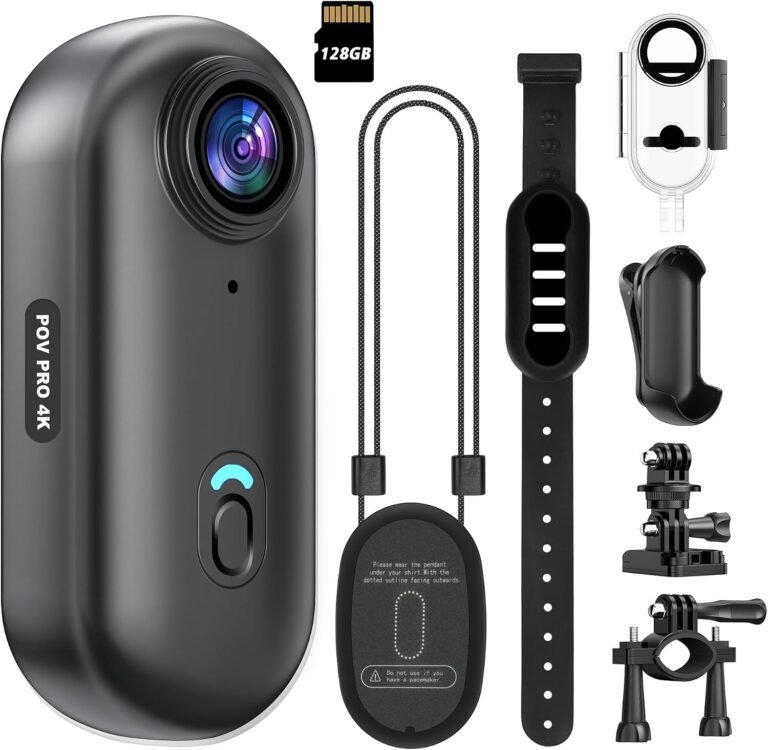
- Tiny helmet POV cams: Best for motorcycle vloggers who want a low-profile, near‑head perspective and minimal drag. Example: the Insta360 GO 3S In-Helmet POV Bundle — a very small 4K camera with FlowState stabilization and an Action Pod for framing and preview. Note the bundle includes an in-helmet mount and a mic wind muff but the magnetic mounting system carries medical cautions (see product facts).
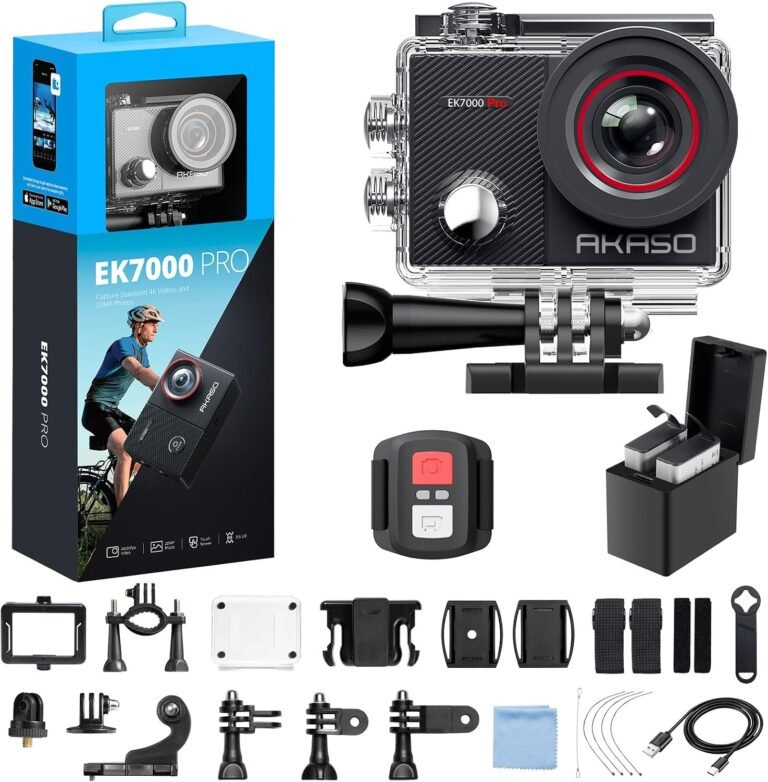
- Budget all-in-one kits: Good for riders who want lots of mounts, spare batteries and a waterproof case out of the box. Example: AKASO EK7000 Pro — 4K30 with EIS, two batteries and many mounts included.
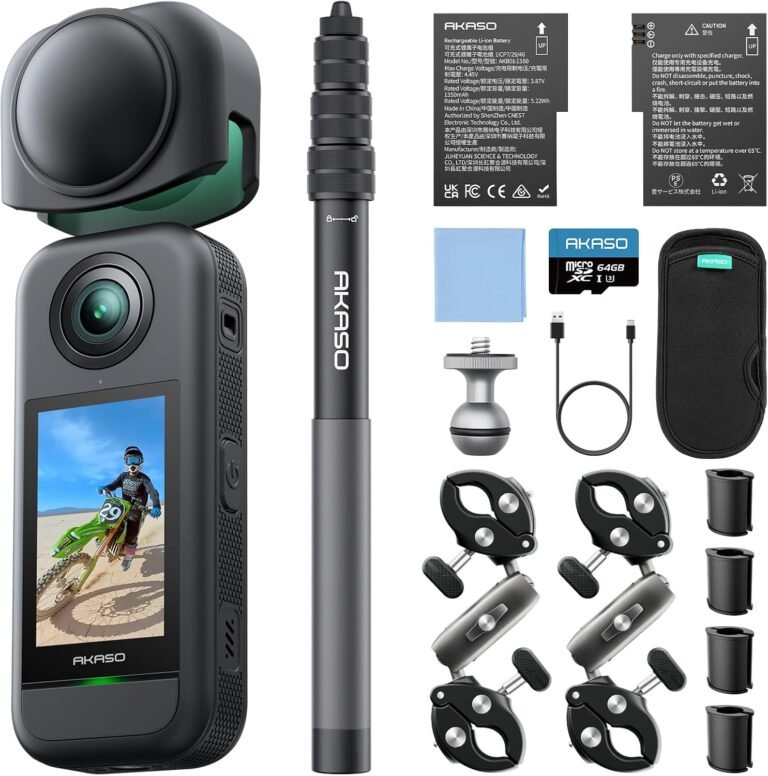
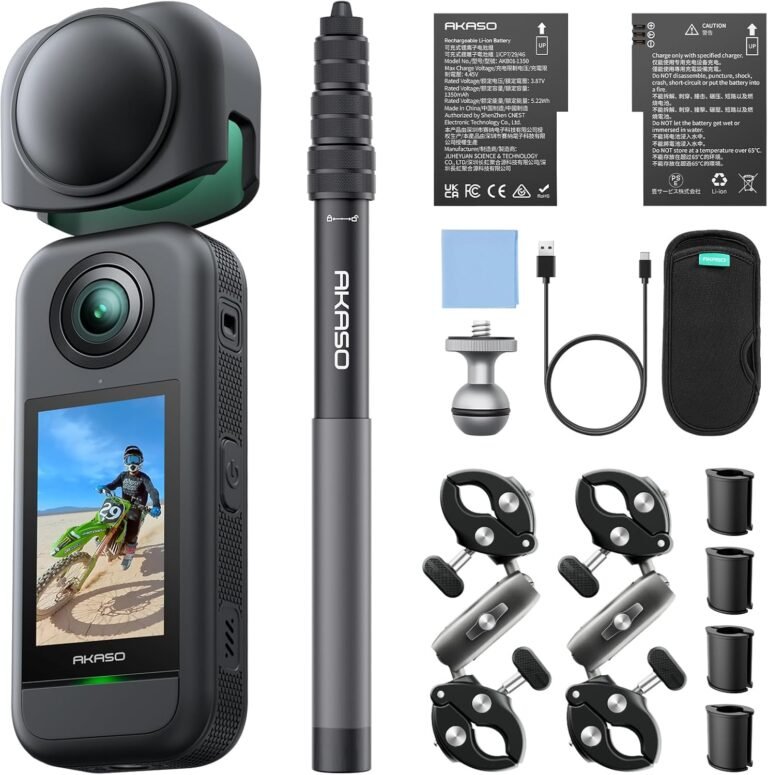
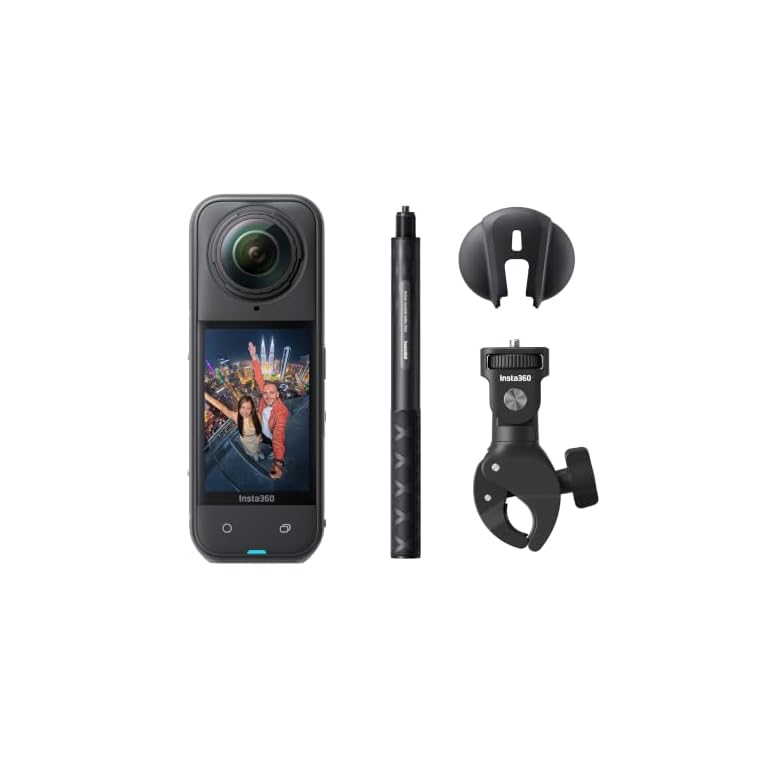
- 360° rigs: Ideal when you want to “shoot first, frame later” and create immersive footage — AKASO 360 targets this use with 5.7K 360 video and AI reframing tools.
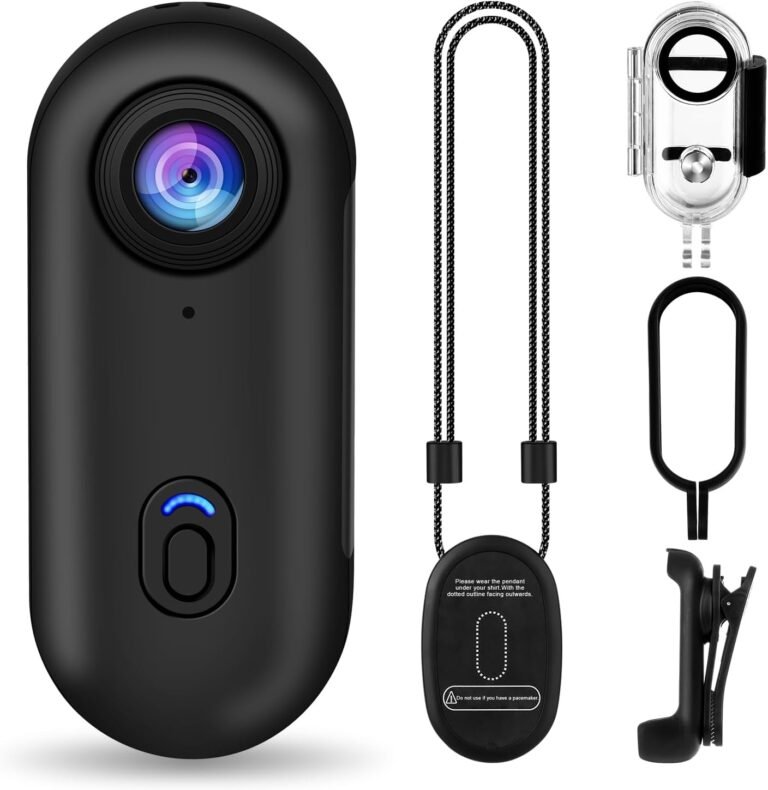
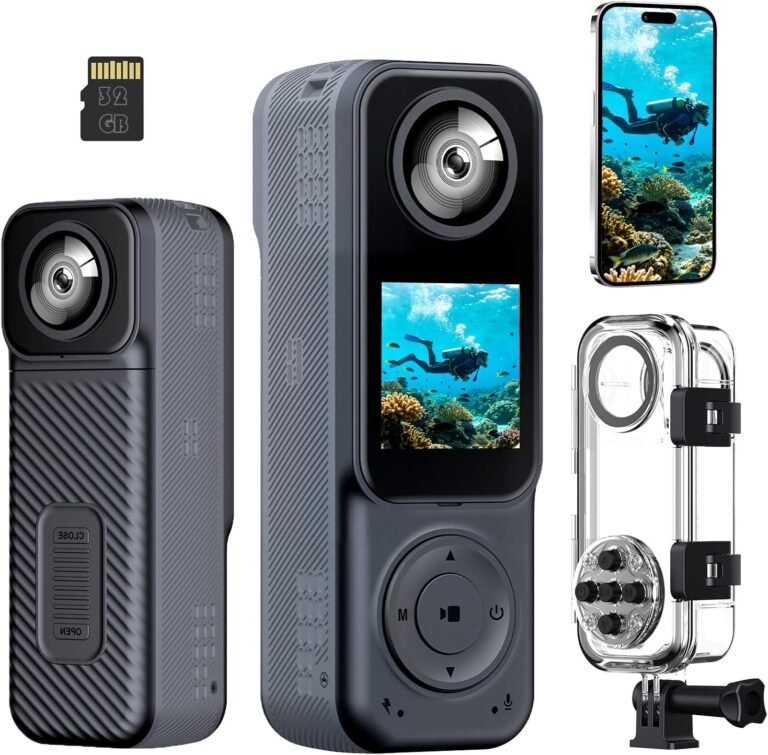
- Small body/thumb cams: Use when you need the camera to be unobtrusive and mount anywhere quickly — the i3 4K Thumb Action Camera and other thumb-size units claim very small form factors and magnetic mounting.
Choosing the right type up front avoids buying unnecessary features and getting stuck with the wrong mounting system for your helmet or bike.
Stabilization, field of view and image choices that actually matter
On a motorcycle, raw sensor resolution is less important than stable, usable footage. High resolution helps in post, but a shaky 4K file looks worse than a smooth 1080p clip. Prioritize:
- Stabilization: Electronic or software stabilization (EIS, FlowState, Horizon Lock) is essential for helmet and bar mounts. The Insta360 GO 3S advertises gimbal-like FlowState stabilization and Horizon Lock — useful on helmets where head motion is frequent. AKASO models offer their own stabilization claims (EK7000 Pro lists EIS; AKASO 360 promotes 360° SuperSmooth).
- Field of view (FOV): A wider FOV gives immersive POV but watch for extreme distortion. Cameras offering a wide angle with lower distortion are preferable for helmet POVs.
- Frame rates and bitrate: For high-speed riding and smooth slow-motion, higher frame rates help (60fps or above). Many budget cameras list 4K30; check if they support 1080p60 or 2.7K60 for more flexible slow-motion.
In short: choose a camera where the stabilization system is proven (or at least specified) and which offers a usable FOV that won’t make tilt and banking look unnatural.
Mounting and compatibility: helmet safety and practical tips
Mount selection is a safety and legal matter as much as a convenience matter. Before affixing anything to your helmet or bike:
- Check your helmet manufacturer’s guidance. Many helmet makers advise against drilling, gluing or attaching heavy mounts to the shell — follow their instructions to avoid voiding crash protection.
- Prefer purpose-built helmet mounts and low-profile cameras for helmet use. The Insta360 GO 3S bundle includes an in-helmet POV mount and a magnet pendant — but note the product facts warn against wearing the magnet pendant if you have a pacemaker. Magnetic mounting can be convenient but carries medical and retention considerations.
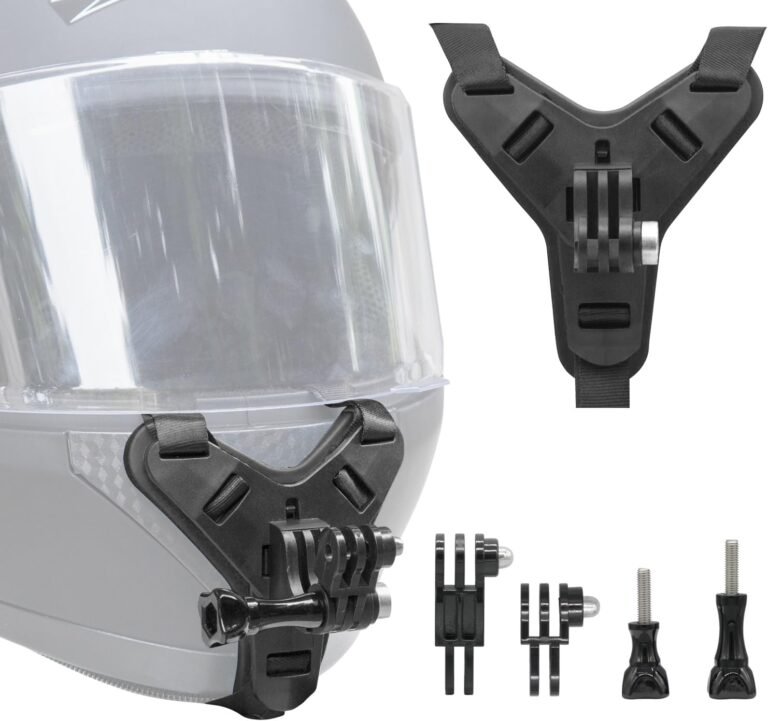
- Chin mounts and straps (example: the Haoyou Helmet Chin Mount Strap) exist to place the camera lower on full-face helmets; they may offer stable POV but confirm fit with your specific helmet model.
- For handlebar or tank mounting, use vibration-damping mounts rated for motorcycle use. Make sure bolts, straps or adhesives are secure and re-check tightness before every ride.
Finally, test each mounting position at low speed before committing to highway rides. A loose mount mid-ride is a crash risk and a camera loss risk.
Audio and wind: realistic expectations and solutions
Good-looking footage can still be ruined by unusable audio on a motorcycle. Wind noise is the primary culprit. Consider these practical approaches:
- Microphone options: Some cameras accept external mics or provide a wind muff in their bundles — the Insta360 GO 3S In-Helmet POV Bundle includes a mic wind muff to address wind noise. AKASO EK7000 Pro supports an external mic (not included), but note the waterproof case can prevent the camera from recording sound while in the case.
- Helmet-mounted mics and Bluetooth: For vlogging with clear voice audio, use a helmet-worn mic routed into a recorder or a Bluetooth solution designed for helmets. These systems are separate from the camera and often produce better voice clarity.
- Post-processing: Noise reduction and equalization can help but cannot fully restore heavily wind‑distorted speech. Aim to reduce wind at the source where possible.
Plan for audio from the start. If voice and ambient sound matter, prioritize cameras with external mic support or bundle accessories that address wind noise.
Power, storage and practical recording logistics
Battery life and storage are straightforward but frequently overlooked. When assessing a camera, confirm the following claims with the manufacturer if the product page is vague:
- Actual usable runtime: Manufacturers often quote runtimes in conservative conditions. The Insta360 GO 3S bundle claims a 140-minute battery life for the Action Pod/camera system. AKASO EK7000 Pro ships with two 1350mAh batteries each claimed up to 140 minutes — a practical plus for longer rides. Tiny cams may advertise long runtimes at lower resolutions; verify runtimes at the resolution/frame rate you plan to use.
- Recording while charging: Some cameras support recording while plugged in; the Insta360 GO 3S notes support for charging while shooting. This is useful for long track days or multi-hour rides when you can rig a power source.
- Storage needs: High-resolution and high-bit-rate recording consume microSD space quickly. Confirm supported microSD card classes (U3 or higher is commonly recommended) and whether a card is included (some bundles include cards — check the product facts).
For multi-day trips, bring spare batteries and a reliable card rotation plan. Always format new cards in the camera before use, as many manufacturers recommend.
Software features and post-production trade-offs
Software can extend what a camera delivers, but it won’t replace poor footage. Decide how much post-production time you want to spend.
- Auto-editing and templates: Cameras like the Insta360 GO 3S advertise AI auto-editing and instant app preview features to speed social clips. These help for quick uploads but give less control than manual editing.
- Reframe workflows: 360 cameras (AKASO 360) shine when you want to shoot first and choose angles later. That flexibility is great for creative edits, but it relies on strong in-app or desktop software and larger storage requirements.
- Horizon correction: Look for Horizon Lock or similar features if you want level footage without manual rotation — the Insta360 GO 3S includes Horizon Lock in its feature list.
Choose software features that match your editing comfort. If you want quick social-ready clips, prioritize cameras with robust auto-editing; if you prefer full control, prioritize raw capture modes and higher bitrates (confirm with the manufacturer).
Practical buying tiers with example matches
To convert features into a purchase decision, here’s a simple three-tier approach with product examples from the supplied facts:
- Entry / budget: Purpose: riders who want a working 4K camera with many mounts for casual riding. Example: AKASO EK7000 Pro — offers 4K30, EIS, two batteries and a wide accessory kit. Trade-offs: audio in waterproof case and non-waterproof remote.
- Mid-range / versatile: Purpose: riders who want better stabilization, small form factor for helmet use and practical controls. Example: Insta360 GO 3S In‑Helmet POV Bundle — tiny 4K camera, FlowState stabilization, Action Pod with 2.2″ flip screen, and a mic wind muff. Trade-offs: pod is IPX4 (less water resistant than camera) and magnetic mounting carries cautions.
- Creative / immersive: Purpose: riders who want to capture everything and reframe later or make immersive edits. Example: AKASO 360 — 5.7K 360° video, AI tracking and shoot-first/reframe workflows. Trade-offs: higher storage needs and unspecified practical mounting or ruggedness details — verify battery and waterproof ratings before front-line motorcycle use.
Use the tier that matches how much time you’ll spend editing and how important immediate, reliable helmet mounting is to your setup.
How to test and set up your camera safely before real rides
Before taking your new camera on a highway ride, run a small validation checklist:
- Mount and tension test: install the camera in its intended location, then ride slow in a parking lot or quiet street to check for movement, vibration and interference with helmet function.
- Angle and framing: record short clips while turning your head and leaning to see how the camera frames corners and passes. Adjust FOV or mounting position as needed.
- Audio check: speak at riding speeds and try helmet-mounted microphone setups. Test wind muff effectiveness if provided.
- Battery and storage: record at your intended settings for at least 30–60 minutes and verify estimated battery life and heat buildup. Make sure your microSD card writes reliably and is the recommended class for the camera.
- Emergency removal: make sure you can remove the camera quickly if required and that mounts don’t create additional hazards in a crash scenario.
These tests catch most practical problems that are otherwise only discovered mid-ride.