riderinstinct
Understand what 'body armour' actually covers
Body armour for motorcycling is a category of products ranging from thin removable inserts that fit into jacket pockets to full chest-and-back vests and multi-piece full-body suits. The most common targets are shoulders, elbows, back/spine and chest; some kits add knee/shin protection and tailbone pads.
Before you pick a product, list the areas you care about: for street commuting you may prioritize a CE-certified back insert and shoulder/elbow pads you can tuck into your textile jacket. Off-road riders often choose a ventilated chest protector or full armored vest to protect from roost and crashes. Racers and aggressive riders look for certified, high-energy rated components even if they are bulkier.
Decision framework: Protection, fit and comfort trade-offs
Choosing body armour means balancing three core needs:
- Protection — how much impact energy the armour can absorb and how much area it covers.
- Fit and compatibility — whether the armour sits over the bones it should protect and works with your jacket or clothing.
- Comfort and ventilation — how hot or restrictive the armour is during real rides.
There is rarely a free lunch: thicker, certified back protectors usually give better impact performance but are harder to tuck into slim-fitting jackets and can reduce ventilation. Conversely, thin foam inserts or lightweight vests are comfortable and breathable but may not have certified high-energy performance. Decide which of the three dimensions is most important for your riding and accept reasonable compromises on the others.
Types of body armour and where each makes sense
Key types:
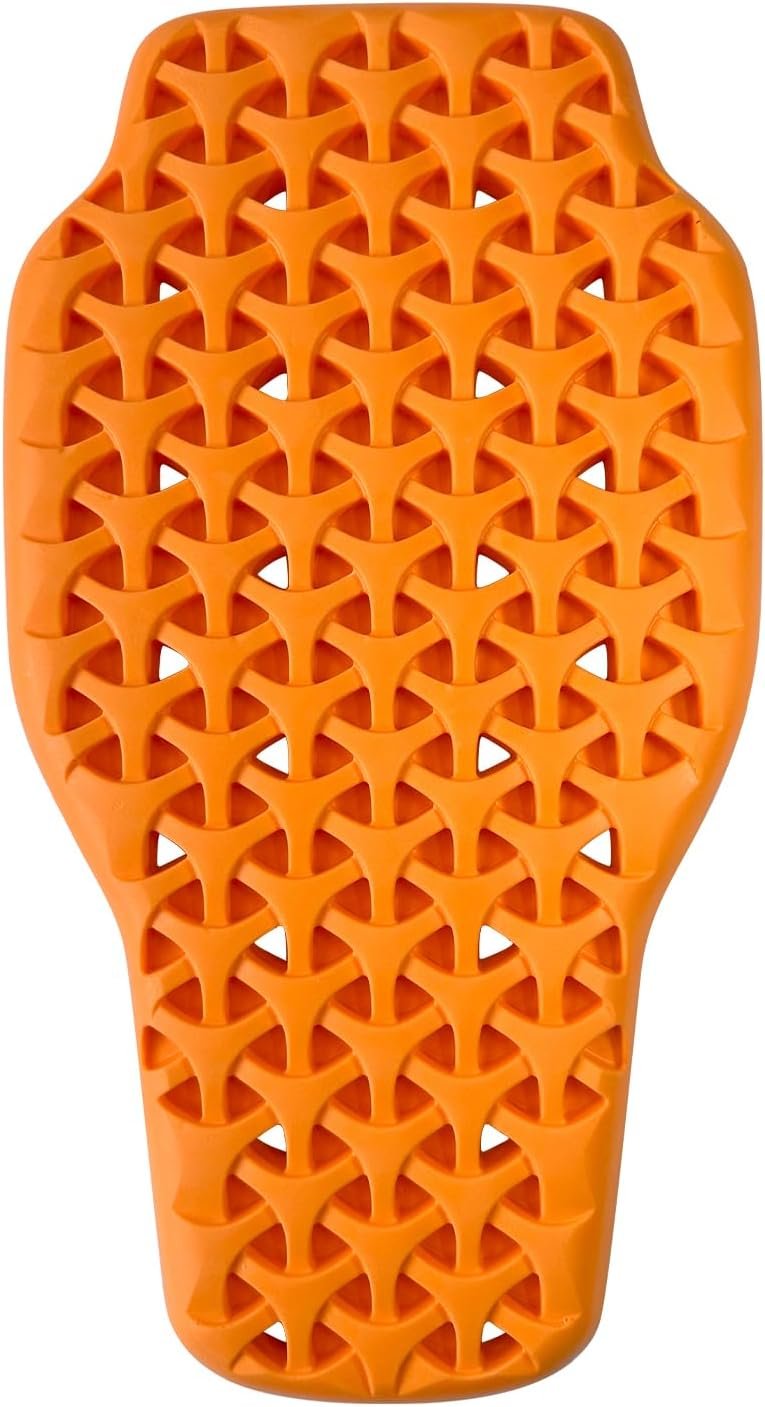
- Removable jacket inserts — shoulder, elbow and back pads designed to slot into pockets of motorcycle jackets. Best when you already own a jacket with pockets and want modular protection.
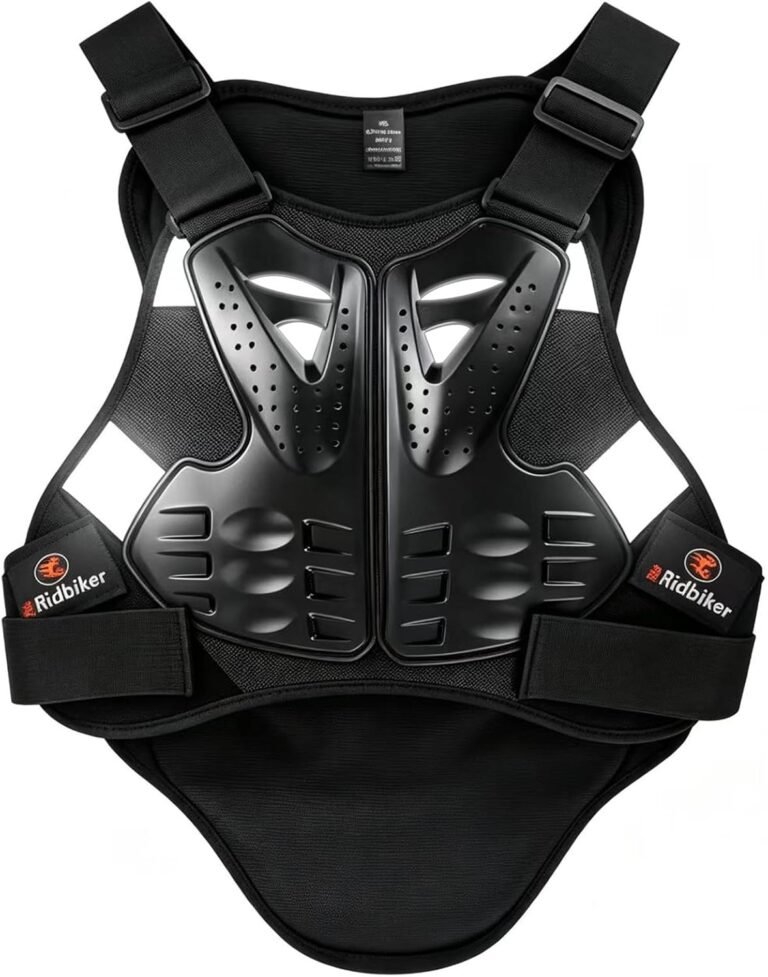
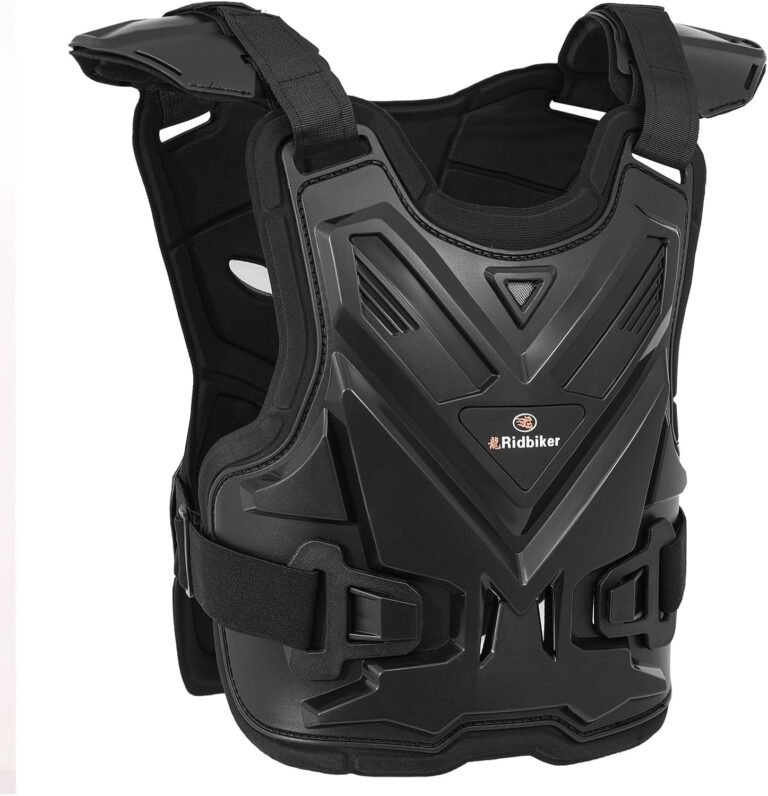
- Chest/back vests — standalone garments that offer more coverage and often better chest protection than jacket inserts; many are ventilated for off-road use.
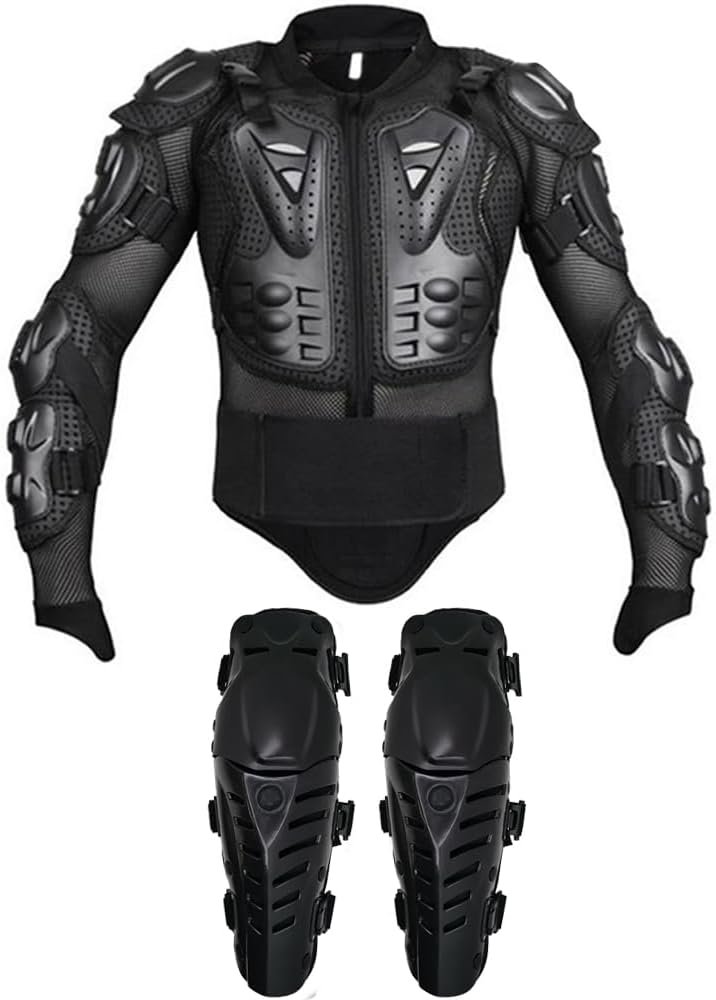
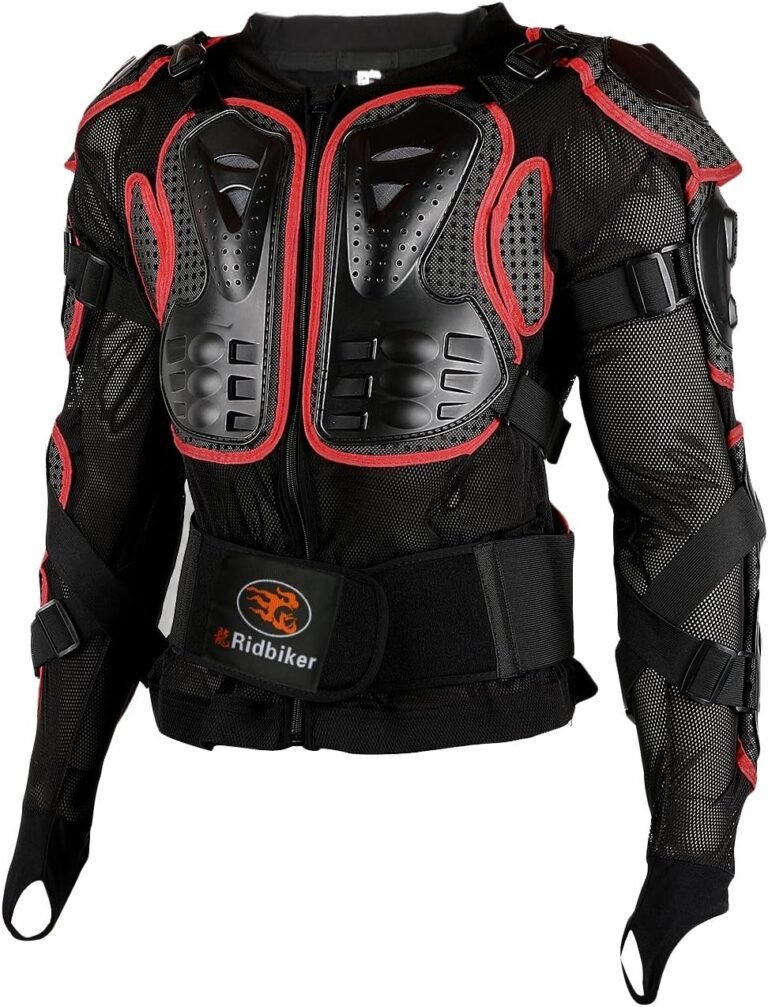
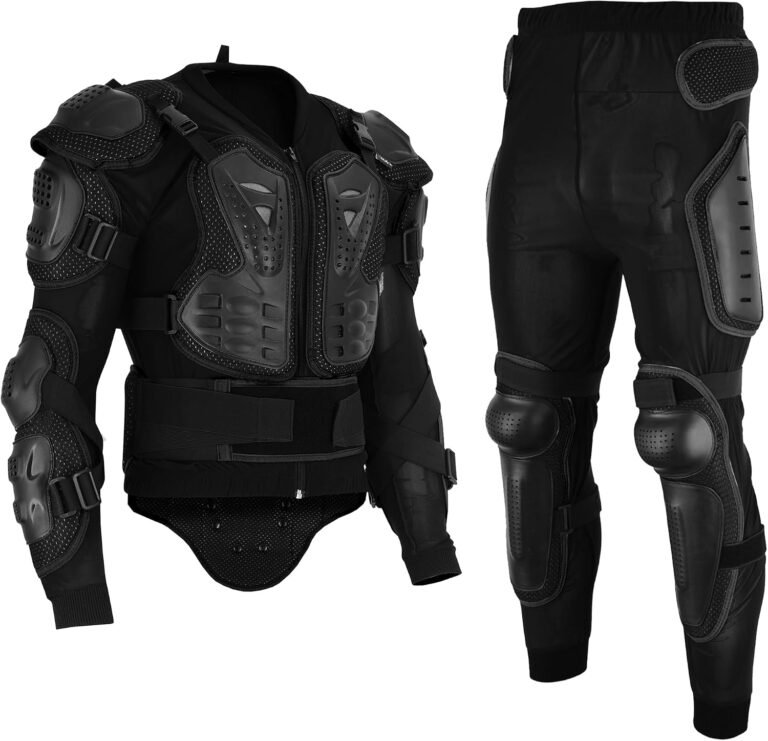
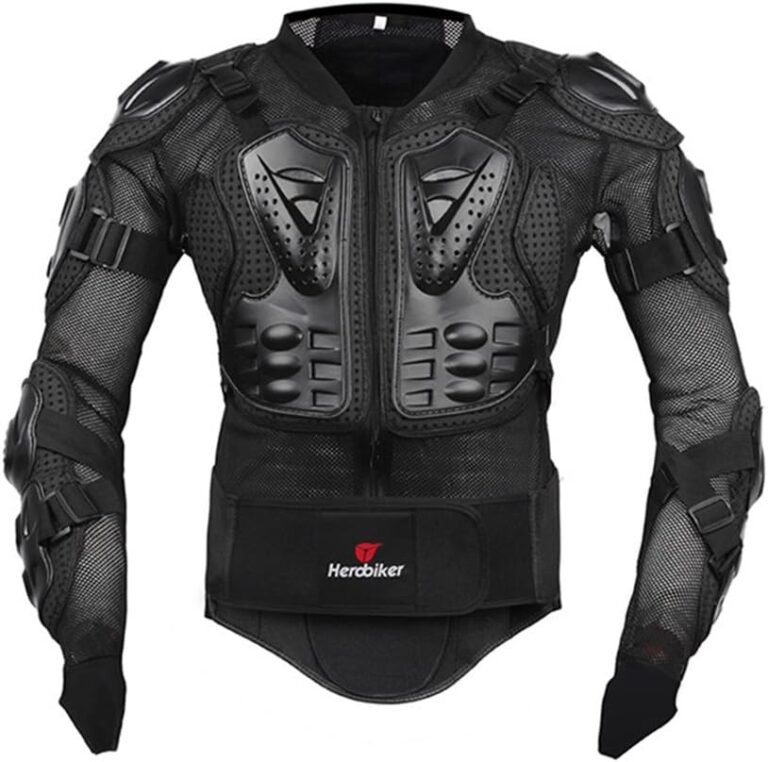
- Full armored jackets and suits — integrated protection across multiple zones; heavier but more cohesive and often feature certified components.
- Multi-piece sets — separate chest, back and limb protectors that can be mixed and matched.
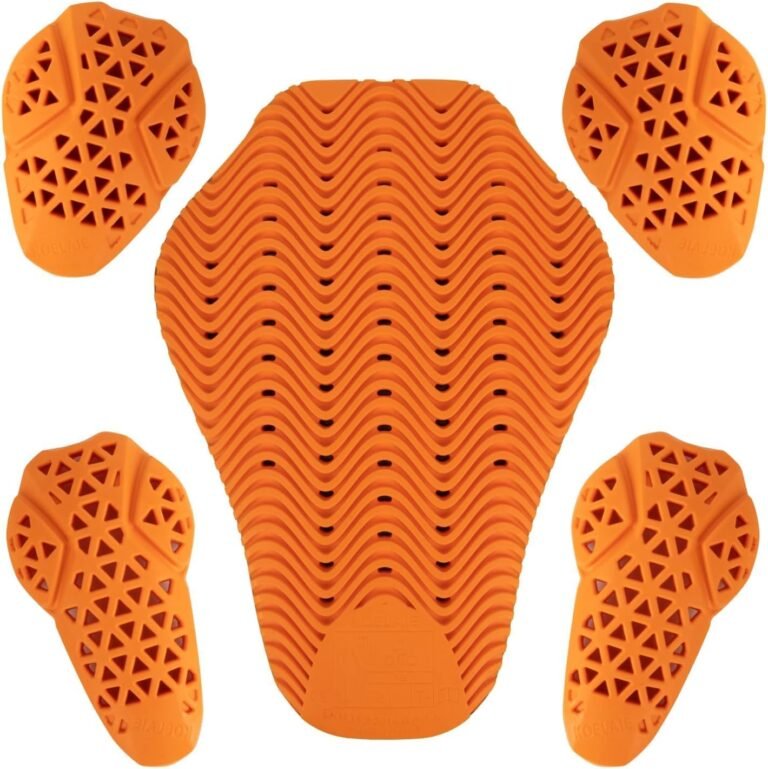
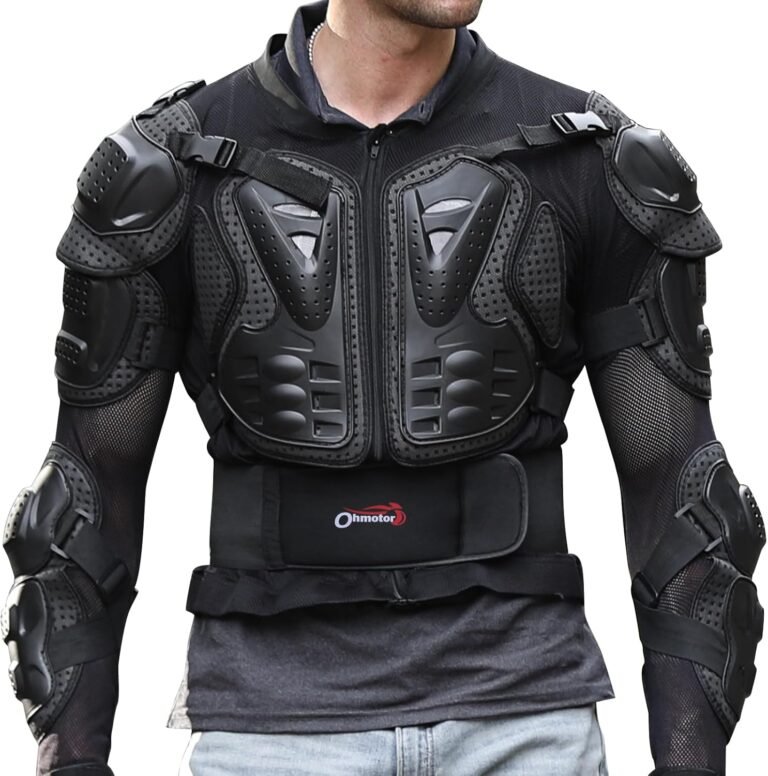
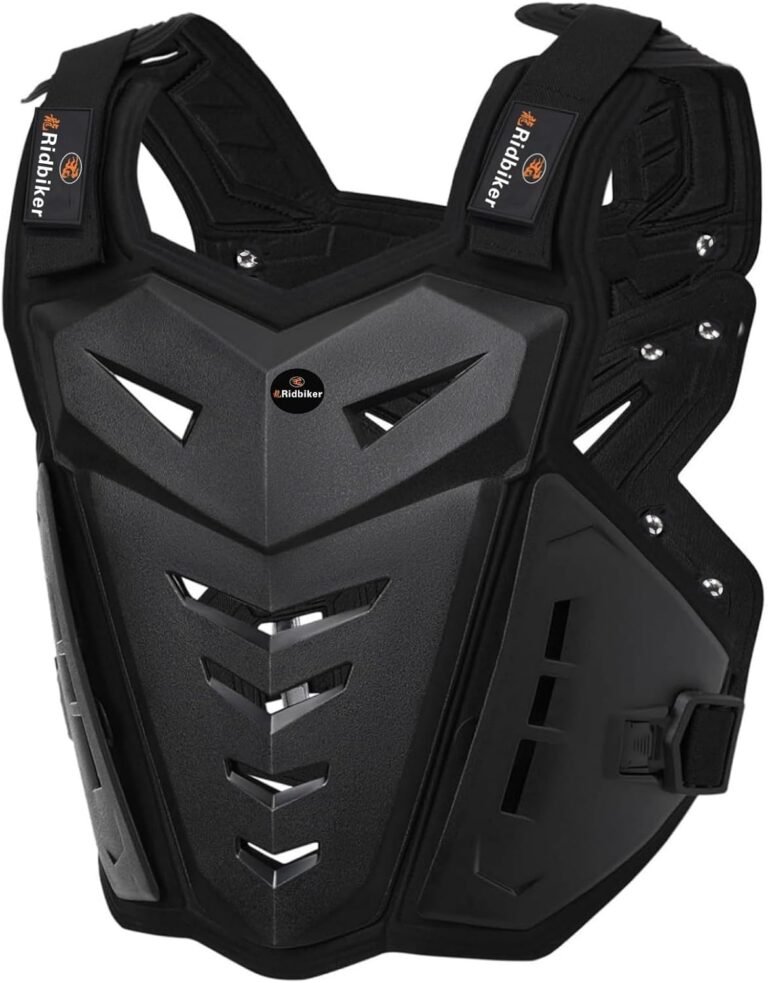
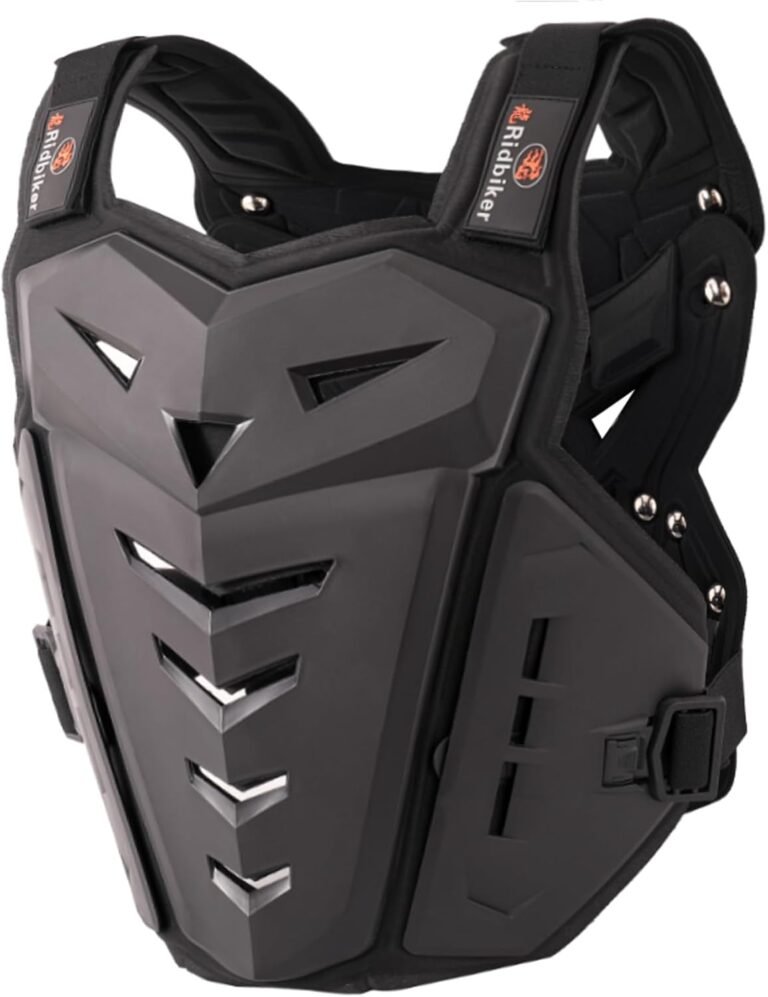
Examples from the supplied product facts: the PSLER 5PCS set provides CE Level 2 back + shoulder + elbow inserts for use inside a jacket, while products like the OHMOTOR full-body protective jacket and RIDBIKER chest protector are standalone garments aimed at off-road or multi-sport use. The lightweight chest/back vest reviewed in our saved content is an example of low-bulk coverage for everyday or multi-sport use.
Certification and safety: what to look for (and verify)
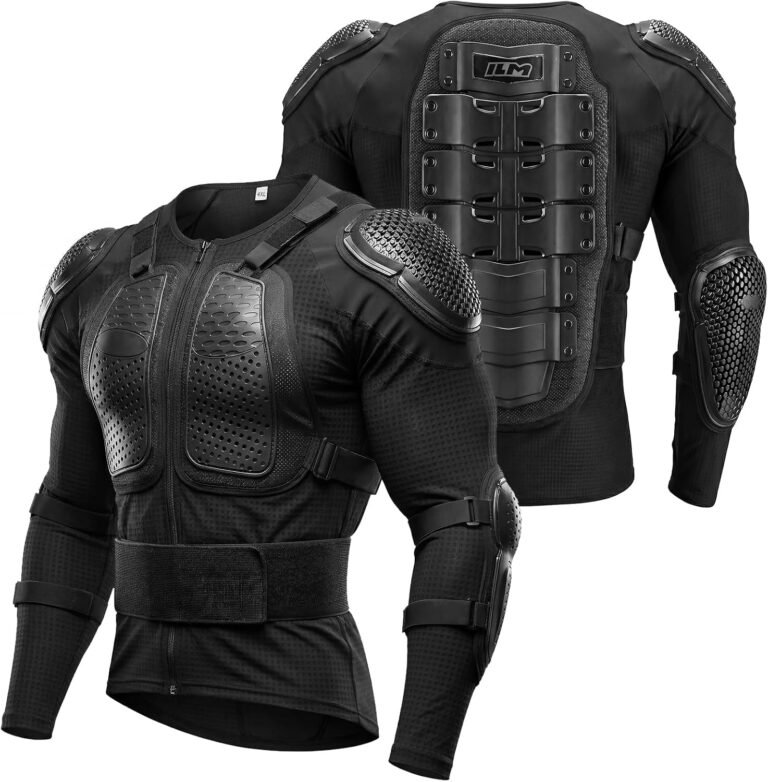
Certification—especially CE armor ratings in the EU—is a useful indicator of tested performance. CE Level 2 is commonly cited as providing stronger impact protection than Level 1. Two of the supplied items explicitly reference CE Level 2: the PSLER 5PCS CE Level 2 motorcycle armor set and the ILM full body armor jacket mention CE Level 2 components.
Important notes:
- Certification is only meaningful if it is supported by test documentation. Ask the seller for the test standard they used (for back protectors you might see EN 1621-2; shoulder/elbow inserts usually reference EN 1621-1) and the test lab report or marking.
- Sourcing: some products advertise CE levels in their listing copy. If certification is critical for your riding (track days, professional use), verify the certificate number and the specific standard rather than relying solely on marketing text.
If the listing does not supply a verifiable certificate, treat the protection claims as unverified and plan accordingly.
Materials and construction that matter
Common construction choices you’ll see in product descriptions:
- Hard shells (PP/PE) — polypropylene (PP) or polyethylene (PE) shells add abrasion resistance and spread loads across the surface. Many chest and vest protectors use injection-molded PP shells.
- Foam layers (EVA, PU memory foam, TPE) — foams absorb impact energy. EVA is common for mid-range products; PU memory foam claims comfort and return-to-shape; TPE is used in some CE-rated inserts for balance between flexibility and impact resistance.
- Hybrid designs — layered systems (hard outer shell + foam inner layers) are common and perform well for roost and lower-energy impacts.
Use the material information to judge abrasion resistance and comfort, but don’t assume a material name alone guarantees certification—cross-check with any stated CE level.
Sizing, fit and compatibility with jackets
Fit is the single most important practical factor. Armour that moves out of place during a crash can fail to protect the intended anatomy.
Practical fit rules:
- The top of a back protector should sit between and slightly below your shoulder blades, and extend down enough to protect the thoracic spine. If a back pad is too small it may sit too high or too low.
- Elbow and shoulder pads must cover the joint and stay over the bone in normal riding posture—test them in riding position.
- Chest protectors should cover the sternum and not ride up when you lean forward.
If you plan to insert pads into a textile jacket, verify the size and shape of the jacket’s armour pockets and whether the pad you’re considering will actually fit. For example, the PSLER description notes that its back protector is larger and thicker and offers both a ventilated side and a cloth-padded side for different seasons—so check whether the size (the listing mentions size L) will tuck into your jacket. If it won’t, you may need a smaller size or a different solution.
Mapping products to riding use-cases
Here’s how to match the product type to common use-cases:
- Urban commuting and light sport street riding: A CE-certified back insert plus shoulder/elbow inserts that fit your jacket gives a good balance of protection, comfort and concealability. Where available, look for CE Level 2 inserts.
- Adventure and touring: Consider layered options—removable inserts for cooler days, and a ventilated vest or jacket for hot weather. Ensure long-ride comfort and compatibility with base-layers.
- Off-road and motocross: Standalone chest/back vests like the RIDBIKER chest protector, or full chest-and-shoulder vests (OHMOTOR, RIDBIKER, ILM/ILM-JA1 style jackets) are common. They usually prioritize ventilation and abrasion resistance and often include tailbone protection.
- Multi-sport and casual riders: Lightweight chest/back vests (the Motorcycle Body Armor Vest product in our saved content) are low-bulk and suitable for multi-sport uses but note the absence of published certification in that example.
When comparing specific listed products, consider the intended use listed in the product details and any certification claims. For example, the PSLER 5PCS set is a CE Level 2 insert kit intended for jacket insertion; OHMOTOR and RIDBIKER offer full vests/jackets aimed at off-road and multi-purpose protection. Follow the internal product pages for full specs and sizing options before buying.
Comfort, ventilation and seasonality
Comfort determines whether you will actually wear the armour. Ventilation and seasonal adaptability matter for all-day riding.
- Look for vented shells, breathable mesh bases and thinner inserts for hot-weather riding.
- Some products, like the PSLER back protector, note a dual-sided design: one side ventilated for summer and the other side with extra cushioning for warmth. That illustrates a practical trade-off—more padding adds warmth and bulk but may be useful in cool weather.
- Standalone vests often provide the best airflow for off-road use because they sit away from your torso and incorporate large vents.
Decide whether you need year-round armour or multiple systems: a thin set of CE-rated inserts for summer and a thicker protected jacket or vest for cold-weather rides can be a good solution.
Inspection, lifespan and when to replace armour
Armour isn’t permanent. Replace armour if it sustains a significant impact, shows cracks in hard shells, or visible crushing/tearing in foam that reduces its ability to absorb energy.
Practical inspection checklist:
- Look for hairline cracks in hard shells.
- Compress foam; if it does not rebound or shows permanent deformation, replace it.
- Check straps, buckles and stitching for wear—these affect fit and therefore protection.
After a crash, even if the armour looks superficially intact, consider replacement or professional inspection because internal damage can be invisible. Where exact replacement intervals or load-bearing values matter, verify the manufacturer documentation for their specific guidance.
How to buy: a practical step-by-step process
Follow this buying flow to avoid common mistakes:
- Define your priority (commute, track, off-road, multi-sport).
- Decide which body zones you need covered and whether you want standalone or jacket inserts.
- Confirm compatibility with your jacket—measure your jacket pockets or try pads in store.
- Check certification claims and ask for test standards/certificates for CE-rated parts.
- Try the armour in a riding posture (reach forward, crouch slightly). Ensure pads stay over the bones they’re meant to cover.
- Consider ventilation and the need for multiple systems for seasonality.
- Buy from a retailer with a clear return policy and make sure you can exchange sizes.
Use the checklist at the end of this guide when you shop online or in-store.