riderinstinct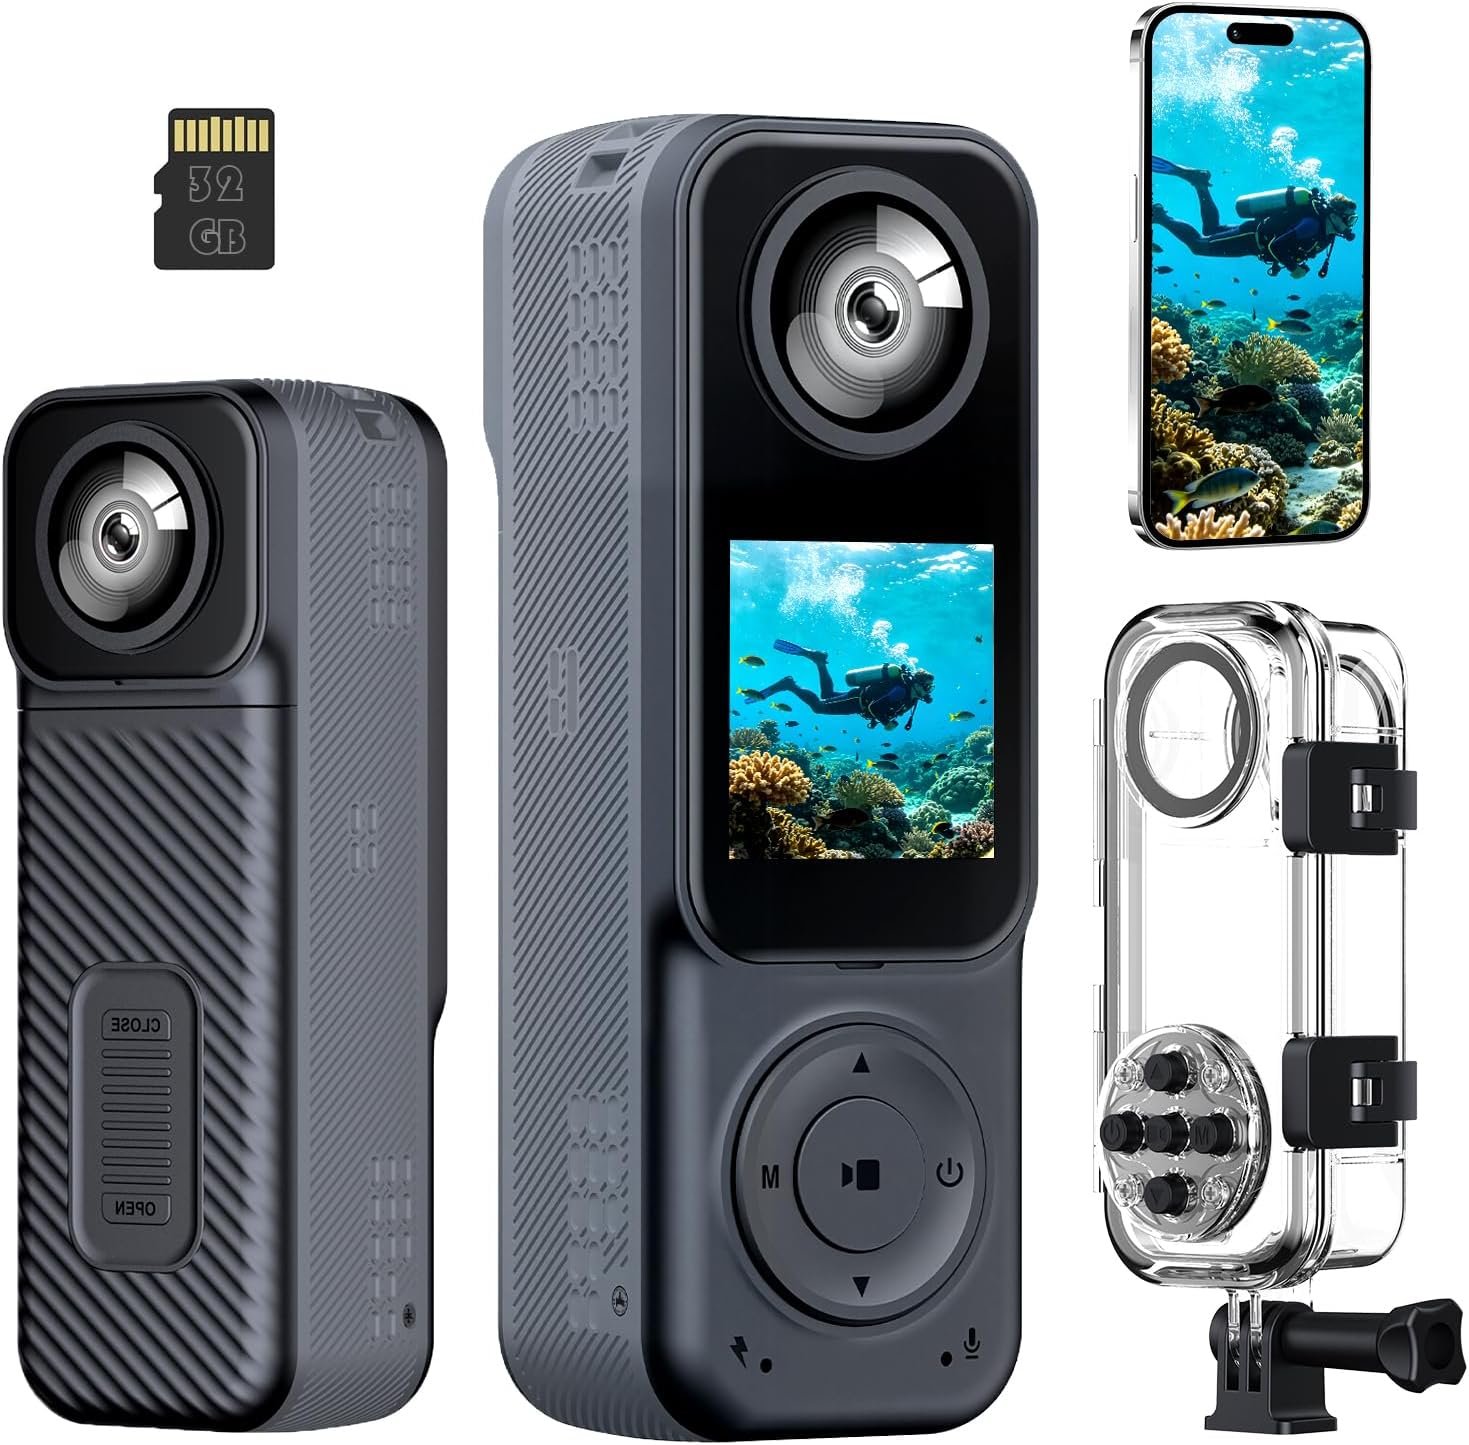
How to think about picking an action camera for motorcycle use
Start by deciding the single most common way you’ll use the camera. Every choice is a trade-off: higher resolution and specialty modes often cost battery life and increase file sizes; smaller cameras are easier to mount but may lack weatherproofing or high-quality stabilization. Before looking at models, answer: Am I recording daily commutes and incidents, capturing scenic group rides, producing social media clips, or filming high-speed track runs?
This single prioritization shapes everything that follows: stabilization needs, mounting style, waterproofing expectations and whether you should plan to add external microphones or spare batteries. Treat product spec sheets as a checklist rather than the final answer—confirm mount compatibility, stabilization performance at speed, microphone behavior with housings, and verified waterproof ratings from the manufacturer.
Which riders need which features (use-case mapping)
Different riding styles place different demands on an action camera. Here’s a quick mapping to help prioritize features:
- Commuters / everyday riders: Reliable, easy-to-use camera for dashcam-style recording and occasional scenic clips. Priorities: run‑and‑forget mounting, decent stabilization, loop/incident recording and long battery life or easy charging.
- Sport and track riders: High-speed vibrations and quick direction changes. Priorities: best-possible stabilization (mechanical or proven EIS), low-profile secure mounts, minimal wind buffeting; audio is often secondary.
- Adventure / touring riders: Long days, variable weather and need for multiple mounting points (helmet, bars, luggage). Priorities: ruggedness, reliable waterproofing, spare batteries/charging, good battery life and flexible mounting options.
- Vloggers / content creators: Flexible framing, front-facing screens, good onboard audio (or support for external mics), or dual/360 cameras for creative options.
Knowing which category you primarily fall into will let you treat other features as secondary conveniences rather than must-haves.
Features that actually matter on the road (and what to check)
Specifications that look impressive in marketing often don’t solve real riding problems. Focus on these features and verify the specifics before you buy:
- Stabilization: Effective stabilization (optical or high-quality electronic stabilization) has the biggest impact on usable footage. Product pages that don’t state stabilization performance should be treated cautiously—ask the seller for sample footage recorded at riding speeds.
- Mount compatibility and mount quality: Check whether the camera comes with motorcycle/helmet mounts, and whether the connectors match GoPro-style thumbscrews or proprietary mounts. Secure attachment and a proven quick‑release system matter for safety and convenience.
- Waterproofing and housings: Confirm the camera’s waterproof depth rating and whether the housing disables the mic. Many supplied waterproof cases protect well but prevent onboard audio—plan accordingly.
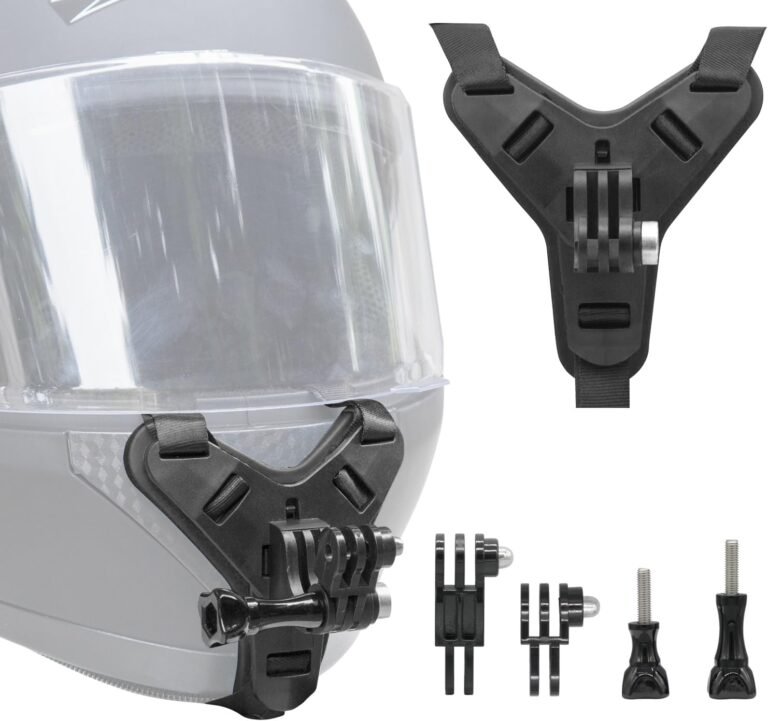
- Field of view (FOV) and lens position: Wide FOV captures scenery and other road users but can exaggerate speed and distort perspective. Helmet chin mounts provide a natural rider viewpoint—ensure compatibility and use a tether.
- Audio options: Onboard microphones are often compromised by wind and housings. If you need narrative audio or riding commentary, look for external mic support or dedicated helmet mics.
- Battery life and spare power: Real-world runtime depends on resolution, frame rate and stabilization. For long rides, you will likely need spare batteries or a USB power solution.
- Storage and file system: Choose cameras supporting UHS‑I U3 microSDXC cards for high-bitrate 4K recording; confirm the maximum supported card size and whether a card is included.
For safety-critical values like exact mounting torque, adhesive curing times, or certified load ratings, consult the helmet and mount manufacturer documentation before use.
Mounting and helmet-safety considerations
Mount choice is as important as camera choice. Bad mounting causes lost footage, damaged cameras, and worst-case, helmet damage. Consider these principles:
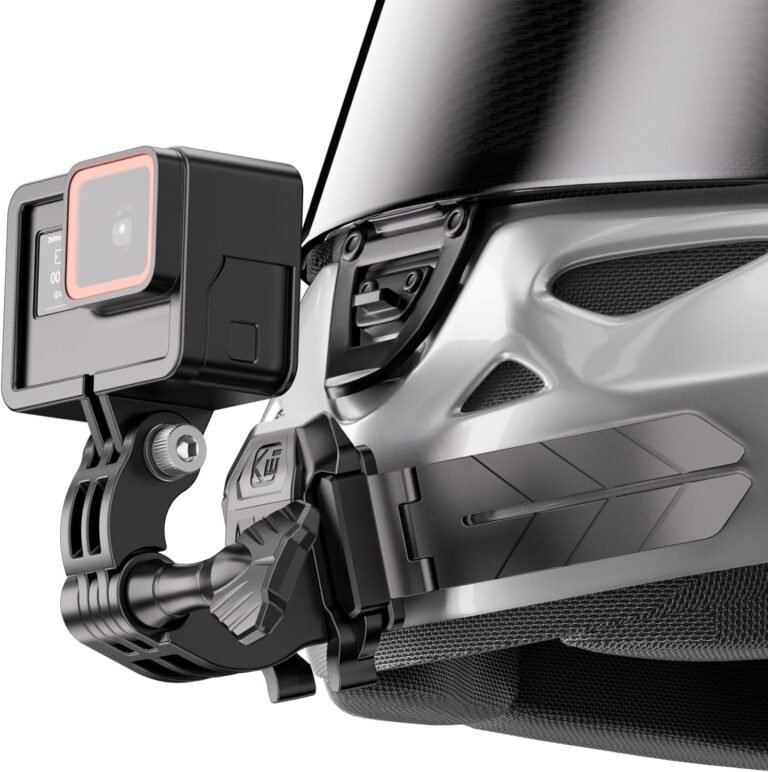
- Adhesive mounts: Widely used for chin or top-of-helmet POVs. They’re lightweight and low-profile but depend on correct surface prep, heat-cure and a secure tether. Follow the mount maker’s installation instructions—many recommend warming the adhesive and a 24-hour cure time.
- Chin vs top mount: Chin mounts give a rider’s-eye perspective and better context for lane position; top mounts are lower profile but can miss the handlebars. Use a mount designed for your helmet shape.
- Quick-release and mechanical clamps: These can be preferable for riders who swap cameras often; mechanical clamps avoid adhesive failure but must be tested for compatibility and aerodynamic drag.
- Safety tether: Always use a tether as a backup to adhesive mounts—adhesives can fail from heat, contaminants or age.
- Aerodynamics and noise: Any mount changes helmet aerodynamics. Test at low speed before committing to an installation and watch for new buffeting or noise that affects riding safety.
Example product: the Kewig Universal Motorcycle Helmet Chin Camera Mount is an adhesive chin mount with a bendable base, snap-fit quick-release adapter and safety tether. Its product notes stress careful surface prep, warming adhesive, a 24-hour cure and use of a tether—good practice riders should follow. See the Kewig chin mount review for details.
Setting up for good footage: practical settings and habits
Settings choices determine usable footage. In most motorcycle shooting situations these practical choices help:
- Frame rate: For fast motion and later slow-motion, choose 60fps or higher where available. For cinematic look and smaller files, 30fps is acceptable for scenic touring. Higher frame rates increase file sizes and reduce battery life.
- Resolution vs usability: 4K provides more detail and cropping headroom, but 1080p at higher frame rates often yields smoother-looking footage with smaller files—use the resolution appropriate to your editing workflow and storage plan.
- Field of view and horizon: Avoid the widest, most fisheye-like settings if you want realistic perspective—select adjustable FOVs when available to reduce distortion and capture more natural-looking speed.
- Orientation and mounting angle: Slightly downward tilt on helmet mounts reduces excessive sky and captures the road. Test and record short clips at low speed to preview framing.
- File management: Use high-quality U3 microSD cards and format them in-camera. Keep spare formatted cards and a plan for offloading footage during multi-day rides.
When exact numeric settings (bitrate, official runtime at given settings) are relevant to safety or planning, verify them in the camera’s manual or manufacturer documentation.
Audio, microphone options and privacy concerns
Audio is often the weakest link for motorcycle footage because wind noise and housings degrade microphones. Consider these points:
- Onboard mics vs external mics: Many cameras can accept external microphones when not in a waterproof housing. If you want useful narration or conversation, budget for a compatible external mic or a helmet-mounted microphone system.
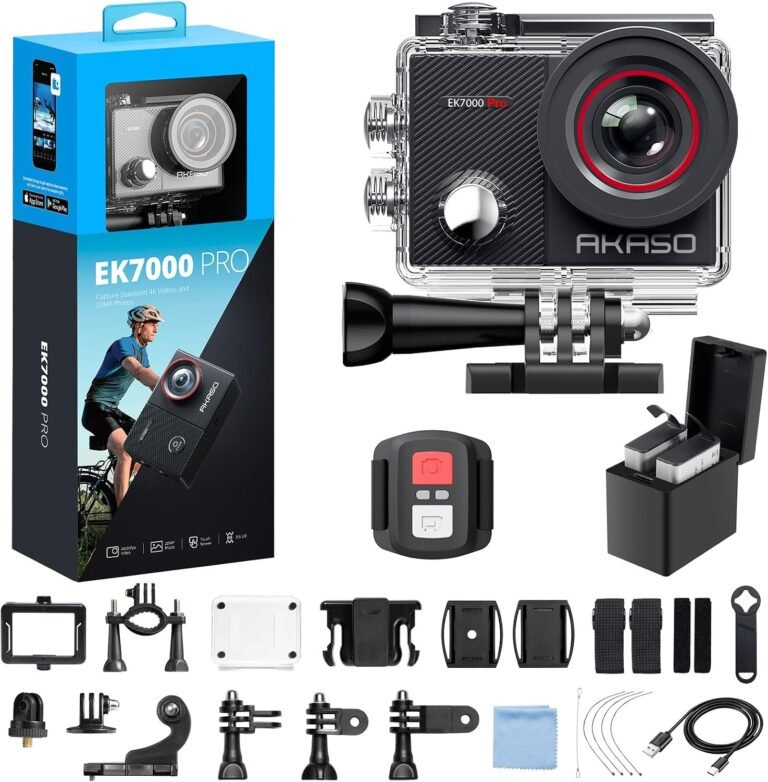
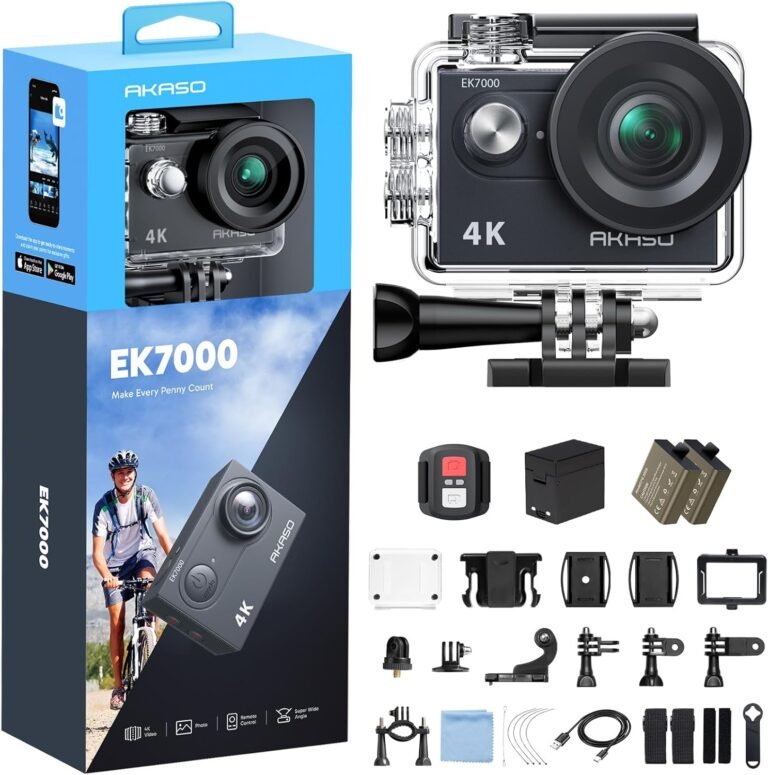
- Waterproof cases and audio: Some waterproof housings block audio entirely. Check the product facts: for example, AKASO EK7000 and EK7000 Pro notes state the camera does not record sound when inside the waterproof case, and an external mic is supported but sold separately.
- Wind noise strategies: Small foam windshields, mic placement behind the chin bar, or using a dedicated helmet comm system with mic can improve voice clarity. Test at riding speeds before relying on any solution for commentary.
- Privacy and local laws: Recording other people can have legal implications. Check local laws regarding audio and video recording in public, and avoid capturing private conversations without consent.
Power, storage and practical ride planning
Long rides or multi-day tours require deliberate power and storage planning:
- Spare batteries: Many kits include spare batteries (for example, the AKASO EK7000 Pro ships with two 1350mAh batteries; other AKASO kits include two 1050mAh batteries). If you ride full days, carry spares or a USB power bank and an in-ride charging solution.
- Memory cards: Use UHS‑I U3 microSDXC cards for 4K recording. Confirm the camera’s maximum supported card size and format the card in the camera before use.
- On-the-road offload: Plan how you’ll offload footage each day—laptop, mobile device or dedicated reader. Apps make quick offloads possible but can be slow with large 4K files.
- Charging while riding: If you expect to power a camera from the bike (USB power), confirm voltage and current requirements in the camera manual. For safety-critical charging specs (voltages, connector pinouts), rely on the motorcycle and camera manufacturer documentation rather than third-party claims.
Budget trade-offs and product examples for riders
Budget cameras now offer compelling features, but you must match limitations to your use case. Below are examples from RiderInstinct’s product facts and reviews along with who they suit and key limitations to verify before buying.
- AKASO EK7000 / EK7000 Pro
Why it fits: Budget 4K-capable cameras with Electronic Image Stabilization (EIS), waterproof housings rated to 131 ft (40 m) and comprehensive accessories including helmet mounts and spare batteries. The EK7000 Pro adds a touch screen and larger batteries in some listings.
Who should buy: Riders on a budget who want 4K, EIS and an accessory kit ready for helmet or bar mounting and occasional water use.
What to verify: Onboard audio behavior inside housings (EK7000 listings note no audio when inside the waterproof case), remote waterproofing (wrist remotes are not waterproof), and the camera’s low‑light performance if you ride at dawn/dusk. See product pages: AKASO EK7000 Action Camera Review and AKASO EK7000 Pro Review.
- AKASO Brave 4
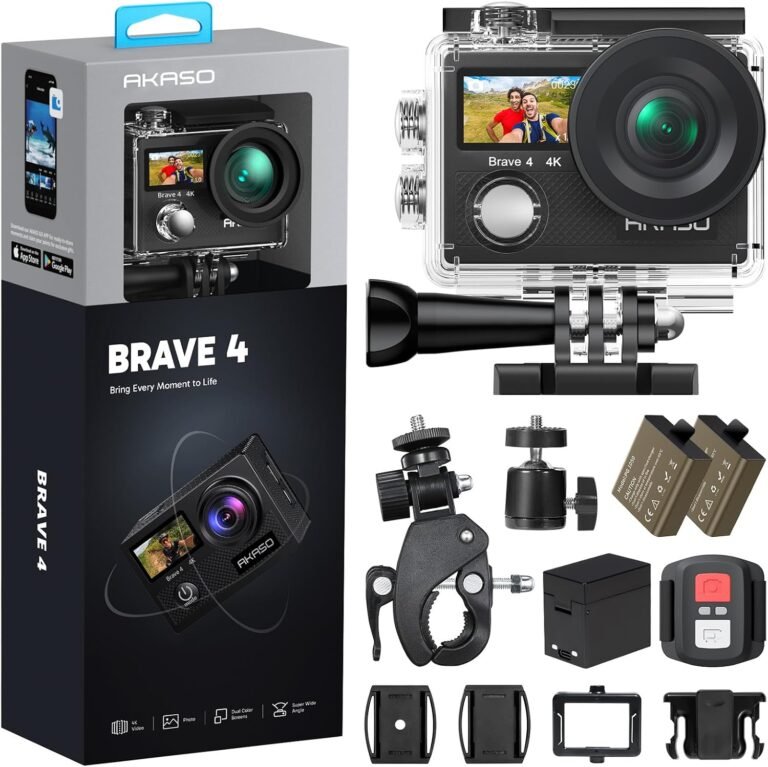
Why it fits: 4K, selectable FOV (170/140/110/70°), dual screens and a motorcycle/bicycle-optimized accessory kit. Good value for riders who want a ready-to-fit package with dual-screen framing and dual batteries.
Who should buy: Casual riders and hobbyists who want a kit that’s easy to mount and operate for social clips and daytime riding.
What to verify: Wrist remote waterproofing (the Brave 4 remote is not waterproof) and long-term durability for heavy-use touring. See the AKASO Brave 4 review for details.
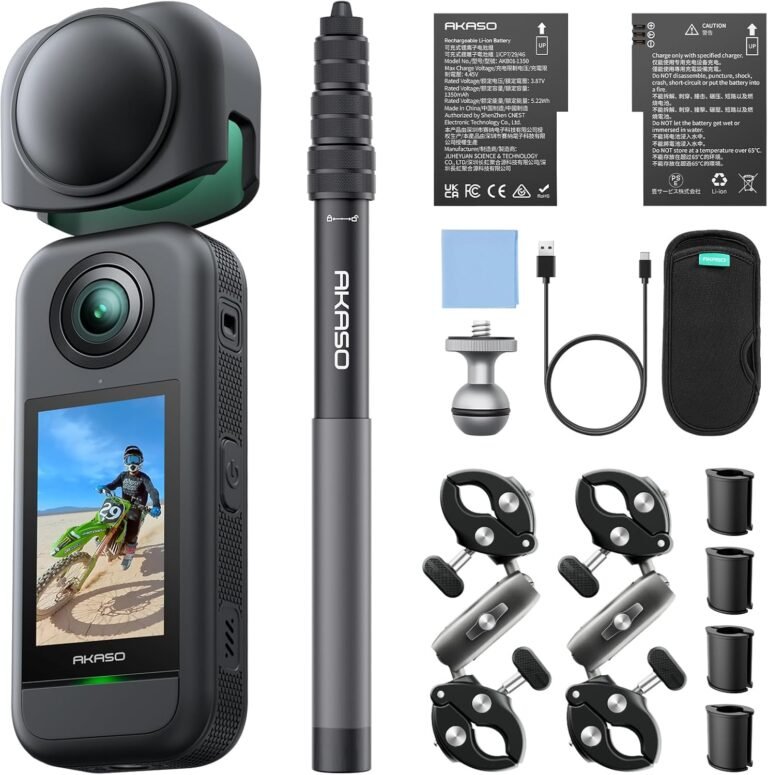
- AKASO 360
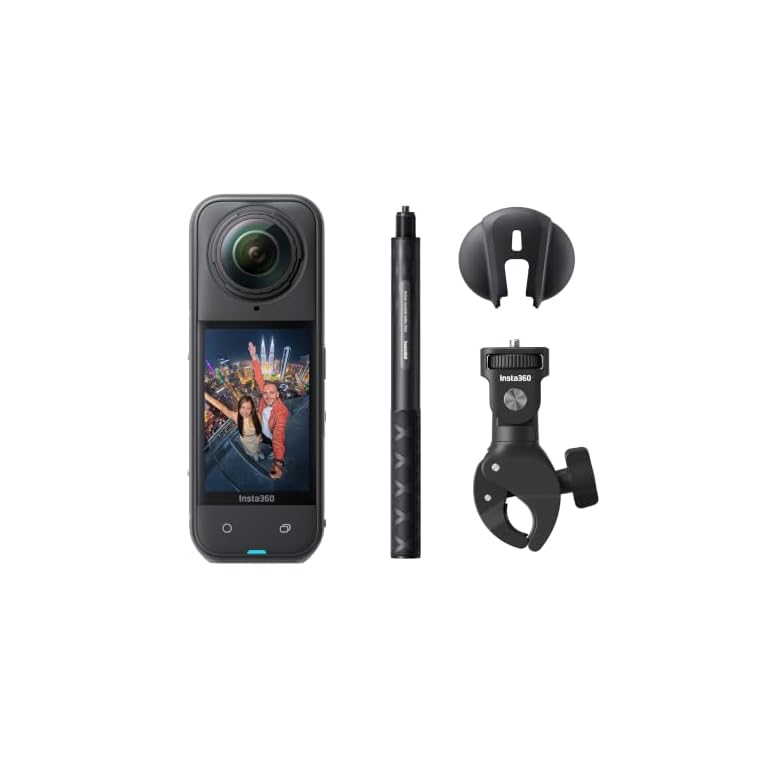
Why it fits: A 360° camera captures everything around you and lets you reframe later; the AKASO 360 advertises 5.7K 360 video, advanced stabilization and horizon lock—useful for creative riders and solo operators who want third-person or full-environment coverage.
Who should buy: Content creators and solo riders who want flexible framing and creative shots without a dedicated second shooter.
What to verify: Real-world stabilization at highway speeds and how the camera mounts to a helmet or bike; 360 workflows require more editing time and storage. See the AKASO 360 product page.
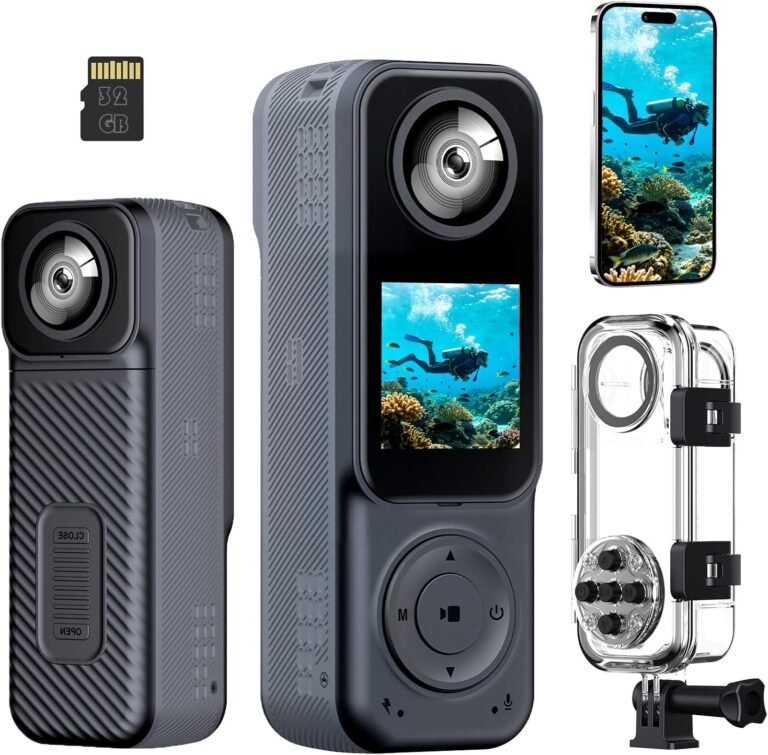
- Compact dual-lens body/handheld camera
Why it fits: A compact dual-lens 4K camera with included waterproof case and 32GB card offers flexibility for front-and-rear recording and travel vlogging out of the box.
Who should buy: Casual riders and travel vloggers who want a ready-to-shoot kit at modest cost.
What to verify: Stabilization performance at speed, exact waterproof rating, mount compatibility and whether the included case blocks onboard audio. See the 4K Handheld Vlogging Camera Body Cam review for vendor-provided details and limitations.
Budget cameras are good choices when you accept the known limitations and verify critical compatibility points. If high-speed helmet mounting, professional audio, or certified ruggedness are essential, plan to step up to higher-tier models or add accessories such as external mics and mechanical clamps.