riderinstinct
Why a clear charging plan matters
Charging on a motorcycle isn’t just about keeping your phone alive. The charging ecosystem includes the battery, the bike’s electrical output (alternator/stator and regulator/rectifier), any on-board device chargers, and off-bike solutions like battery maintainers and portable jump starters. A mismatch in any of these components can leave you stranded, damage electronics or shorten battery life.
Before buying anything, decide what problems you need to solve: do you want to power a GPS and phone on a daily commute, keep the battery healthy over winter, recover a deeply discharged battery, or add redundancy for long trips? Each need points to a different tool and different safety considerations.
Understand the core players: battery, alternator, regulator
The battery stores energy to start the bike and smooth voltage spikes; the stator/alternator produces AC power while the engine runs; and the regulator/rectifier turns that into steady DC at the correct voltage and limits charging current. Problems can arise when the alternator output is insufficient for accessories or the regulator/rectifier fails and allows over-voltage.
Practical points:
- Refer to your motorcycle manual for alternator output and recommended battery type—if you don’t have those numbers, check the manufacturer’s documentation before major changes.
- If you plan heavy accessory use (heated gear, large phone chargers, additional lighting), budget for their continuous current draw and consider whether the bike’s charging system can handle it.
- Voltage regulation failures are rare but serious; if you see sustained voltages above the manufacturer’s recommended range while running, stop and diagnose before continuing to ride.
Device charging while riding: options and trade-offs
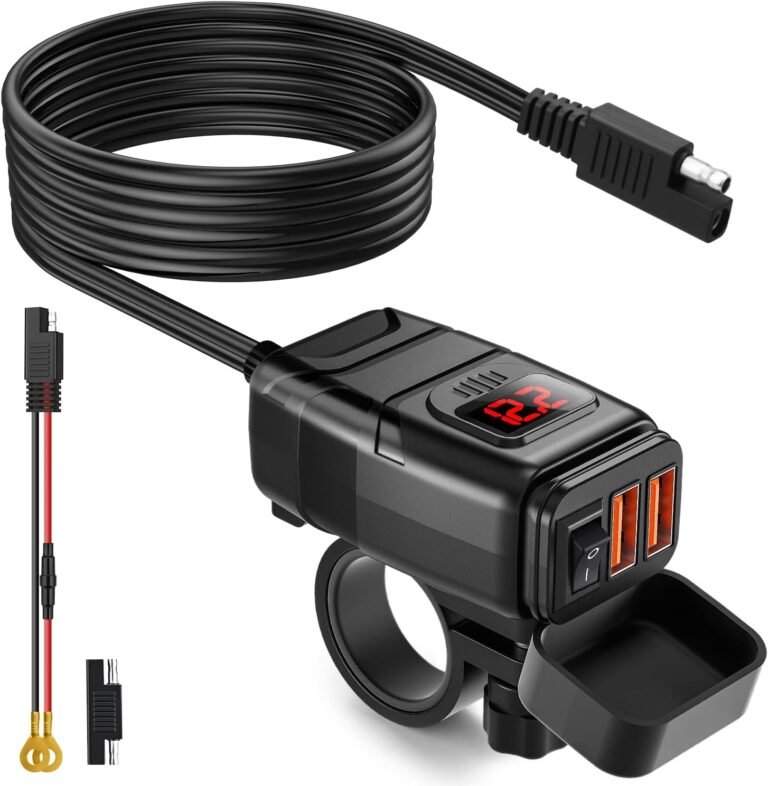
For phones, cameras and GPS units the market offers several common approaches: threaded 12V/USB outlet panels, handlebar-mounted chargers, SAE quick-disconnect adapters and waterproof chargers with switch/voltmeter. These are convenient but come with trade-offs.
- On-bike USB outlets: Good for permanent or semi-permanent installs. Check ingress protection (water resistance), a proper fuse, and wiring quality before trusting them on long trips. Several aftermarket outlets are sold specifically for motorcycles; see related product pages for options.
- SAE-connected modules: Useful because they let you disconnect accessories quickly and reduce parasitic drain when parked. Many SAE adapters pair with an in-seat battery harness.
- Power draw and heat: High-power fast chargers (PD/QC) can demand several amps. Consider whether the charging port and wiring are rated for that continuous current and whether the alternator can sustain it.
Rule of thumb: for simple phone/GPS charging on short trips, a quality USB outlet with proper fuse and wiring is fine. For heavy accessory loads or continuous charging, verify components and alternator capability first.
Maintainers, trickle chargers and smart chargers: when to use each
Riders commonly confuse trickle chargers, maintainers and battery chargers. Use the right tool for the situation:
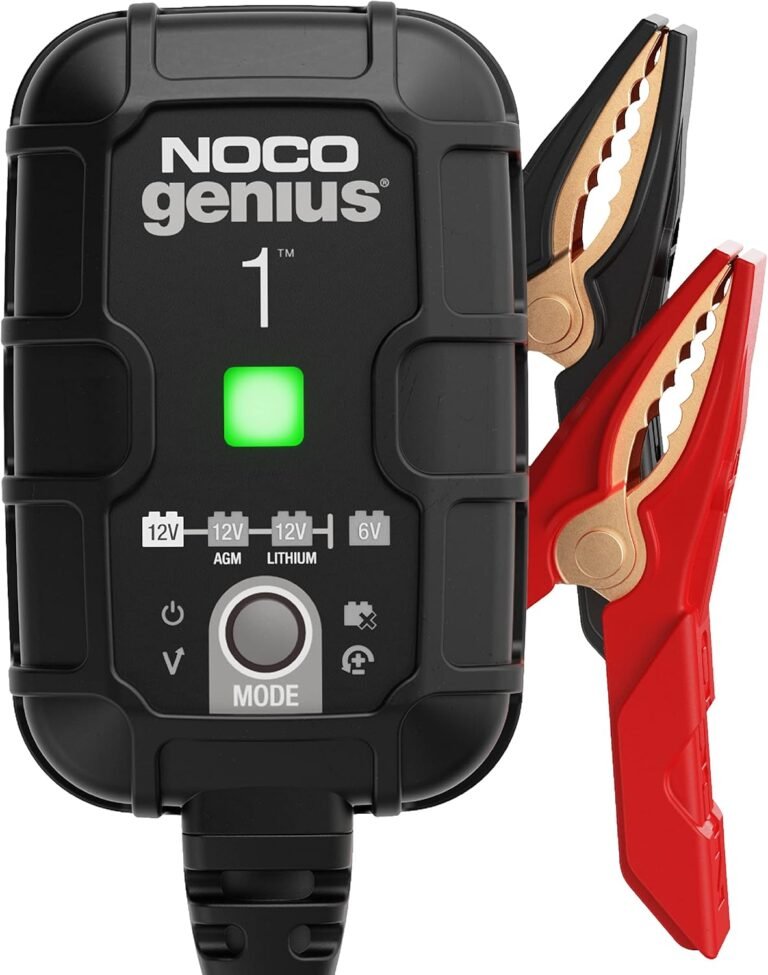
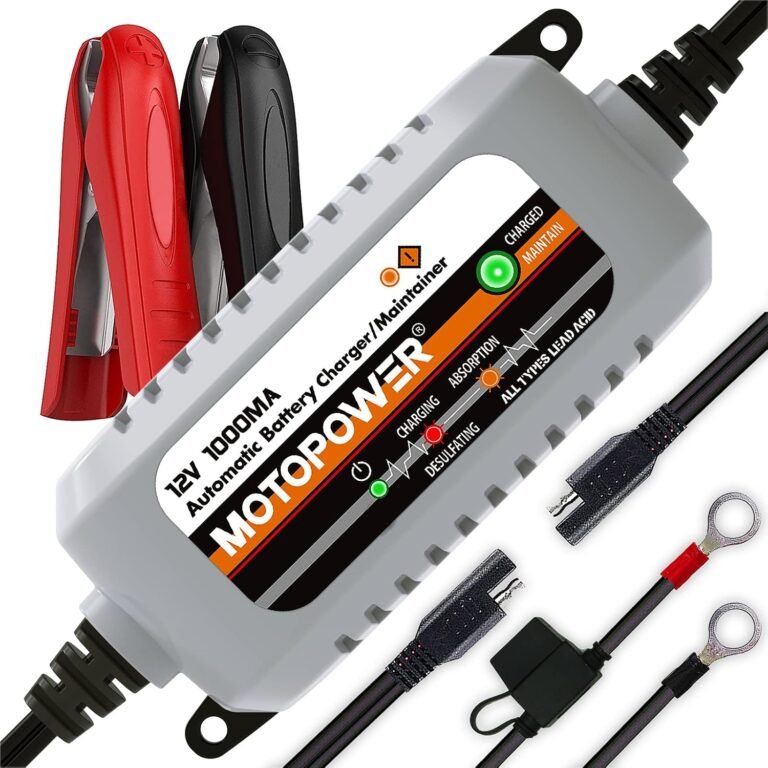
- Smart battery maintainers are designed to keep a battery topped up during storage. They monitor battery voltage and switch to a float or maintenance stage when full. For winter storage or infrequent-use bikes, a smart maintainer is the safest choice. Product pages on the site include maintainer reviews if you want model options.
- Trickle chargers supply a continuous low current and are less sophisticated; they can overcharge if left connected indefinitely unless they have automatic regulation.
- Charger/bench chargers are for charging a discharged battery or performing recovery. Some modern chargers include desulfation modes and profiles for different chemistries.
Important: battery chemistry matters. Lead-acid variants (wet, AGM, gel) and lithium chemistries (including LiFePO4) have different charging profiles. Always verify compatibility with the charger’s documentation and the battery manufacturer—if the correct profile is not supplied by the product, don’t guess the charging parameters.
Portable jump starters and multi-purpose power banks
Portable jump starters give independence on the road—no need to rely on another vehicle. They vary from compact lithium units designed for small engines to larger units capable of multiple jumps. When selecting one, prioritize safety features (reverse polarity protection, spark-free clamps), sufficient peak current for your engine size and a separate output for USB devices if you want multi-use functionality.
Keep in mind that a portable starter is not a replacement for a maintainer. If your battery is deeply discharged or sulfated, a jump starter will get you running but won’t restore battery capacity. Use a jump starter to get to a safe location and then address battery health with a proper charger or maintainer.
Wiring, fusing and installation best practices
Good installation separates successful charging setups from dangerous failures. A few practical rules:
- Fuse close to the power source: Any add-on power outlet or accessory should be fused at the battery side—fuse size depends on the expected load and cable ampacity. If you don’t have the exact number, consult a wiring chart or manufacturer guidance before choosing a fuse.
- Use proper gauge wire: Longer runs and higher currents require thicker wire. Voltage drop not only reduces performance but causes heat; avoid undersized cables for high-current accessories.
- Secure connections and protect from the elements: Use proper crimp connectors, dielectric grease where appropriate, and route wiring to avoid pinch points, heat sources and moving parts.
- Switches and master disconnects: A simple on/off switch or a quick-disconnect SAE lead helps prevent parasitic drain when parked.
If you’re unsure about wire gauge or fuse sizing for a particular accessory or continuous draw, consult the accessory manufacturer or a professional installer. When in doubt, err on the side of heavier gauge wire and conservative fuse sizing that matches the components’ ratings.
Diagnosing common charging problems while on the road
Symptoms like dimming lights, repeated stalling, or a battery that won’t hold a charge indicate charging-system issues. Practical troubleshooting steps you can perform safely:
- Check battery terminals for corrosion or loose clamps—clean and tighten as needed.
- Inspect fuses for blown items related to the charging circuit.
- If you have a voltmeter, measure battery voltage at rest and with the engine running. Don’t rely on a single reading—consult manufacturer specs for correct running voltage before acting.
- Disconnect high-draw accessories to see if symptoms change; this can indicate an accessory overload versus a charging-system fault.
For sustained or complex faults (faulty regulator/rectifier, stator problems), professional diagnosis is the safest course. Continued riding with a malfunctioning charging system risks complete battery failure and potential damage to the electrical system.
Seasonal care and long-term battery health
Battery care matters year-round. For winter storage or prolonged inactivity:
- Use a smart maintainer that matches your battery chemistry—this prevents slow self-discharge from reducing capacity and avoids overcharging.
- Disconnect or use a quick-disconnect for accessories that cause parasitic drain.
- Keep the battery at moderate temperatures where possible; extreme cold reduces starting capacity and extreme heat accelerates aging.
If you plan months of storage, remove the battery and maintain it on a bench charger if practical. Always follow the battery manufacturer’s storage recommendations, and verify charging profiles before using a maintainer with lithium chemistries.
Choosing products: practical decision framework
When comparing specific chargers, outlets or jump starters, use this sequence:
- Define need: device charging while riding, storage maintainer, emergency starter, or combination.
- Match to battery chemistry and manufacturer recommendations.
- Check component ratings: ingress protection, continuous current rating, fuse requirement and connector type (SAE, USB-C PD, etc.). If a spec is missing from product materials, contact the seller or manufacturer—don’t assume suitability.
- Evaluate installation difficulty and whether you’ll need a professional for wiring or mounting.
- Prioritize built-in safety: auto shutoff, reverse polarity protection, temperature compensation and proper certification where applicable.
For examples of on-bike charging hardware and maintainers, see our related product pages such as USB outlet options and smart maintainers in the internal links. Those pages provide model-specific details you can verify before purchase.