riderinstinct
Why DIY Maintenance Matters (and Where it Can Go Wrong)
Doing some maintenance yourself is a practical way to keep your motorcycle safe, lower long-term costs, and learn how your bike behaves. Routine attention helps prevent roadside failures, preserves resale value, and gives you confidence that fasteners, fluids and wear items are correct before every ride.
But DIY also carries risk. Incorrectly tightened fasteners, the wrong fluid, improper brake bleeding, or a poorly supported bike can cause critical failures. The purpose of this guide is not to encourage doing everything yourself—it’s to give a realistic framework so you pick appropriate jobs, follow safe steps, and know when to stop and see a mechanic.
A Practical Decision Framework: Which Jobs to DIY and Which to Outsource
Before you pick up a wrench, evaluate three things: complexity, tools and safety. Use that assessment to decide whether to proceed.
- Complexity: Simple, repeatable jobs—oil/filter change, chain cleaning and lube, air filter replacement, battery care, visual brake inspections—are good starting points. Tasks requiring precise clearances, special fixtures, or system purging (valve adjustments, wheel truing, suspension teardown, advanced electrical diagnostics) are usually better left to professionals unless you have formal training.
- Tools & workspace: If a job requires a hydraulic press, torque wrench, diagnostic scanner, or wheel balancer you don’t own or can’t rent, it may not be a practical home job. Also consider whether your workspace has good lighting, ventilation and a flat, level floor.
- Safety & consequences: If an error could cause a crash (brake system, steering, suspension), err on the side of professional service. Lower-risk tasks allow learning by doing.
When in doubt, consult your owner’s manual or a trusted technician and consider starting with simple maintenance while you build skill and tools.
Preparation: Manuals, Tools, Workspace and Safety Gear
Good preparation separates safe, successful DIY from dangerous guesswork.
- Manuals and diagrams: Buy or download the factory service manual for your model—this is the definitive source for service intervals, torque values, fluid specifications and special procedures. Supplement with the owner’s manual and parts diagrams when needed.
- Essential tools and supplies: A quality metric socket set, ratchet and extensions, combination spanners, torque wrench (appropriate range), screwdrivers, pliers, rubber mallet, drain pan, funnels, and a set of hex/Allen keys. Chain cleaner and lubricant for chain bikes, brake cleaner, rags, and shop gloves. For lifting, a centre-stand, rear paddock stand or a proper motorcycle lift is recommended.
- Workspace: Flat, level, well-lit, ventilated space with fire extinguisher nearby. Keep batteries and fluids away from open flames. Use ramps or stands rated for motorcycles; never substitute unstable supports.
- Personal protective equipment (PPE): Gloves, eye protection, and hearing protection when using power tools. Avoid loose clothing around rotating parts.
Make a checklist of parts you’ll need for the job—filters, drain plug washers, fluids—so you don’t start with missing components.
Routine Maintenance Items to Inspect Regularly
Set up a predictable schedule for checks so nothing gets missed. Exact intervals vary by model—verify with your motorcycle’s manual.
- Engine oil and filter: Check oil level before each ride or every few hundred miles, change oil and filter at manufacturer intervals.
- Drive system: For chain drives: clean, inspect for wear, lube and check tension. For belt or shaft drives: inspect condition and consult service manual for intervals.
- Tires and wheels: Inspect tread, check for cuts or embedded objects, and verify pressure with a quality gauge before riding.
- Brakes: Check pad thickness, fluid level and lever feel; inspect rotors and lines for damage or leaks.
- Battery and charging: Inspect terminals, secure mounting, and charge or replace as required. Verify charging voltage and other specs in the manual if you suspect electrical trouble.
- Lights and controls: Test headlight, taillight, turn signals, horn and all switches regularly.
- Fasteners: Periodically scan for loose bolts on critical points—frame, handlebars, wheels, and axle pinch bolts. Tighten to the manufacturer torque spec.
During any inspection, note wear items (cables, hoses, rubber mounts) and replace before failure if you plan long trips or heavy use.
How to Change Engine Oil and Filter (General Safe Procedure)
Changing the oil and filter is a foundational DIY task that, when done correctly, protects your engine. Exact oil grade, capacity and torque values are model-specific—verify them in your owner/service manual.
Purpose: Remove degraded lubricant and debris, refresh additives and maintain engine protection.
Preparation:
- Warm the engine briefly to thin oil (don’t work on a scalding engine).
- Gather new oil of the correct grade and quantity, a new oil filter, drain pan, funnel, appropriate sockets, and a new crush washer if required by your model.
- Park on level ground and secure the bike with the centre stand or paddock stand to keep it upright.
Step-by-step (general):
- Locate and remove the oil filler cap to vent the system.
- Place the drain pan under the oil drain plug, loosen and remove the plug, and allow oil to drain completely.
- Remove the oil filter (have rags ready for spill). If the filter sits sideways, be careful of hot oil.
- Install the new filter per the manual’s instructions—some filters require a thin film of oil on the gasket; others are hand-tightened to a specific orientation.
- Reinstall the drain plug with a new crush washer if applicable; tighten to the specified torque found in the manual.
- Refill with the correct amount and grade of oil, check the level per the manual’s warm/cold procedure, and replace the filler cap.
- Run the engine briefly, check for leaks, and recheck oil level after the bike cools or per the manual’s instructions.
Inspection points and common mistakes: Make sure the drain plug washer is replaced if required, don’t overfill the engine, and never run the engine with the filler cap off for long. Use the specified oil grade—wrong viscosity can affect protection and clearances.
When to get professional help: If the drain plug threads are damaged, the filter housing is corroded or cracked, or you’re unsure of the correct oil type or procedure for your model.
Chain and Final Drive Maintenance (Chains and Belts)
Chains are the most common final-drive for street bikes; belt and shaft drives need different care. Follow the manual for exact tension specs and belt maintenance intervals.
Purpose: Properly maintained drive systems transfer power efficiently and reduce wear to sprockets and engine components.
Chain care—general approach:
- Clean: Use a chain cleaner and a brush to remove old lubricant, grit and corrosion. Avoid aggressive solvents on O-ring chains—use products labeled safe for O-ring/X-ring chains.
- Inspect: Check for tight spots, rusted links, missing O-rings, or excessive slack. Inspect sprockets for hooked or worn teeth.
- Lubricate: Apply chain lube intended for your chain type at the recommended interval, ideally after a short ride when the chain is warm so the lubricant penetrates.
- Tension: Adjust tension according to the manufacturer’s free-play specification. Check for consistent tension through the chain’s arc; major tight spots or kinks require professional inspection or replacement.
Belt drives and shafts: Inspect belts for cracking or delamination and check attachment points and pulleys. Shaft drives are lower maintenance but still require periodic oil changes for the final drive—check the manual for intervals and fluid type.
Common mistakes: Over-lubing attracts grit; under-lubing accelerates wear. Incorrect tension reduces chain life and can damage gearbox output shafts. Always use the correct lubricant and verify tension in the manual.
Basic Brake Inspection and Safe Minor Service
Brakes are a safety-critical system. Basic inspections are appropriate for DIY, but extensive brake work (master cylinder overhaul, rotor machining, or complex ABS diagnostics) is generally a shop job unless you’re trained.
What you can do at home:
- Inspect pads visually for remaining material—replace if thickness is at or near the minimum specified by the manufacturer.
- Check rotors for deep grooves, warping (visual or felt through the lever/pedal), and corrosion.
- Check brake fluid level in the master cylinder reservoir. If the level is low, inspect for leaks; topping up temporarily is okay, but a leak or rapid level drop requires professional attention.
- Test lever and pedal feel for softness or sponginess—this can indicate air in the system or fluid degradation.
When to call a pro: Fluid replacement/bleeding with ABS-equipped systems, contaminated pads (oil or grease contact), worn or scored rotors, leaking calipers or lines, or any uncertainty about bleeding procedures and fluid specifications. Brake fluid is hygroscopic; follow the manufacturer recommendation for type (e.g., DOT ratings) and replacement intervals.
Common mistakes: Mixing brake fluid types, allowing contaminants into the reservoir, and improper bleeding technique can reduce braking performance. Always keep the reservoir clean and capped when not in use.
Tires, Wheels and Suspension: What You Can and Can’t Do
Your tires and suspension determine handling and safety. Many inspections are DIY-friendly; repairs and setup often require professional tools.
Tire checks you can do:
- Visual inspection for tread wear, cuts, bulges, or embedded objects. Replace tires showing structural damage.
- Check tire pressures before every ride with a reliable gauge. Use pressures recommended in the owner’s manual or on the tire placard—do not guess. Proper pressure is critical for handling and longevity.
- Look for uneven wear which can indicate alignment or suspension issues.
Wheel and suspension work to avoid unless equipped: Mounting or balancing tires, truing wheels and major suspension rebuilds require specialized machines and should be done by a shop. Adjusting preload or rebound/damping within externally accessible settings is DIY-appropriate if you follow the manual and make incremental changes.
When to seek professional help: Any puncture near the sidewall, damage to the wheel rim, repeated punctures, or if you suspect internal tire damage. Suspension with leaking seals or roughness between settings also needs shop attention.
Basic Electrical and Battery Care
Electrical faults can be simple (a blown fuse) or complex (charging system faults). Many basic checks and battery maintenance tasks are suitable for home mechanics.
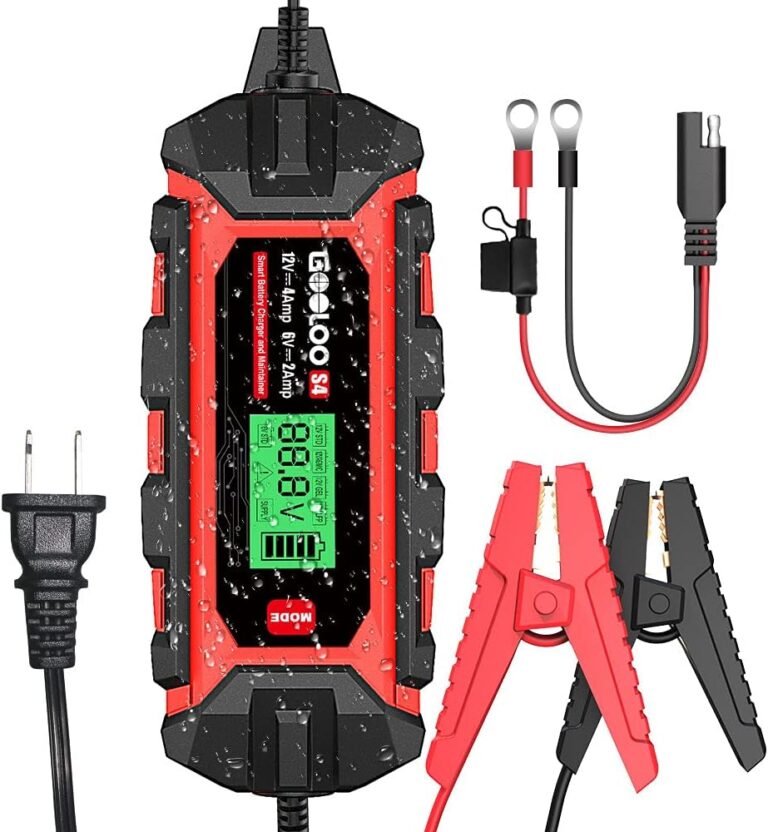
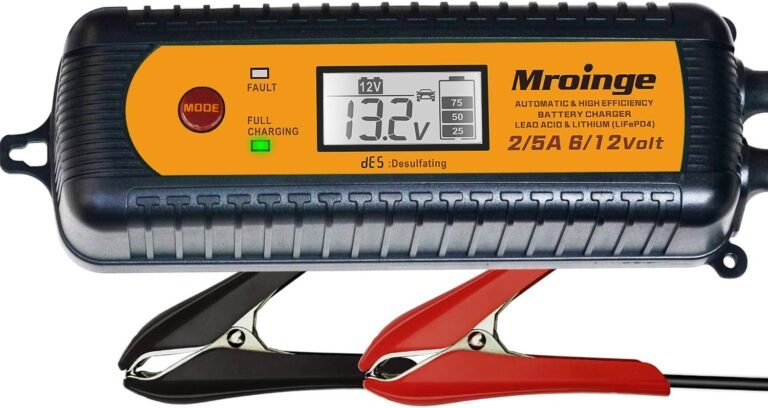
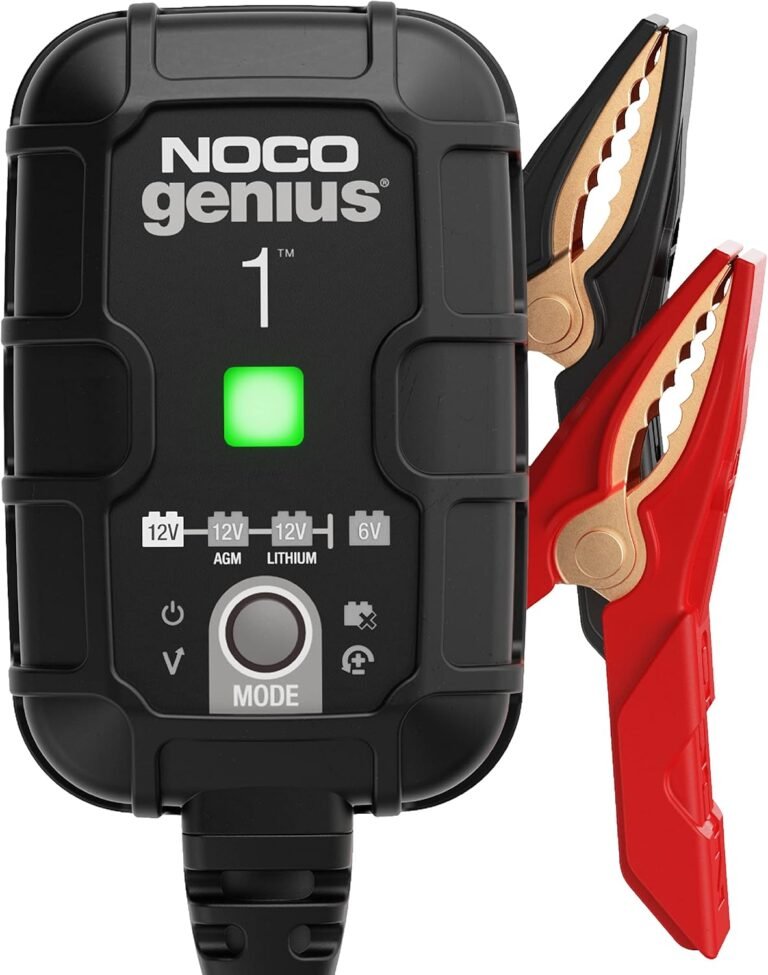
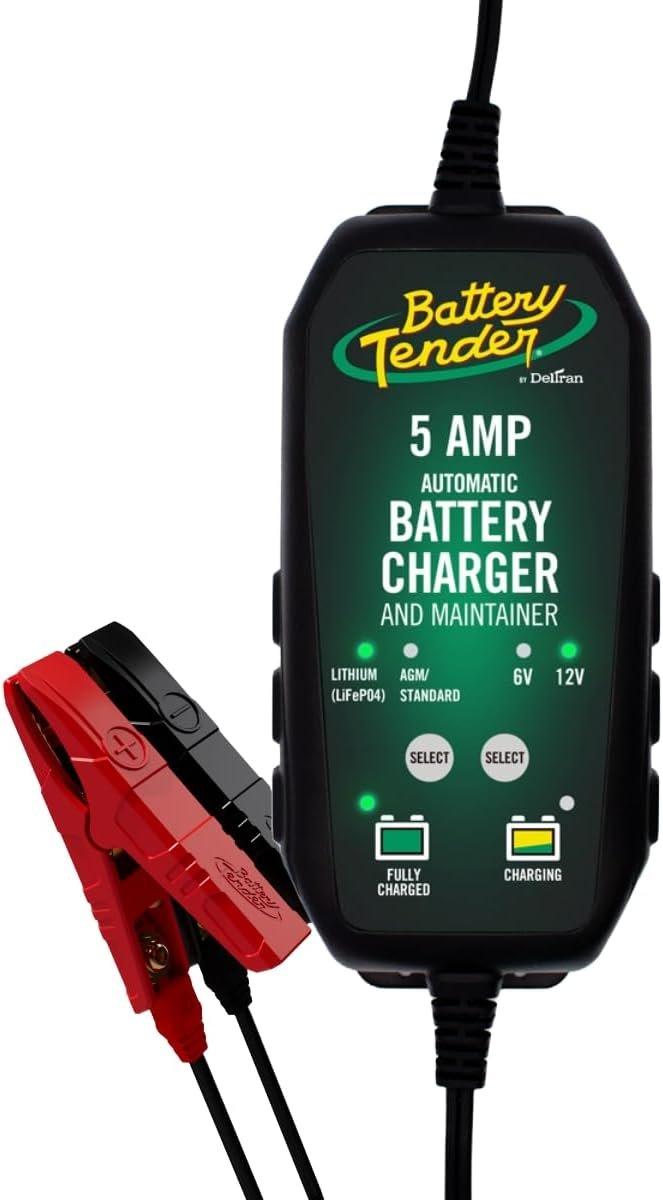
Battery care: Keep the battery secured, terminals clean and connections tight. If the bike will sit for extended periods, either use a quality trickle/maintenance charger designed for your battery chemistry or disconnect the negative terminal. For flooded batteries, check electrolyte levels only if the manual permits and follow safety procedures.
Simple electrical checks:
- Inspect fuses and replace only with the correct amp rating.
- Check bulbs and switches for corrosion or loose connectors.
- If you suspect a charging problem, verify charging voltage with the engine running via a multimeter—refer to your manual for acceptable voltage ranges and safety steps.
When to stop: Complex wiring faults, intermittent charging issues, or any work requiring removal of ignition components or deep diagnostics should be handled by a technician with the right tools and schematics.
Record Keeping, Parts Sourcing and Education—How to Level Up Safely
Good record keeping and continuous learning are what turn occasional DIY into reliable maintenance that actually saves money and improves safety.
- Keep a maintenance log: Date, odometer reading, work performed, parts used and supplier details. This helps with troubleshooting, resale value and staying on schedule.
- Parts and consumables: Buy parts by exact part number whenever possible. Compare OEM and reputable aftermarket suppliers and verify compatibility; don’t assume fitment by model year alone.
- Education: Start with service manuals, watch reputable videos (use them as supplements, not replacements for manuals), and consider hands-on classes at local community colleges or motorcycle schools. Many dealers offer maintenance clinics.
- Tools investment: Buy quality tools as needed—there are few low-cost shortcuts for torque wrenches and specialty items. Borrow or rent expensive tools if you’ll use them infrequently.
Finally, build a relationship with a trusted shop. Even avid DIYers need a reliable mechanic for complex jobs or verification of work you haven’t done personally.