 riderinstinct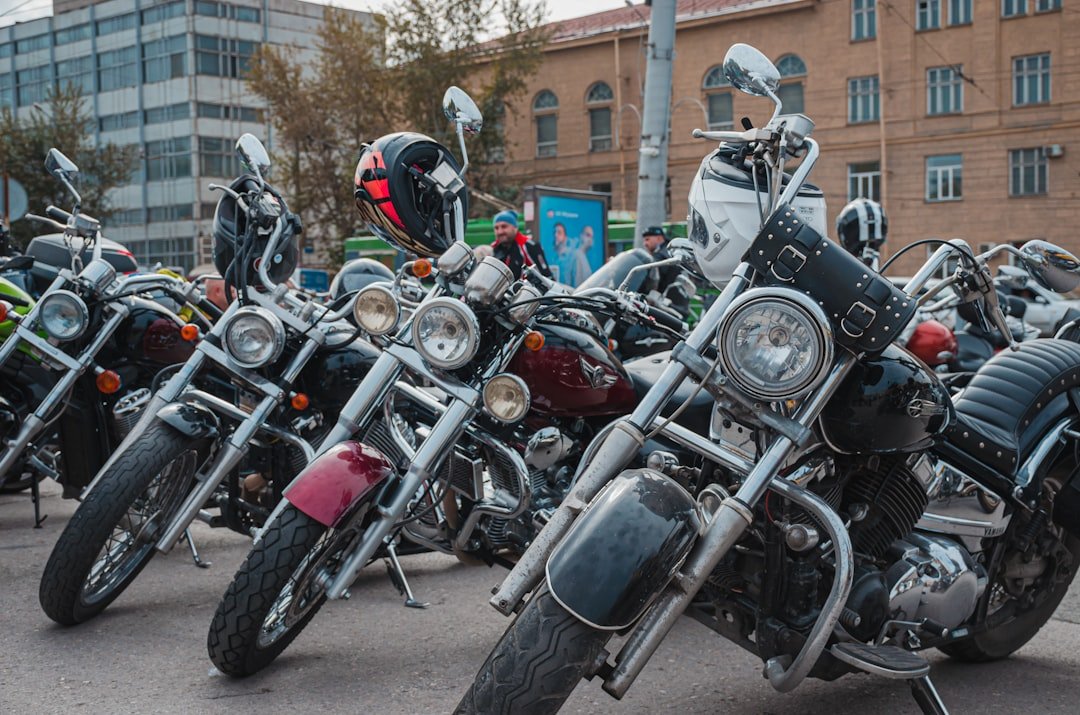
Why group riding needs its own rules (and a decision framework)
Group rides are common because they combine social time, shared navigation and the sense of safety that comes from riding with others. But every rider joining a group adds variables: different skill levels, unfamiliar machines, varying equipment and different risk tolerance. That means group riding isn’t just “riding with friends”—it’s a small, moving system that needs predictable inputs and simple shared rules.
Before you sign up for any group ride ask three practical questions: What is the route and complexity (twisty back road vs. highway mileage)? What is the expected average pace? Who is organizing and are roles assigned? If any of those answers are vague, assume extra time and slow, conservative riding. The decision framework is simple: if the group’s plan exceeds your ability to maintain control and consistent spacing, do not participate or ride the portion of the route that matches your skill.
This guide focuses on low-risk, repeatable practices you can apply immediately. It outlines the common formations and communication techniques and then covers cornering, passing and emergency response. Where motorcycle-specific procedures matter (for example tire pressures, clutch feel, brake lever adjustments), follow your owner’s manual or an instructor—this article focuses on group-riding technique, not mechanical settings.
Pre-ride planning: roles, route and risk-reduction
A safe group ride starts before the first engine fires. Effective pre-ride planning reduces ambiguity on the road.
- Assign roles. Designate a road captain/lead who sets the pace and handles navigation, and a sweep or tail rider who stays last to watch for trouble. For larger groups, add a mid-pack marshal to reduce stretch.
- Agree a simple plan. Publish the route, expected stops, approximate pace and contingency plan for re-groups. Keep the plan short and specific—long lists of procedures are hard to remember while riding.
- Confirm communication. Decide if the group will use hand signals only, or hand signals plus radios. If radios are used, pick a single channel and test equipment on the pre-ride meetup. If you rely on phones or messaging apps, prepare battery packs and leave clear check-in points—these methods are less reliable on the move.
- Pre-ride inspection. Each rider should do a quick T-CLOCS-style check (tires, controls, lights, oil, chassis, stands) before rolling. For a detailed pre-ride list, see RiderInstinct’s Group Riding Checklist.
Keeping the plan concise and assigning one person responsibility for each element prevents indecision during a ride. If the organizer is not comfortable leading, recruit a volunteer with proven judgment and temperament rather than the fastest rider.
Relevant reading: Group Riding Checklist: What to Check Before You Ride.
Formations and spacing: the core behavior that controls risk
Formation choice is the single most important decision during a group ride. The two basic options are staggered and single-file; both have clear pros and cons.
- Staggered formation (default on two-lane roads). Riders occupy the left or right side of the lane in alternating positions, roughly 1–2 seconds behind the rider immediately in front but offset laterally. This increases visibility and gives each rider an escape lane. Use staggered spacing only when road width, traffic and visibility permit it consistently across the group.
- Single-file formation (tight roads, heavy traffic or reduced visibility). Riders follow directly behind the leader’s wheel track. This reduces the group’s lateral footprint and makes it easier for others to pass but reduces each rider’s immediate escape options.
Spacing: never compress distances in the group to keep pace. Maintain a following distance that matches your braking ability and the group’s pace—if you need two seconds solo, you still need roughly that behind another rider, plus an additional margin because you’re following a rider rather than traffic. Encourage the sweep to signal if spacing tightens.
Lane discipline means sticking to your agreed position through straight sections and transitions. Don’t swap sides without a clear signal or instruction from the lead. Sudden mid-lane moves are a common cause of collisions in groups.
Communication you can actually use: signals, radios and simple language
Clear, unambiguous communication is essential. Keep it low-tech and repeatable.
- Hand signals. The hand-signal set should be small and practiced: left/right turn, slow down, hazard on road (point), pull over, single-file, regroup. Always show the signal early and hold it until acknowledged by the rider behind you when safe to do so.
- Headlight flashes and brake-light signals. Use sparingly and only as a backup—headlight flashing can be misread in traffic; relying on it as a primary signal increases confusion.
- Radios/intercoms. Quality two-way comms are helpful for larger groups or complex routes. Agree on short, standard phrases—”stopping,” “hazard left,” “mechanical at mile X.” Avoid long conversations over the channel; keep messages short and actionable.
- Pre-ride brief and check-in points. Use the pre-ride meetup to rehearse signals and set expectations: how aggressively to ride, when to overtake, role responsibilities and the plan if someone is dropped. Schedule a few checkpoints so the group can pause and re-set rather than letting gaps grow unchecked.
Keep all communication focused on safety and coordination; humor or side conversations on radios are distracting and can mask important messages.
Passing, lane changes and overtaking: choreography not speed
Passing with a group requires clear rules so split-second decisions by one rider don’t force others into difficult choices.
- The rule of the leader. The lead rider initiates lane changes and passes. That rider assesses the road and signals the group, providing time and space for others to respond. If the leader does not signal, do not pass as a group.
- Pass one at a time. Unless the group has practiced professional-level riding techniques and has radio comms, pass individually and re-form after the pass. When overtaking a slow vehicle as a group, allow each rider to complete the maneuver before the next begins—stagger so each rider has sightlines and a measured gap.
- Use the sweep. The sweep monitors gaps. If a rider is blocked in traffic or left behind during a pass, the sweep should slow and allow regrouping at the next safe location.
- Signal clearly for lane re-entry. After a pass, the passing rider should re-enter the lane only when there is a safe gap ahead and a clear, acknowledged signal to other group members.
These behaviors prioritize predictability over speed. A coordinated, slower pass is safer than an accelerated, rushed maneuver that fractures the group.
Cornering in a group: personal control inside a shared plan
Corners are where different abilities and habits most frequently collide. Treat turns as an individual control exercise inside a common plan; that approach avoids implicit competition.
- Plan your line; don’t chase the rider ahead. Choose a safe line for your speed and bike, and stick to it. Avoid trying to follow the wheel of the rider in front if their line is beyond what you can comfortably and safely maintain.
- Maintain your position in the formation. In open corners a staggered formation helps visibility—each rider keeps the same stagger slot through the bend. Do not weave within the lane to get a better line; lane discipline reduces surprises.
- Enter at a conservative speed. It’s safer to brake in a straight line before the corner and carry a controlled, comfortable speed through the apex. If you need to slow mid-corner, concentrate on smooth throttle and look where you want to go; abrupt inputs destabilize the bike and the riders behind may not have room to react.
- Communicate hazards early. If a rider sees gravel, oil, animals or a slippery line, indicate the hazard with a pointed hand signal and a radio call if available. The faster a hazard is called, the earlier riders can adapt without abrupt maneuvers.
Practice cornering skills separately in low-traffic settings; group rides are not the place to learn high-speed cornering or test unfamiliar lines. If your competence diverges from the group’s pace in corners, either ride at the back or skip that section of the route.
Breakdowns, crashes and emergency procedures: clarity under stress
Even with perfect planning, mechanical issues and crashes can happen. A simple, rehearsed emergency plan reduces chaos and supports safety and legal clarity.
- Immediate priorities. At an incident, the first priorities are scene safety, preserving life and preventing further collisions. Move to a safe location if possible, warn oncoming traffic and call emergency services when necessary. Avoid moving seriously injured people except if they’re in immediate danger and you have medical training—follow local guidance and emergency dispatcher instructions.
- Assign roles quickly. The sweep or a designated medic (if present) should handle first response; the road captain should secure the scene and direct traffic. Another rider can contact emergency services, and another can notify the organizer or next of kin if required.
- Document and exchange information. If there is property damage, collect names, phone numbers, insurance and bike details. Photograph the scene and vehicle positions. Do not admit fault at the scene; stick to factual descriptions for authorities and insurance.
- Mechanical failures. For non-injury mechanical stops—flat tire, seized chain—use the sweep to slow and keep the group behind. If the bike cannot be ridden safely, arrange towing or a follow-up plan and leave a rider with the disabled bike if necessary.
Before a ride, agree a standard incident plan and the minimum emergency items to carry: basic first-aid kit, a phone charger or battery pack, and a small toolkit appropriate to your motorcycle. Rehearse calling emergency services so everyone knows the information that will be needed at a crash scene.
Riding in poor visibility, at night or in wet conditions
Bad weather and darkness change the risk calculus. The simplest rule: adjust the formation, reduce pace, and increase spacing; if weather becomes extreme, stop or abort the ride.
- Increase following distances and switch to single-file when needed. Reduced traction and visibility mean less lateral room. Single-file reduces the group’s footprint and gives each rider a clear wheel track to follow.
- Use headlights and high-visibility gear. High-viz vests or reflective tape on helmets and jackets increase conspicuity. Flashing LEDs on bikes can help, but avoid relying on flashing patterns that are difficult to interpret.
- Reduce speeds and corner conservatively. Wet and cold surfaces reduce grip dramatically. Enter turns slower, avoid leaning further than necessary and keep throttle inputs smooth. If a rider is uncomfortable, have them ride near the sweep or peel off to a safe pit stop.
- Postpone night or extreme-weather sections for mixed-ability groups. If not every rider is experienced with night riding or riding in heavy rain, reschedule those sections. It’s acceptable and responsible to change plans based on conditions.
Remember that fatigue and cold impair judgment; night sections add both. Factor regular breaks into any long route to manage rider alertness.
Practice drills and how to build real group competence
Group-riding skill is learned through repetition in controlled settings. Schedule practice sessions that isolate single skills so riders can build competence without traffic pressure.
- Staggered formation drill. In an empty parking lot or a quiet road, practice forming and holding a staggered formation at 15–35 mph. Familiarize riders with following distances and how to adjust to a rider slowing or stopping.
- Controlled passing drill. With radios or hand signals, practice overtaking a slow-moving vehicle simulated by a leader traveling at a controlled, legal speed. Each rider should complete the pass and re-form behind the group.
- Slow-speed control and U-turns. Low-speed maneuvers are frequent in group rides at stops, parking and tight turns. Practice slow-speed balance and tight turns as a group to reduce dropped bikes and avoid blockages.
- Emergency stop and recovery. Practice coordinated decelerations where the leader signals “slow” and the group executes a controlled stop, maintaining safe spacing and avoiding pile-ups. Do not practice hard panic braking in a group—emphasize controlled, progressive braking instead.
If you ride frequently in groups, consider an advanced riding course or a police-motorcycle workshop. Professional instruction will correct bad habits faster and can be tailored to group dynamics and local traffic conditions. For building confidence specifically, see RiderInstinct’s article on approaching group riding with more confidence.
Relevant reading: How to Approach Group Riding With More Confidence.
Final operational checklist and sensible limits
Before you ride, mentally run through this operational checklist—it’s short but covers the essentials that prevent the most common failures.
- Roles assigned: lead, sweep and any marshals confirmed.
- Route and stops agreed and distributed; turnaround points known.
- Communication method tested and briefed (hand signals + radio channel or phone plan).
- Each rider has completed a quick mechanical check and is carrying a charged phone and emergency kit.
- All riders understand the formation and passing rules; rehearsed signals used.
Finally, set sensible limits for the ride and enforce them. Common examples: no spirited passing on unfamiliar roads, maximum group size for a single formation, or a rule that any rider who feels unsafe moves to the back or skips the section. A culture that tolerates slowing for a rider in difficulty is safer than one that prizes keeping a fast pace at all costs.

