riderinstinct
What heated gear actually does (and what it doesn’t)
Heated clothing works by embedding low-voltage electrical heating elements in garments to add warmth directly where your body loses heat fastest: hands, chest, core, and feet. That direct warming can feel more effective than just adding bulk because it replaces lost heat energy rather than relying entirely on trapped air.
What heated gear does NOT do: it won’t stop wind from stripping heat as you ride, it won’t evaporate sweat, and it can’t substitute for a proper outer shell or moisture management. Heated elements are best viewed as a complement to insulation and windproofing, not a replacement.
Practical implications for riders: heated gear can reduce the need to wear excessive layers that limit mobility, but you still need a sensible layering system and to manage moisture. On very cold rides, expect heated gear to improve comfort significantly — it won’t make you invincible to cold or fatigue, so use it with conservative riding and regular breaks.
Types of heated gear and where they help most
Heated products focus on specific parts of the body. Choosing the right one depends on where you feel cold and what limits you while riding.
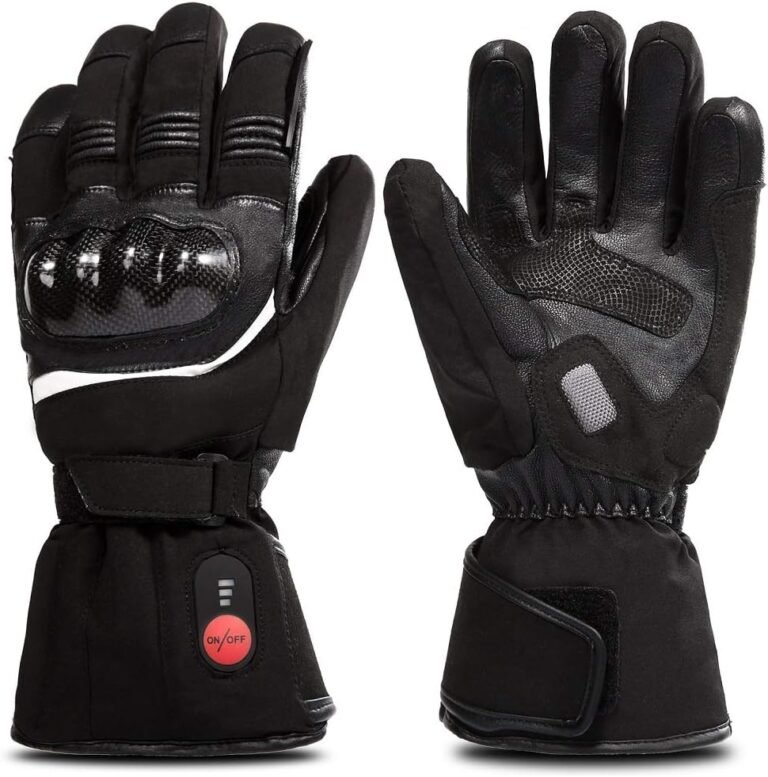
- Heated gloves: Target hands and fingers. They can make the biggest immediate difference for control and comfort because numb fingers reduce dexterity and reaction time.
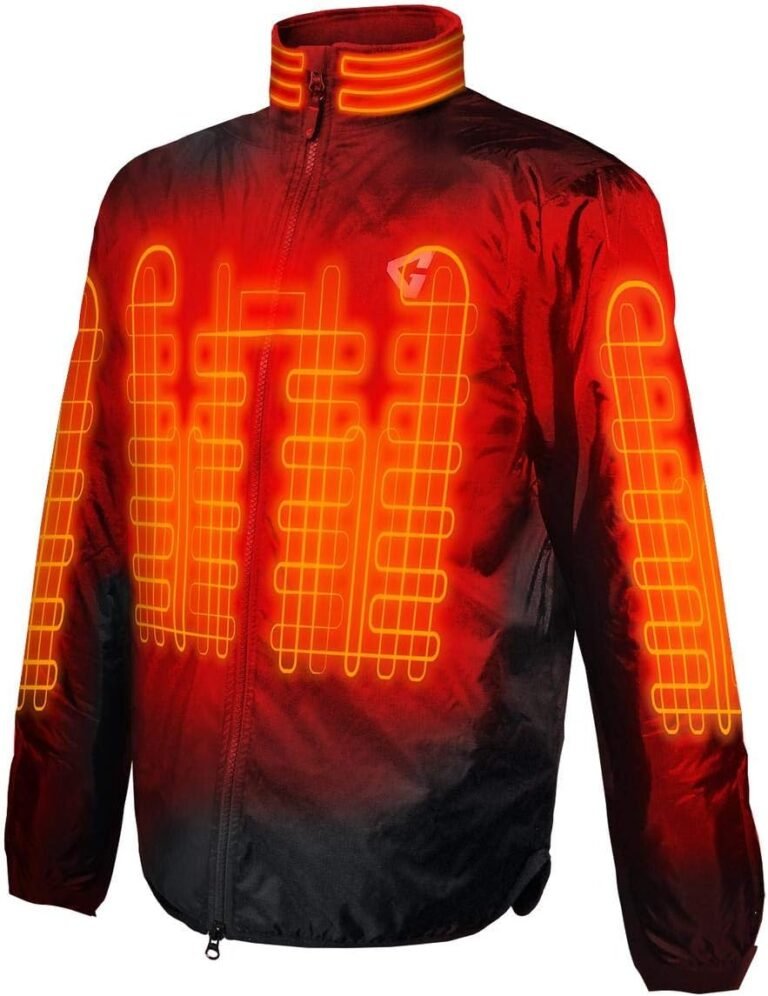
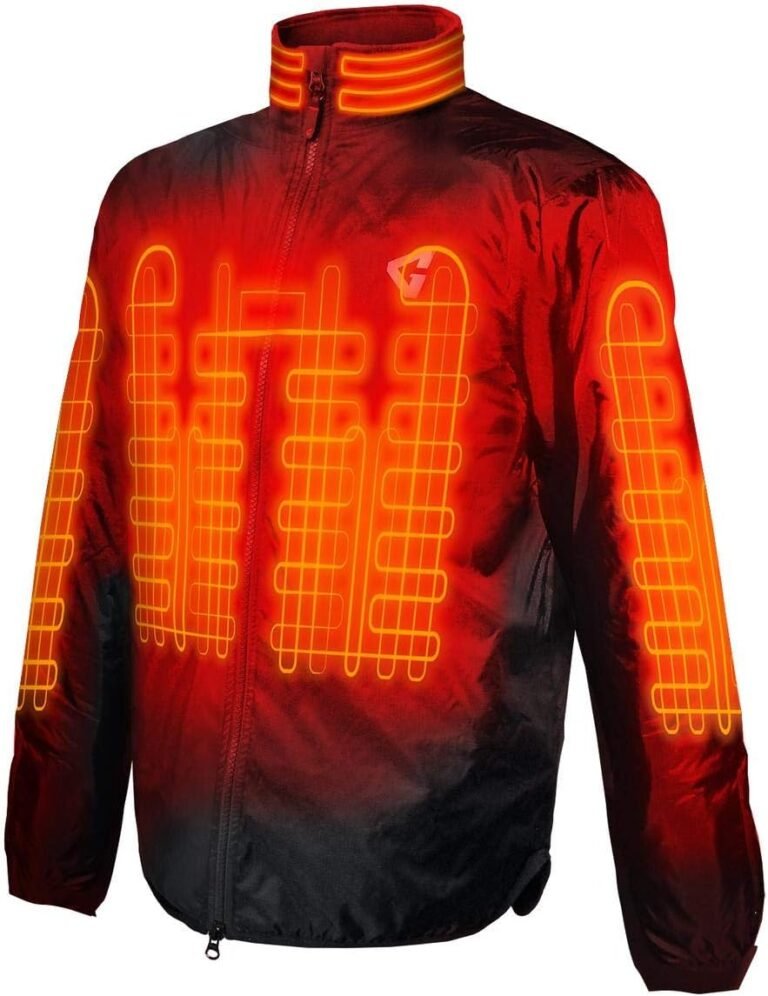
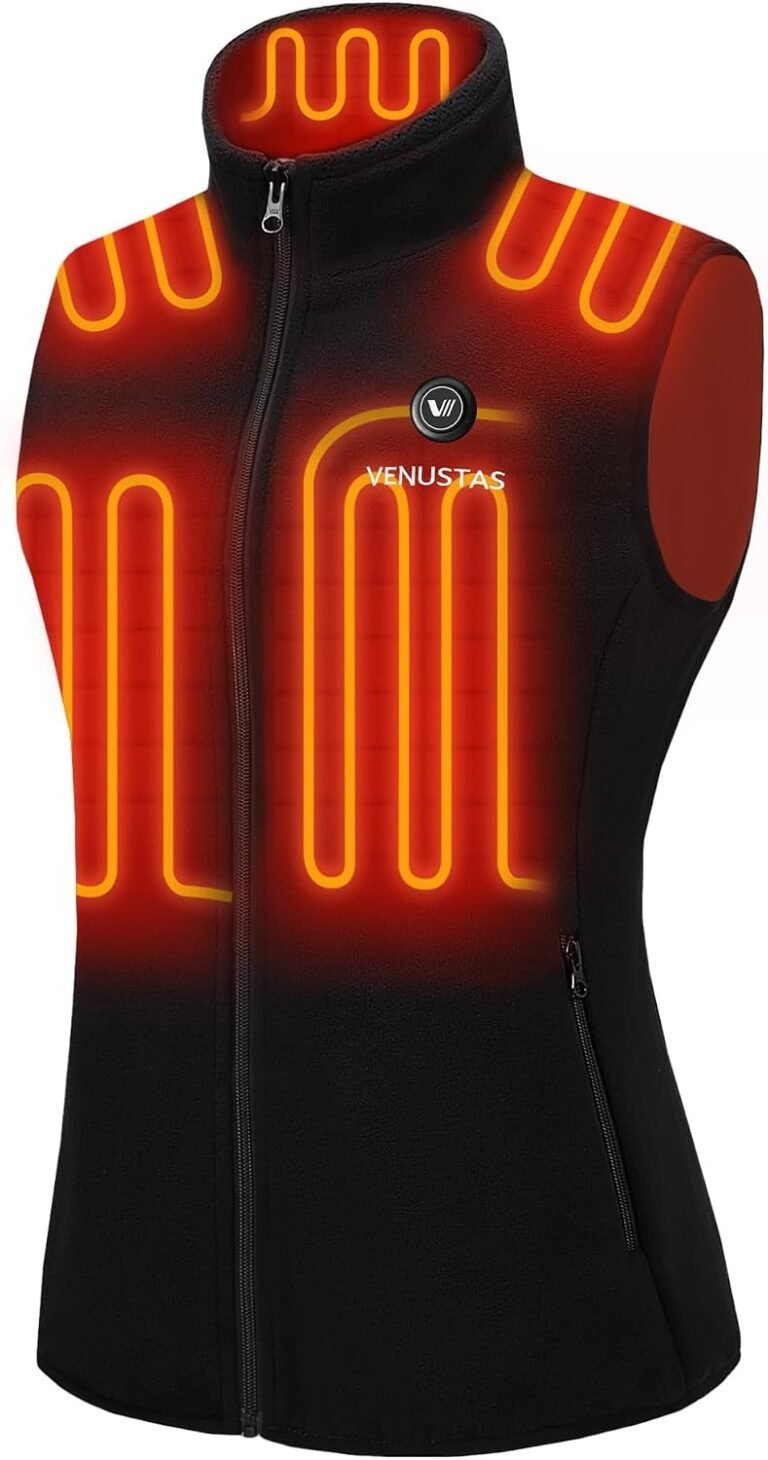
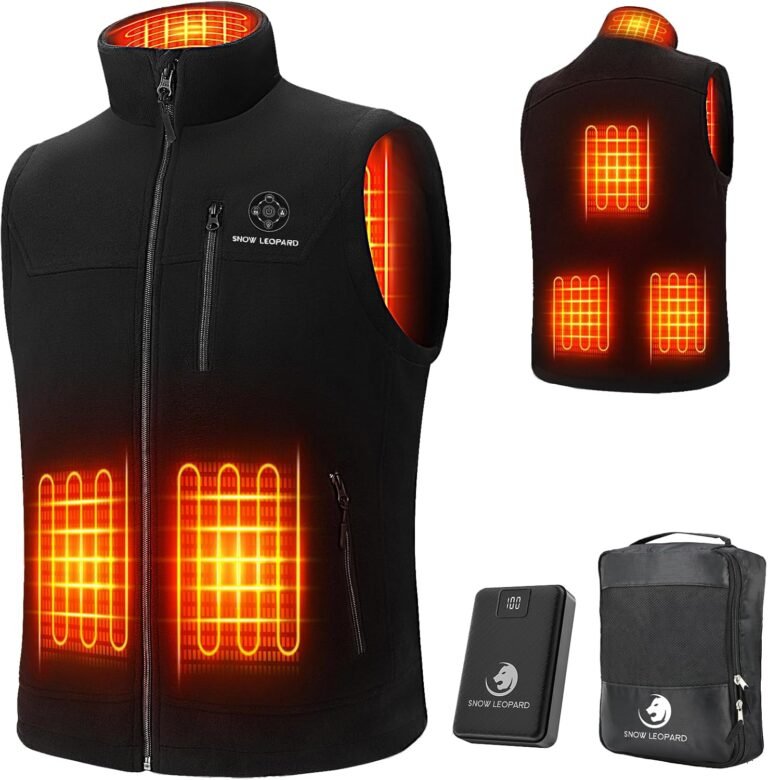
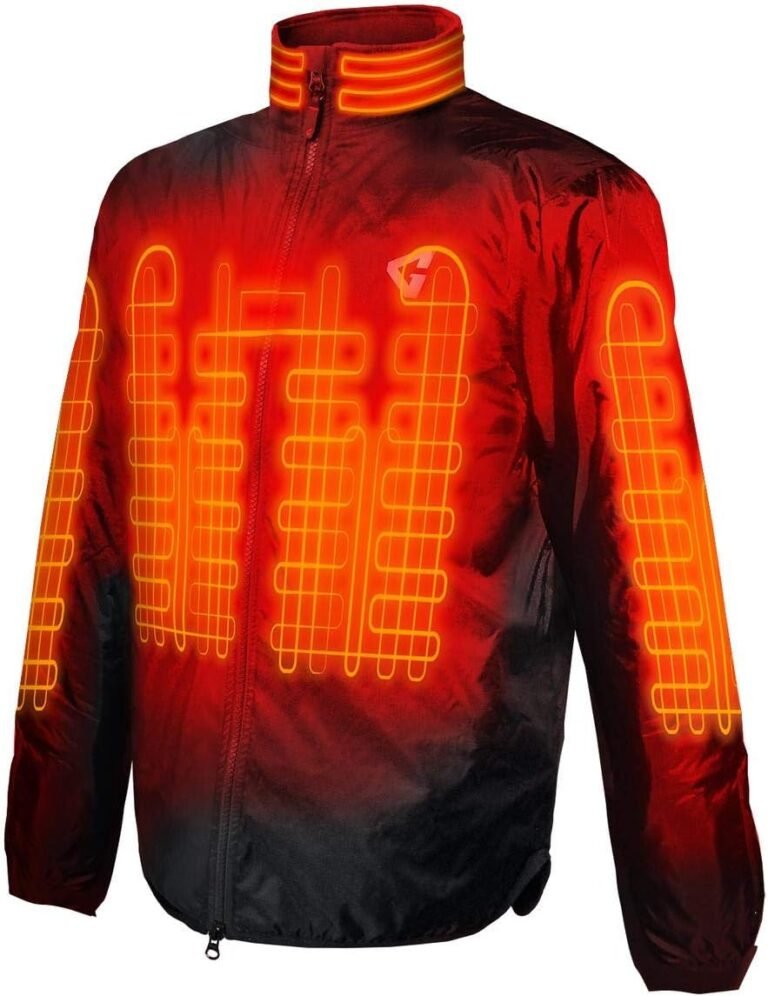
- Heated jacket liners and vests: Provide core warmth. Liners fit under a shell and are effective for long rides when wired to the bike; vests concentrate heat on the torso and leave arms layered up.
- Heated pants and saddles/seat heaters: Target hips and legs; useful for long commutes and touring to prevent cold-related stiffness.
- Heated socks and insoles: Address cold feet where circulation is often limited on bikes.
- Grip heaters: Add warmth directly to handlebars but only address the external grip surface — gloves plus grips are often the best combination.
Each product type has trade-offs: gloves and socks require flexible, insulated wiring and often rechargeable batteries; jacket liners wired to the motorcycle can deliver steady heat but need installation and a compatible harness.
Power options: on-bike 12V systems vs. battery packs
Heated gear is powered in one of two typical ways: by the motorcycle’s electrical system (usually 12V accessory circuits) or by dedicated rechargeable battery packs that are integrated into or attached to the garment.
- On-bike (wired) systems:
- Pros: virtually unlimited run time while the bike is running, consistent heat levels, often easier to control from the cockpit.
- Cons: requires wiring and sometimes professional installation, limited off-bike use, potential impact on the bike’s electrical load if installed incorrectly.
- Battery-powered garments:
- Pros: portable and usable off the bike (walking to a destination), usually plug-and-play with no bike wiring, great for commuters or rentals.
- Cons: finite run time that decreases in cold weather, extra weight in pockets or pockets sewn into the garment, need to remember to charge batteries.
There are hybrid approaches: battery packs can be charged on the bike or connected to a 12V outlet while riding. When evaluating power options, check the listed connector types, voltage compatibility, and whether the system supports simpler plug-in connectors (e.g., SAE-style leads) or modern standards like USB-C PD for accessory charging. Always verify these details against the manufacturer’s documentation before buying or attempting an installation.
Controls, zoning and real-world usability
Not all heated garments are created equal in terms of temperature control. Things to consider:
- Single-zone vs multi-zone: Single-zone garments heat the whole element at once. Multi-zone garments let you adjust heating in different areas (hands vs torso vs back), which can be more comfortable but adds complexity and cost.
- Control options: Basic garments have an inline switch on the cable or battery pack (low/medium/high). Advanced systems offer handlebar-mounted switches, thermostats or smartphone control for finer tuning. Consider whether you want on-the-fly control while riding or are comfortable setting it before you go.
- Safety features: Look for overheat protection, automatic shutoffs, and clear status indicators. For wired installations, ensure the accessory is fused and wired so it cannot drain the battery when the bike is off unless the garment is designed to do that.
Real-world usability also includes how easy the garment is to put on and take off, how the controls are mounted, and whether the battery placement interferes with rider movement or armor. Check the product manual for recommended operation and any cautions about prolonged contact heating over certain body parts.
Layering: how to use heated gear with base and outer layers
Heated gear works best when paired with a sensible layering strategy:
- Base layer: Start with moisture-wicking materials next to the skin to move sweat away and reduce evaporative cooling. Natural fibers hold moisture and should be chosen carefully.
- Insulating layer / heated element: Use heated clothing as a mid-layer when possible. A heated liner under a shell traps and spreads the heat more effectively than an exposed heated top.
- Shell layer: A windproof, water-resistant outer shell prevents convective heat loss from wind and protects against moisture. Heated elements cannot counteract wind-chill directly if you lack a proper outer layer.
Common mistake: relying on high heat settings alone to compensate for a breathable or thin outer shell. That approach wastes battery life and can leave you chilled by wind and moisture. Instead, prioritize windproofing and insulation, then use heated gear for targeted warmth and comfort.
Installation and wiring basics for on-bike systems
If you plan to connect heated gear to your motorcycle’s electrical system, follow these practical rules for safety and reliability:
- Fused connections: Always use a fuse between the battery and the heated accessory. The correct fuse rating is model-specific — check the product documentation or a professional installer to determine the right size.
- Ignition-switched vs constant power: Decide if the heated accessory should only run with the ignition on (typical for jacket liners) or if it needs constant power (sometimes used for accessories that recharge while parked). Wiring to ignition-switched power prevents battery drain when you forget to turn the garment off.
- Routing and strain relief: Route wiring away from heat sources, sharp edges, moving parts and exhaust. Use grommets, clips and heat-shrink where appropriate to prevent chafing. Battery packs should be secured in pockets or mounts designed for them.
- Connector types: Manufacturers use a range of connectors; common ones include SAE-style two-pin leads, proprietary plugs, and increasingly USB-C for accessory charging. Match connectors or use manufacturer-approved adapters; avoid forcing incompatible plugs.
- Seek professional help if unsure: If you lack wiring experience, use a dealer or qualified motorcycle electrician. Incorrect wiring can damage the bike’s electrical system or create a fire hazard.
When in doubt, follow the installation guide supplied by the heated-gear manufacturer and consult the motorcycle’s electrical documentation. If a required value (like fuse amperage) isn’t provided in the product paperwork, contact the manufacturer or a professional installer rather than guessing.
Battery management, run time and cold-weather performance
Run time for battery-heated garments depends on several factors: battery capacity, the heat setting used, how cold it is, rider clothing, and wind exposure. Cold temperatures reduce battery efficiency, so a battery rated for a certain number of hours at milder temperatures may provide noticeably less time in winter conditions.
Practical tips for managing battery life:
- Charge before you ride: Start with fully charged batteries for predictable run time.
- Use lower settings as needed: Moderate heat settings consume much less power while still giving useful warmth when combined with layers.
- Carry a spare: For commutes or short multi-hour rides, a spare charged battery in a pocket provides insurance against unexpectedly long trips or delays.
- Keep batteries warm when parked: If you stop in very cold weather, store spares in an insulated pocket close to your body to keep them warmer and more effective.
- Understand charging options: Some battery packs can be recharged via the bike’s accessory power while riding; verify support and connector compatibility before relying on that capability.
Because runtime varies so much, treat manufacturer run-time claims as a starting point and plan for less than the headline number in real-world cold-riding conditions.
Maintenance, care and troubleshooting
Like any electrical garment, heated gear requires some specific care to stay safe and last longer:
- Follow wash instructions exactly: Some heated garments allow machine washing after removing or disconnecting the battery and connectors; others require hand washing or spot cleaning. Never submerge a battery or controller unless the manual explicitly says it’s waterproof.
- Inspect connectors and wiring regularly: Look for frayed wires, damaged insulation, loose connectors and corrosion at contacts. Replace or repair damaged parts before riding.
- Secure batteries and test charge cycles: Batteries lose capacity over time. If you notice reduced run time, follow the manufacturer’s guidance for cell care and replacement schedules.
- Store properly: Store garments and batteries in a cool, dry place during the off-season and maintain battery charge at the level the manufacturer recommends for long-term storage.
- Troubleshooting basics: If an element stops heating, check the battery charge, connectors, inline fuses and any visible wiring. Consult the manual or the manufacturer’s support if you can’t locate a simple fault.
Maintaining heated gear responsibly avoids many common failures and keeps your system safe. If in doubt, contact the manufacturer or a trusted repair service rather than attempting complex repairs on your own.
Choosing the right heated setup for your riding style — practical scenarios
Match the heated gear and power approach to what you actually do on the bike. Here are practical starting points by riding type:
- Commuter (short rides, mixed walking): Battery-heated gloves or a heated vest with removable batteries are practical. You want portability for walking into an office or store and no permanent bike wiring. Carry a spare battery if your commute is variable.
- Long-distance touring: Consider a wired jacket liner or a dual option (liner with a battery connector for off-bike use). Wired systems offer steady heat all day without swapping batteries; have a professional install with ignition-switched wiring to avoid accidental overnight drain.
- Weekend cold-weather riders: A heated vest or liner plus heated gloves provides a flexible system; start with a battery setup if you don’t want to wire the bike, but plan on spare batteries for full-day rides.
- Sport/fast riding: Aerodynamics and armor fit are important. Slim-profile, lightweight heated liners that fit under your race or sport jacket might be the best compromise; evaluate how heated garments affect fit with armor and movement.
- Adventure/off-road: Dirt and water exposure require rugged connectors and washable designs. Battery packs that are securely mounted and protected from mud and impacts often make sense here.
For product-level information and model-specific advice, refer to authoritative reviews and manufacturer documentation. RiderInstinct’s collected resources include a general complete heated gear guide and several product pages you may find useful when comparing options (for example, reviews and product pages of heated jacket liners and gloves in our archives).
Note: If you’re considering a specific product, verify fit, connector type, voltage and run time from the manufacturer materials before purchase. You can start with our Complete Heated Gear Guide for broader context and look at focused reviews like Gerbing Heated Jacket Liner or specific glove reviews to compare features and fit.