riderinstinct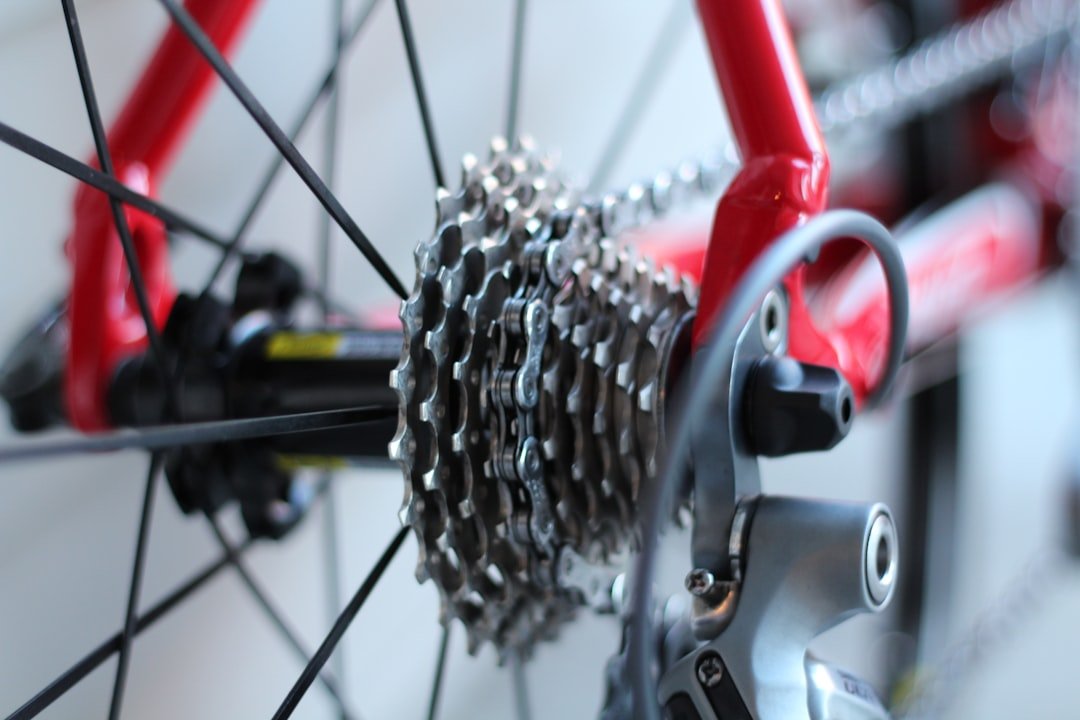
Why chain maintenance frequency matters
The chain links your engine to the rear wheel. A well-maintained chain keeps power transfer smooth, reduces component wear and lowers the risk of failure. Neglect shortens chain and sprocket life, worsens fuel economy and can create dangerous handling or drive issues. How often you check and service the chain should match how you ride: a commuter in dry conditions needs less frequent deep servicing than an off-road rider who crosses mud and water every weekend.
Think of chain maintenance like preventive healthcare: the goal is to catch early signs of wear or contamination before they become expensive or unsafe problems. The guidance in this article is practical and conservative—use it together with your motorcycle’s owner’s manual for any model-specific values or procedures.
A decision framework: factors that change how often you check the chain
There isn’t one interval that fits every rider. Use these factors to decide how often to inspect, clean and lube:
- Riding environment: Salt, rain, mud and dust require more frequent checks. Salt is especially corrosive—inspect and clean promptly after coastal or winter road use.
- Riding style and mileage: Frequent short trips, spirited riding and high miles accelerate wear.
- Chain type: O‑ring and X‑ring chains retain lubrication better than non-sealed chains, which can extend lube intervals but still require regular inspection.
- Maintenance history: A new, correctly adjusted and lubed chain will need less attention than a neglected one. Chains with known issues (stiff links, heavy corrosion) should be inspected daily until fixed.
- Sprocket condition: Worn sprockets accelerate chain wear. Check sprockets with the chain inspection routine and treat both as a system.
These trade-offs determine whether you adopt a minimal routine (frequent visual checks, periodic lubrication) or a more aggressive schedule (weekly/after-every-ride cleaning and lubrication for off-road use).
Practical frequency guidelines (use as starting points, not absolutes)
Below are practical, experience-informed ranges to help you build a maintenance schedule. Do not treat these as the manufacturer’s instructions—always check your owner’s manual for exact intervals and specs.
- Before every long ride: Quick visual inspection—look for obvious damage, heavy contamination or severe slack.
- Frequent riders (daily commuter, high mileage): Hands-on inspection and lubrication every 300–600 miles (or every 1–2 weeks depending on riding). Clean and inspect the chain more thoroughly monthly or when contamination is visible.
- Casual riders (low mileage, mostly dry roads): Inspect and lube every 500–1,000 miles or every 2–3 months; check sooner after wet or dirty rides.
- Off-road or wet conditions: Inspect and lube after every ride; perform a thorough cleaning and relube immediately if the chain has been submerged or bogged in mud.
These ranges are conservative suggestions that balance safety and effort. If you see any signs of damage—stiff links, heavy corrosion, missing O‑rings—inspect and service immediately and consult a professional if unsure.
Tools, supplies and preparation
Keep a compact kit that lets you inspect, clean and lubricate safely. You don’t need a full workshop for routine checks.
- Basic tools: inspection light or torch, gloves, shop rag or paper towels.
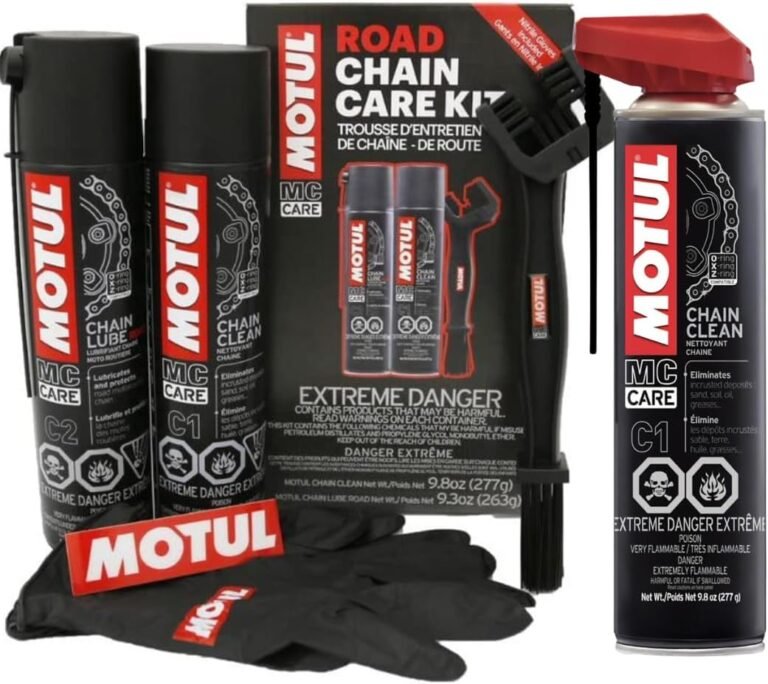
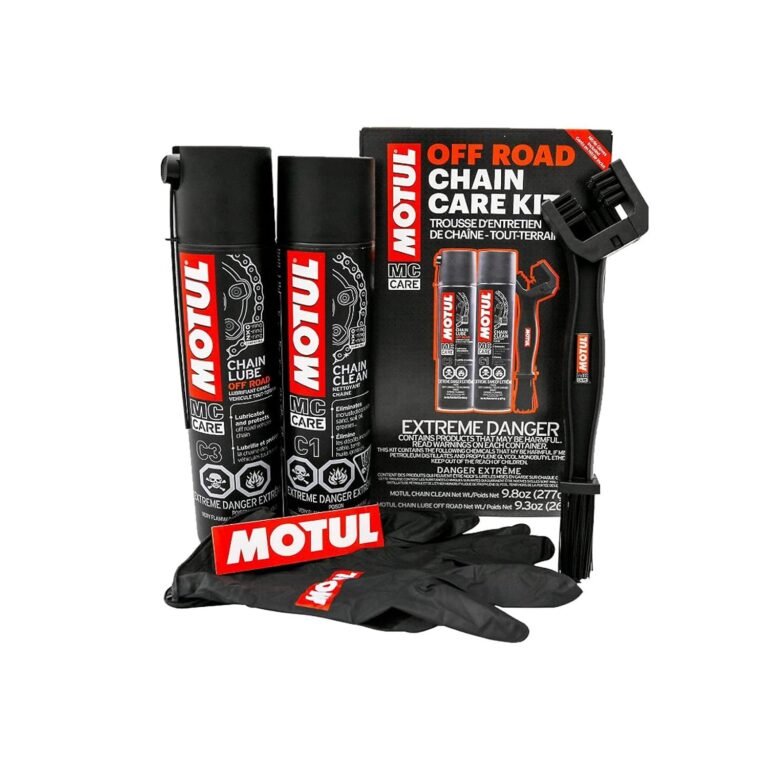
- Cleaning supplies: a chain degreaser or cleaner designed for motorcycle chains. (See Motul C1 Chain Clean in our product list for an option.)
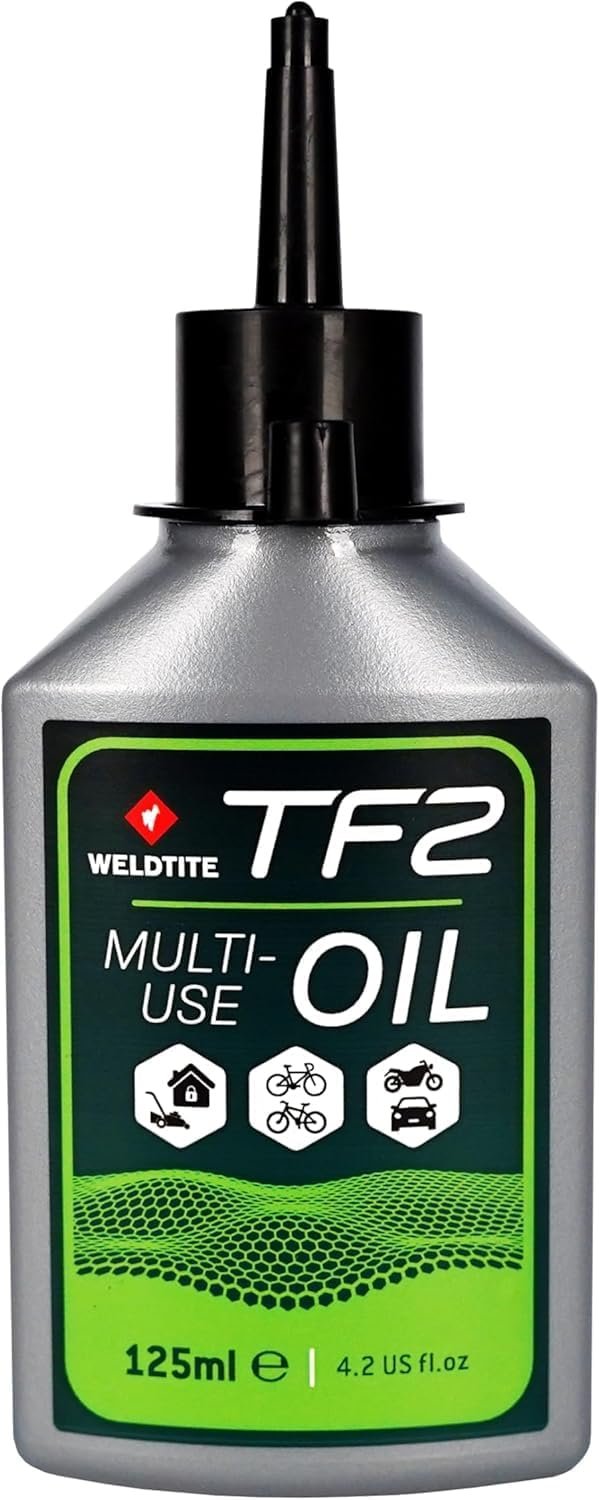
- Lubricants: chain-specific lube appropriate to your chain type and riding conditions—wax, heavy wet lube or off‑road formulations. (See our buying guide “How to Choose the Right Chain Maintenance for Your Riding Style” for help.)
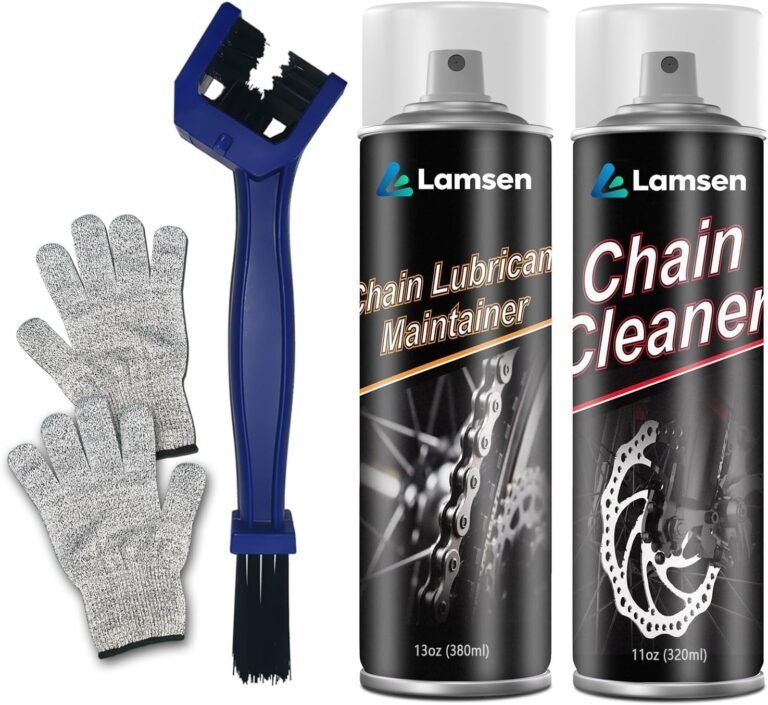
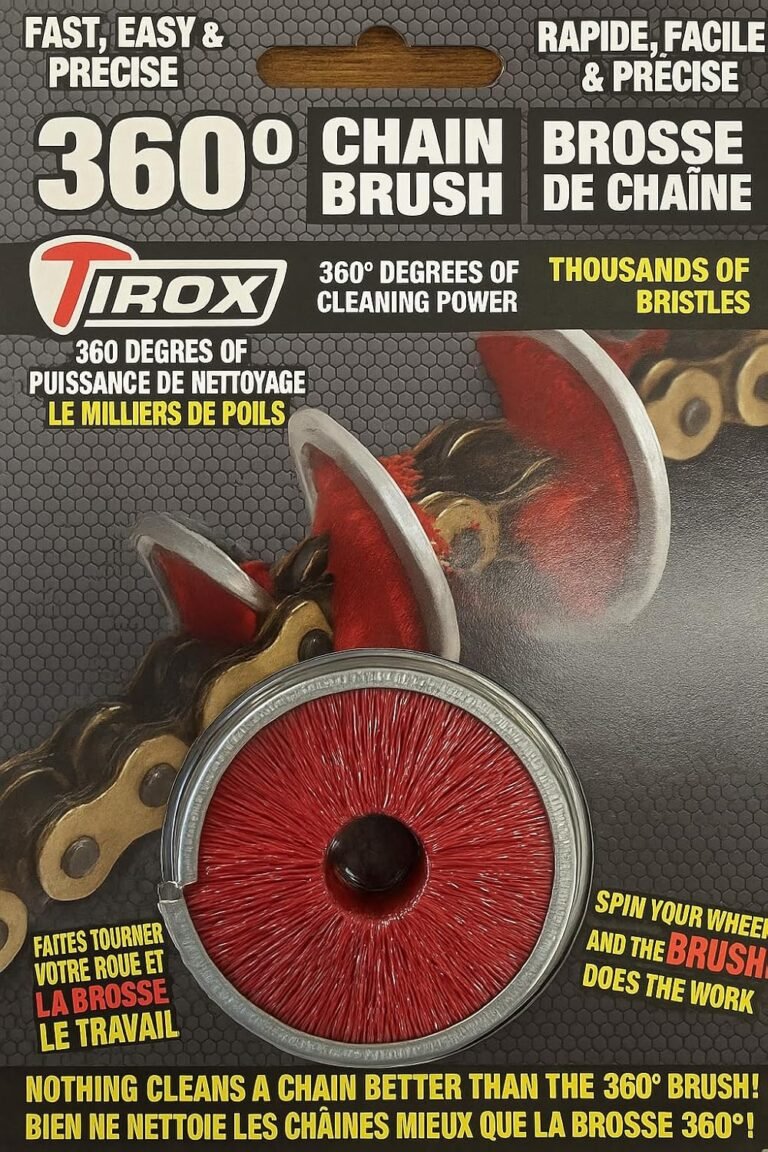
- Chain cleaning aids: brushes or a chain cleaner tool can speed and improve cleaning. We list a chain washer and cleaning brush in our product links.
- Stand or paddock: a rear stand or wheel roller makes inspection and lube easier by letting the wheel rotate freely. Models like the Kaedear aluminum wheel roller stand or the Grand Pitstop GRoller are linked in our store pages.
Work on a level surface, the engine off and the ignition removed where practical. Wear gloves and eye protection when using degreasers and lubricants; follow chemical safety guidance on product labels.
Step-by-step chain inspection checklist
Use this methodical inspection to catch common problems early. If you’re uncomfortable with any step, seek professional help.
- Stabilize the bike: Use a center stand, rear paddock stand, or wheel roller so the rear wheel can rotate freely.
- Visual sweep: Rotate the wheel slowly while viewing the full length of the chain. Look for rust, missing rollers, loose O‑rings, damaged plates or heavy grime.
- Check for stiff or tight links: With the wheel rotated to bring each section of chain into reach, flex the link at the master link to see if it moves smoothly. Stiff links that don’t free with gentle lubricant may indicate internal corrosion.
- Measure chain slack: Check chain vertical movement in the midpoint of the lower run—consult your owner’s manual for the correct slack range for your model.
- Inspect sprockets: Look for hooked, chipped or worn teeth. A hooked tooth profile or heavy wear on one side is a sign to consider replacement with the chain.
- Look for oil or fluid leakage: Excess oil on the chain that attracts heavy grit or significant oil loss from the gearbox may indicate other issues.
Document findings and, if problems are spotted, plan cleaning, lubrication or service. If you find a cracked link, missing roller or severely worn sprocket, stop riding and consult a professional immediately.
How to clean and lubricate safely—step-by-step
Cleaning and lubing properly extends life and delivers the best protection. Follow a cautious process:
- Decide whether to clean: Light surface dust and a mildly dirty chain often only need degreasing of the lube point and re-lubrication. If heavy grime, old accumulation or off-road mud is present, perform a deeper clean.
- Protect nearby surfaces: Mask or cover painted parts and the rear wheel where you don’t want cleaners to spray.
- Apply cleaner: Use a chain-specific degreaser (for example, Motul C1 Chain Clean is available from our product links). Spray or apply per the product instructions and let it loosen grime.
- Brush and rinse: Use a dedicated chain brush or washer tool to scrub the side plates, rollers and O‑ring gaps. Remove loosened debris with a rag; avoid pressurized water directed at seals for extended periods.
- Dry the chain: Wipe thoroughly; let it air for a short time if necessary. Do not apply lube to a wet, soapy chain—wait until it’s dry to avoid trapping contaminants.
- Apply lubricant: Use a chain lube suited for your conditions. Apply to the inner (sprocket-facing) side of the chain while slowly rotating the rear wheel so lube reaches rollers and pins. Wipe excess after application to avoid sling and grit pickup.
- Let it set: Allow the lubricant to penetrate per manufacturer guidance—some waxy lubes need time to bond before riding.
Avoid household solvents that remove factory seals or damage O‑rings. If you need product suggestions or a comparison, see our buying guide “How to Choose the Right Chain Maintenance for Your Riding Style” and product pages for cleaners and lubes linked above.
Adjustment basics and what to never guess
Correct chain tension matters: too loose increases the chance of the chain jumping sprockets, too tight increases wear on bearings and the chain. Adjustments should be model-specific—consult your owner’s manual for the correct slack measurement, adjustment method and torque values for axle or adjuster bolts.
General guidance:
- Check slack at the midpoint of the chain’s lower run when the motorcycle is on its sidestand or center stand as specified by the manual.
- Adjust incrementally and recheck, rotating the wheel to take up any twist or binding.
- Never ride with the axle or adjuster bolts loose or without verifying the locking mechanism is secure after adjusting.
Do not invent or guess torque values—those are safety critical. If your manual is missing or unclear, obtain a service manual or consult a trained mechanic.
When to replace chain and sprockets, and signs of trouble
Chains and sprockets wear together. Replacing the chain alone typically shortens the life of a worn sprocket and vice versa. Look for:
- Excessive chain elongation: When the chain can’t be corrected by normal adjustment, it’s likely worn. Exact measurement methods and limits depend on the motorcycle—refer to the manual.
- Stiff links: Links that refuse to free up after cleaning and lubrication are a red flag.
- Sprocket tooth shape: Hooked teeth, uneven wear or missing teeth require replacement of the affected sprockets, and often the chain.
- Noise and vibration: A rough-sounding drivetrain or vibration under throttle can indicate wear beyond adjustment limits.
If you see these signs, plan replacement and inspect the final drive components during service. Some riders replace the chain and both sprockets as a set to avoid premature wear of new components.
Knowing when to seek professional service
Routine inspection, cleaning and basic tension adjustments are within reach for many riders. However, consult a professional if you encounter any of the following:
- Cracked, broken or missing links or rollers.
- Severe corrosion that penetrates link plates or pins.
- Unclear chain slack limits because of missing manual or ambiguous measurements.
- Axle, adjuster or sprocket damage—especially where special tools or torque values are needed to reassemble safely.
- Persistent drivetrain noise after lubrication and adjustment.
A trained technician can safely remove, measure and replace chain components and apply proper torques. When in doubt, get professional help—riding on a compromised final drive risks further damage and personal safety.
Model-specific verification and record keeping
Your owner’s manual or service manual overrides any general rule. Before performing adjustments, cleaning or replacement, verify the exact chain slack, lubrication type recommended by the manufacturer, and torque values for fasteners. If you lack the paper manual, manufacturer websites generally provide downloadable copies or authorized dealers can advise.
Keep a maintenance log: record date, odometer, what you inspected, lubricant used and any parts replaced. This helps identify trends—if you’re shortening service intervals, you may need a different chain type or different riding habits.