riderinstinct
Why tire checks matter (decision framework)
Tires are the single component between you and the road. They determine grip, braking distance, cornering behavior and ride stability. A minor puncture or a few pounds of lost pressure can change handling noticeably on a motorcycle. That makes routine checks a high-value, low-effort safety habit.
Before deciding how often to check tires, consider three factors that change the risk profile:
- Usage: Daily commuting, long touring, or track riding accelerate fatigue and wear compared with occasional short rides.
- Environment: Rough roads, gravel, pot-holes, salt, and hot climates increase damage and aging risk.
- Tire age and condition: Older tires, those near the wear limit or with prior repairs require more frequent attention.
Use those factors to choose a schedule that balances safety and practicality: riders who commute or carry loads should check more often; occasional riders may check less frequently but still perform a pre-ride visual inspection before any long trip.
How often: a practical schedule
Here’s a practical, rider-focused schedule you can adapt. These are maintenance patterns, not fixed rules—always verify your motorcycle owner’s manual and the tire manufacturer’s guidance for any model-specific requirements.
- Pre-ride quick check (every ride for high-speed/loaded rides; before long trips): Look for obvious damage, foreign objects, flat-looking tires, and check that the pressure appears normal compared to the last known good reading.
- Weekly pressure check: For regular riders, check pressure at least once a week and before every long ride. For low-mileage or storage situations, check monthly to detect slow leaks or air migration.
- Monthly thorough inspection: Measure tread, look for irregular wear, inspect sidewalls, valve stems, rim seats and signs of aging (cracking, dry rot). Check for loose weights or balance issues if you feel vibration.
- After abnormal events: Check tires immediately after any impact (pothole, curb, strike), after a suspected puncture, or after riding over debris or rough surfaces.
- Before and after storage or seasonal changes: Inspect tires when preparing your motorcycle for storage and again when returning to active use—cold temperatures, UV and low use can hide deterioration.
This schedule lets you catch both sudden problems and slow-developing issues without excessive fuss. Adjust frequency upward if you ride hard, carry heavy loads, or ride in rough environments.
What to prepare: tools and supplies
You don’t need a garage full of tools to perform meaningful tire checks. These basic items let you confirm condition and respond to common issues:
- Reliable pressure gauge: A digital or high-quality mechanical gauge calibrated for motorcycle pressures. Avoid relying solely on built-in gauge readings from fuel station compressors.
- Tire tread depth gauge or a simple coin test method: A small inexpensive depth gauge is more precise; coins or small rulers can work for rough checks.
- Flashlight: Helps spot small cuts, objects and sidewall damage.
- Soapy water in a spray bottle or leak-detection fluid: Useful to locate slow leaks at valves, rim beads or patches of damage (for tubeless rims).
- Marker and notepad or phone log: Record pressure readings, dates, and any repairs or punctures so you can track trends.
- Portable air pump or access to a calibrated compressor: For topping up pressure to manufacturer values. Use a pump designed for motorcycle tire pressures and always check pressure cold.
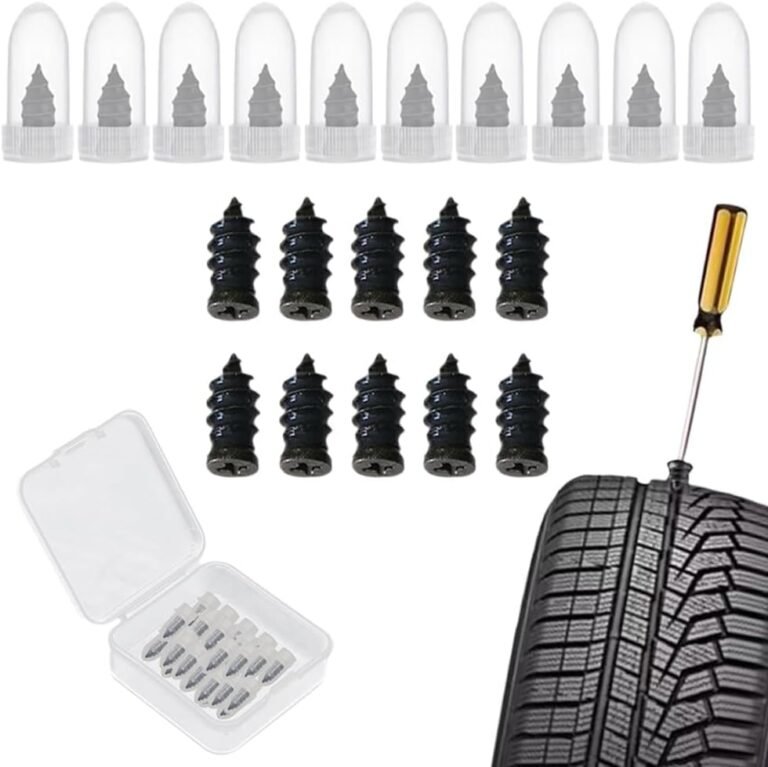
Keep basic puncture repair supplies only if you understand their limits: temporary plugs and a compressor can get you home, but don’t treat a plugged tire as a permanent fix—have a professional inspect repaired tires.
Step-by-step: a safe tire check routine
Follow this repeatable, safety-minded routine for a thorough monthly inspection and a shorter pre-ride check. Always perform checks with the bike on level ground and the tires cool for accurate pressure readings.
Pre-ride quick check (2–5 minutes):
- Stand the bike upright on its side stand or center stand so you can view both tires clearly.
- Visually scan each tire: look for objects stuck in the tread, cuts, bulges, cracks or chunks missing.
- Check the tire profile: a visibly flat-looking tire or obvious deflection at the contact patch indicates low pressure—stop and measure pressure before riding.
- Do a quick wheel spin (if safe and practical) to listen for thumping that might suggest a puncture or separated belt.
Monthly full inspection (10–20 minutes):
- Measure pressure cold using your gauge and record both front and rear values. Compare with the motorcycle manufacturer’s pressure chart and the tire sidewall recommendations; use the owner’s manual where available for loaded/solo settings.
- Measure tread depth across several points of the tread face (center and shoulders). If your tire has tread wear indicators (TWI), check their level relative to the tread.
- Inspect the tread for uneven wear patterns: cupping, feathering, flat spots or a scalloped pattern. These patterns point to alignment, suspension or balance problems.
- Examine sidewalls carefully with a flashlight: look for cuts, deep scuffs, bubbles, blisters or cracking. Any sidewall bulge/bubble is a serious defect—do not ride if present.
- Check valve stems and caps for leaks and damage. Press a finger around the base while you spray soapy water on the stem or rim joint—bubbles indicate leaks.
- Check the bead area where the tire meets the rim for corrosion, cracks or evidence of past leaks. For tubeless rims, a soapy-water spray can reveal slow leaks at the bead.
- Spin the wheel to observe for balance weights that have come loose and for a wobble that suggests wheel or tire deformity.
- Look for signs of aging: extensive cracking between tread blocks or along the sidewall, severe drying or rubber chunks missing. Age-related deterioration reduces the tire’s structural integrity.
If you find damage or anything uncertain, remove the bike from service and consult a qualified tire technician before riding at speed.
How to interpret what you find (symptoms and likely causes)
Knowing what a symptom commonly indicates helps you decide whether to continue riding, top up pressure, or get professional help:
- Slow loss of pressure over days to weeks: Could be a small puncture, a leaking valve, rim corrosion, or permeation through the tire. Track pressure over several checks to confirm a trend.
- Rapid loss of pressure: Indicates a puncture or a bead/rim issue. Stop riding and change or repair the tire safely; do not continue at speed.
- Bulges, blisters or sidewall separation: Structural damage to the carcass—replace the tire immediately; this is not repairable for safety.
- Irregular wear (one-shoulder wear, cupping, center wear): Often caused by incorrect pressure, misalignment, suspension issues or improper loading. Diagnose the root cause rather than just replacing the tire.
- Vibration or wobble at speed: Could be a balance issue, bent rim, separated belt, uneven wear, or loose wheel bearings—have a shop inspect before high-speed riding.
When in doubt, err on the side of caution. Replacing a marginal tire is usually cheaper and safer than risking a failure while riding.
Tread depth, wear indicators and when to replace
Tread depth is a key indicator of grip and the tire’s ability to evacuate water. Most modern motorcycle tires have molded tread wear indicators (TWI) that sit flush with the tread surface when the tire reaches the manufacturer’s minimum allowable depth. Use those indicators and your motorcycle or local regulations to determine replacement time.
Practical tips:
- If your tire has TWIs, check their position relative to the tread across the whole width—if the tread is level with the TWI at any point within the intended riding area, plan a replacement.
- Measure across multiple points (center and shoulders). Some tires wear differently between the center and shoulders due to riding style or chassis geometry.
- Remember that just meeting the minimum legal tread depth doesn’t guarantee optimal wet weather performance—consider replacing earlier if you ride in the rain or at speed frequently.
- Document tread depth readings so you can see how quickly a tire is wearing and anticipate replacement before it becomes critical.
If you’re unsure how to interpret indicators or readings for your specific tire, consult the tire maker’s documentation or a reputable tire shop for advice.
Pressure checks: best practice and common traps
Pressure is the single easiest variable you can control that affects tire life and safety. Follow these best practices and avoid common traps:
- Check cold: Always measure tire pressure when the tires are cold—after the bike has been stationary for several hours. Riding heats the tire and raises pressure, giving a false high reading.
- Use a good gauge: Cheap gas-station gauges can be inaccurate. A personal gauge and periodic verification against a trusted source are worth the investment.
- Follow manufacturer guidance: Use the motorcycle manufacturer’s recommended pressure for load and number of riders. When in doubt, check both the owner’s manual and the tire sidewall and follow documented guidance.
- Avoid over-inflation: Over-inflation reduces the contact patch and can accelerate center wear and reduce grip; under-inflation increases heat, causes irregular wear and can lead to structural damage.
- Don’t chase matching pressures to someone else’s numbers: Different bikes, tire types and loads mean what’s right for one rider isn’t for another. Verify against your documentation and adjust for load and luggage.
Record your cold-pressure readings. If pressure drops more than a small amount between checks, investigate for leaks or damage rather than simply topping up every time.
When to call a professional and what to expect
Some tire problems are beyond home repair and require professional diagnosis and action. Situations that should trigger a shop visit include:
- Any sidewall bulge, bubble, or deep cut.
- Rapid or repeated loss of pressure after attempted repairs.
- Unusual vibration, wobble, or handling changes at speed.
- Visible cord, belt or ply exposure through the rubber.
- Complex damage to the bead or rim seating area.
What a shop will do:
- Mount the tire and wheel and inspect internally for structural damage.
- Spin-balance the wheel and check for bent rims, loose weights and bearing play.
- Perform a leak test of the bead, valve, and rim with calibrated tools, and advise on repairability.
- Replace tires that have structural damage, unsafe wear, or failed previous repairs.
If a shop suggests replacement, ask for documented reasons (photos or specific wear measurements). Reputable shops will not recommend replacement solely for cosmetic issues without explaining the safety rationale.
Keeping a simple tire maintenance log and seasonal considerations
A small log helps you spot trends and avoid surprises. Track the date, mileage, cold pressure readings, tread depth measurements, repairs, and any handling notes. Over time you’ll see how fast a given tire wears on your bike and riding style.
Seasonal and storage tips:
- Store the bike out of direct sunlight and away from ozone sources (electric motors or sealed battery chargers) to slow rubber aging.
- If the bike sits for extended periods, check tire pressures monthly and rotate or support the bike to prevent flat spots on one section.
- Cold weather changes rubber behavior and pressure; check more frequently during temperature swings and consult your owner’s manual for any winter riding guidance.
Keeping simple records will also make it easier to identify whether a tire issue is a one-off or the start of accelerated wear that needs attention.