riderinstinct
Start with the decision framework: trade-offs that determine every choice
Before shopping for tents, bags or racks, decide what kind of motorcycle camping trip you want. Your choices flow from a handful of trade-offs:
- Comfort vs. weight: Larger tents, warmer sleeping bags and more cook gear increase comfort but add bulk and weight. Lighter setups let you cover more miles and reduce stress on suspension and handling.
- Self-sufficiency vs. speed: Carrying fuel, water and tools buys independence in remote areas but slows you down and complicates packing. Relying on frequent towns and campsites simplifies gear but forces route constraints.
- Planned vs. flexible itinerary: Pre-booking campsites and services reduces uncertainty and stress, especially in high season. Staying flexible lets you chase weather and skip bad days—but always have contingency options for fuel, food and shelter.
- Riding style vs. comfort needs: Aggressive mileage days require more attention to comfort, hydration and sleep. Shorter days allow heavier setups and more leisure at camp.
Make a clear primary goal for your trip—examples: “cover 200–300 miles per day on mostly paved roads” or “ride 7–10 days across remote backcountry with fuel caches.” That decision drives every subsequent choice from tent size to toolkit. Write the goal down and use it as the filter for gear and route planning.
Route strategy and daily-distance planning
Good route planning reduces surprises and preserves energy. When plotting daily mileage, factor in road type, elevation, expected stops and rider fatigue, not just distance on a map.
- Choose realistic daily distances: For long-distance touring on mixed roads, many riders find 150–300 km (90–190 miles) per day reasonable. If you expect technical gravel, high elevation passes or frequent stops, reduce that target.
- Plan mileposts, not micro-schedules: Identify towns, fuel stops, campgrounds and emergency services at sensible intervals. Note distances between reliable fuel sources; in remote areas, double-check fuel range and plan reserves.
- Book strategically: Reserve accommodations or campsites in busy regions or nights where you must arrive early. For remote areas, identify at least two alternate sites per day.
- Use the buffer rule: Build in a time and distance buffer each day for weather, mechanicals and fatigue—aim for a 20–30% buffer over your planned riding time.
- Plan rest days: Schedule a zero-mile or low-mile day every 4–6 days to recover and do maintenance (chain, tires, cleaning gear) and resupply.
Mapping tools and offline navigation are essential. Download maps and points of interest, and carry a paper map or printed list of key waypoints for remote sections in case electronics fail.
Packing philosophy: what to carry and what to leave behind
Packing well is the single biggest difference between a miserable and an enjoyable motorcycle camping trip. Prioritize items that keep you safe, dry and rested.
- Top priorities: Shelter, sleeping system, weather protection (helmet/boot/glove rain layers), water and a way to make hot drinks/food.
- Secondary priorities: Tools and spares that prevent or shorten a roadside delay, a compact first-aid kit, lighting and navigation backups.
- Stuff to avoid unless needed: Duplicate clothes, heavy luxuries, large cookware sets or tools you won’t use. Every non-essential item costs in weight and space.
Think in zones: items you need while riding (rain suit, documents, phone, snacks), items you need at camp (sleep system, cooking gear), and items for both (first-aid, multi-tool). Place quick-access items in tank bags or top pockets and heavier gear low and rear to maintain handling.
Motorcycle luggage and load distribution
How you carry gear affects handling and safety more than the exact brand of tent. Balance, security and waterproofing should guide luggage choices.
- Types of luggage: Hard panniers offer security and organization; soft panniers and roll-top dry bags provide flexibility and lighter weight; a small top bag or tail bag works well for sleeping bags and items you’ll access at camp. Consider mixing systems to match your priorities.
- Waterproofing: Use dedicated waterproof bags or dry sacks for critical kit—sleeping bags, electronics and clothes. If using soft luggage, pack valuables in dry bags inside panniers. For options, see the Marscamd 60L Waterproof Motorcycle Dry Bag for a roll-top dry storage approach.
- Load distribution: Keep the heaviest items low and close to the bike’s centerline. This minimizes the effect on steering and stability. Avoid stacking heavy items high on the tail or handlebars.
- Secure mounting: Use proper pannier racks, rated straps and lockable hardware. Regularly check straps for abrasion and anchor points for wear. If you must lash gear directly to a rack, use multiple tie points and quality cam straps or ratchet straps rated for road use.
- Quick-access storage: Put rain gear, maps, snacks and a small tool kit in an accessible tank bag or map pocket so you can stay comfortable and safe without unloading the bike.
Finally, test-load your bike before departure. Ride a short loop at highway speeds to check for shifting loads, audible rubs and changes in handling, then rebalance as needed.
Shelter and sleep systems: choosing for conditions and packability
Your sleep system determines how rested you’ll be. Invest time choosing a tent, pad and sleeping bag suited to the conditions you expect.
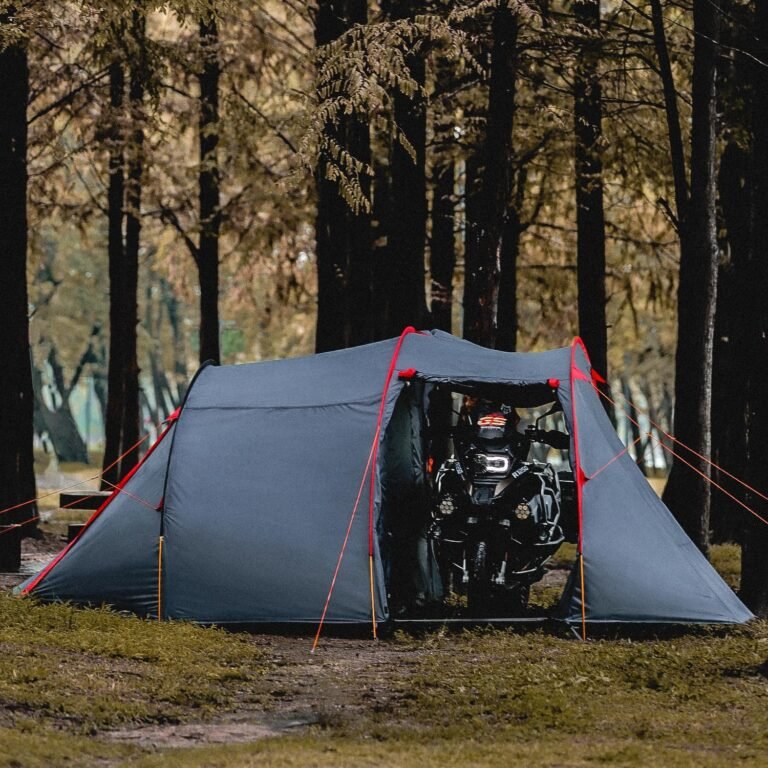
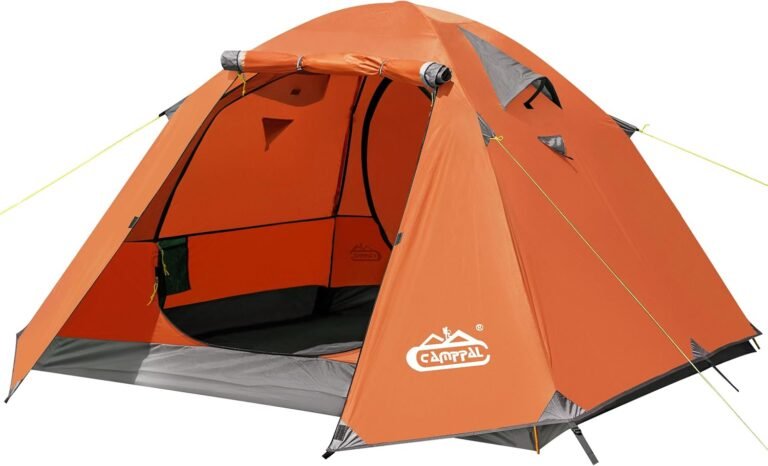
- Tents or shelters: For multi-night touring, choose a simple two-person or one-person tent with a small footprint and easy setup. Vestibules are very useful for boots and gear. If you expect high winds or heavy rain, consider sturdier models or tarp systems. For a compact motorcycle-appropriate option, see the linked backpacking tents that are marketed for motorcycle and hiking use, but always verify the tent’s dimensions, weight and waterproof ratings with the manufacturer.
- Sleeping bags: Prioritize temperature rating and compressibility. A bag that’s too warm increases bulk; one that’s too light risks cold nights. Check manufacturer temperature ratings for the climates you’ll ride through; rider needs vary with sleep pad and clothing.
- Sleeping pads: A compact inflatable or foam pad improves insulation and comfort more than an extra half-step up in bag warmth. Firmness also affects back comfort and sleep quality.
- Camp footprint: Pack a groundsheet or footprint if the tent doesn’t include one. It protects the tent floor and speeds drying and cleaning.
When evaluating gear, verify manufacturer specs for weight, packed size and temperature ratings rather than relying on marketing claims. If you have limited space, prioritize a reliable shelter and a warmer, compressible sleeping bag over larger cooking gear.
Cooking, water and food planning for the road
Food and hydration directly affect energy and alertness. Balance convenience with compressibility and fuel availability.
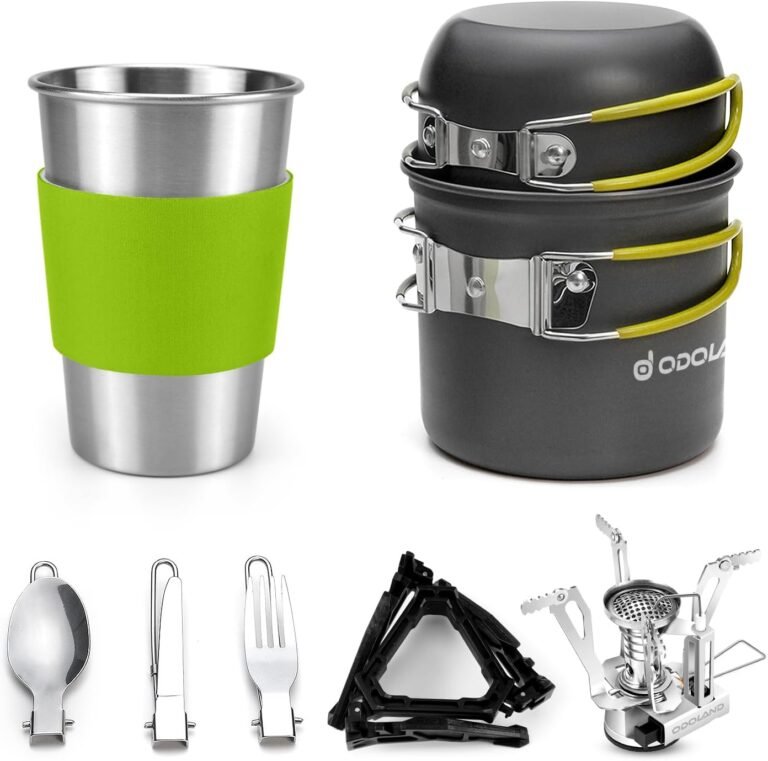
- Cook systems: Small canister or liquid-fuel stoves give hot meals and coffee with minimal weight. Look for compact nested cook sets if you want minimal bulk. The site links include multiple compact cook and stove options—compare them and confirm fuel type and stove reliability with the manufacturer.
- Meal planning: Plan simple meals that require minimal water and fuel, and use resealable bags for portioning. Prepping some food ahead (dehydrated meals, vacuum-sealed items) reduces time at camp.
- Cold-soak and no-cook options: Cold-soak (reconstituting food in a sealed bag without heat) and ready-to-eat items reduce fuel needs and setup time—handy on rainy nights or when fuel is limited.
- Water strategy: In remote riding, know where potable water is available. Carry a filter or purification tablets if you’ll use natural sources. Carry enough between reliable sources—don’t assume streams run year-round.
- Food storage and wildlife: Use bear boxes where required, or store food in sealed containers away from your sleeping area. Obey local rules and follow Leave No Trace principles—pack out trash and minimize campsite impact.
Practice your camp cook routine at home so you know how long your stove takes to boil and how many fuel canisters you’ll need for a planned trip length. Verify compatibility between a stove and fuel when buying: manufacturer guidance is the source for that.
Weather preparation and wet-weather tactics
Weather makes or breaks motorcycle camping. Prepare layers and strategies so rain or cold don’t ruin a trip.
- Layering system: Use a breathable base layer, insulating mid-layer and a reliable outer shell. A separate waterproof overlayer that fits over your riding suit is invaluable on long wet days.
- Feet and hands: Pack an extra pair of socks and a second pair of gloves—one insulated/waterproof and one lighter for dry conditions. Drying gloves and socks overnight is often the limiting factor for rider comfort.
- Quick-dry everything: Choose moisture-wicking fabrics and compressible insulation so you can dry or repack gear fast at camp.
- Camp wet-weather plan: Bring a small tarp or use a tent vestibule to create a dry cooking area. If you expect continuous rain, prioritize sheltered campsites, a tent with good ventilation to reduce condensation, and a plan to cook under a tarp or at a picnic shelter.
- Sun and heat: In extreme heat, ride early and late, hydrate frequently and use breathable mesh gear with removable liners. Shade and early-morning departures reduce heat fatigue.
Always check longer-range forecasts before committing to a remote dirt or high-elevation route and have alternates in lower elevation or less exposed corridors.
Maintenance, spares and contingency planning
Small mechanicals often cause the biggest delays. Carry prioritized spares and have a plan for common failures.
- Essential spares and tools: Tube or tubeless repair kit, tire plug kit, chain tool and quick links, spare fuses, a multi-meter or test light if you know how to use it, spare bulbs if your lamp is hard to replace, and basic wrenches/sockets for your bike’s fasteners. Tailor the kit to your bike—check the owner’s manual for fastener sizes and fuse types.
- Emergency gear: A compact air pump or CO2 inflator, a rescue tow strap, and a compact first-aid kit. Consider a small packable blanket for shock situations.
- Communications and navigation backups: Carry at least two communication methods: phone with offline maps, plus an emergency beacon or satellite communicator if riding extremely remote routes. Know how to use them and test batteries and SIMs beforehand.
- Assistance plans: Register for roadside assistance if available for motorcycles in your region, note local tow and mechanic services along your route, and leave an itinerary with someone who can raise the alarm if you don’t check in.
- Fuel contingency: In remote areas, plan for reserves: carry approved jerry cans or identify fuel caches/shops. Verify any portable fuel container’s compatibility with your bike and local laws before carrying fuel.
Practice basic repairs at home—fixing a puncture, replacing a fuse and adjusting chain tension will save time and stress on the road. For any complex work, arrange transport or find a professional mechanic; don’t attempt repairs outside your capabilities that compromise safety.
Safety, fatigue management and campsite security
Riding while tired is dangerous. Your camp routines should protect sleep quality and minimize evening tasks that can increase fatigue or risk.
- Fatigue management: Take rest breaks every 60–90 minutes during long days. If you feel slowing reaction times, headaches or tunnel vision, stop and rest—short naps can reset alertness more than pushing through. Hydrate and eat regular light snacks for stable energy.
- Evening rituals to preserve sleep: Keep camp tasks simple: set the tent, change into dry base layers, cook a quick meal and prepare gear for the morning (fuel, battery charging, tire checks). Avoid heavy alcohol and late-night screens if you need quality sleep.
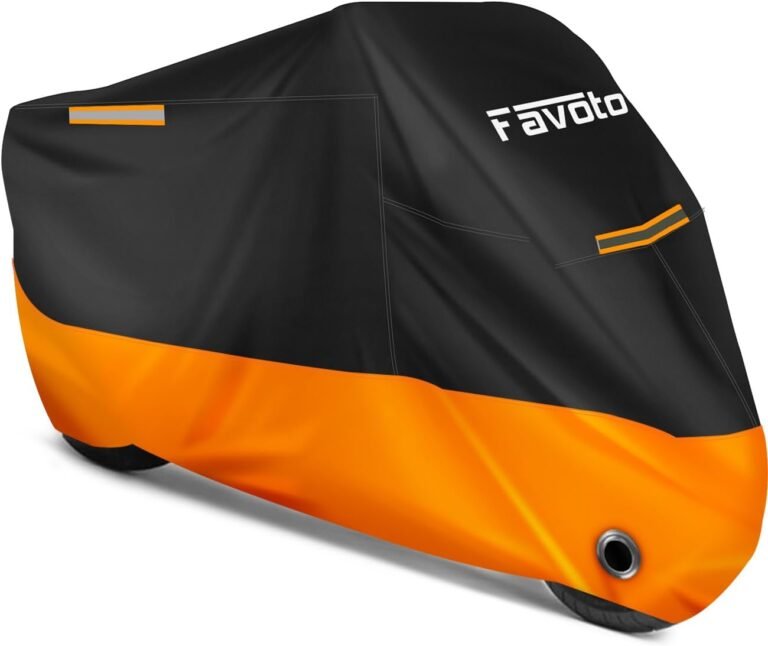
- Campsite security: Choose well-drained, level ground away from hazards. Lock your bike if possible, or use a cover and park visible to other campers. Store valuables out of sight or in locked luggage. If wildlife is a concern, use approved food storage and hang food where required.
- Wild camping ethics: Respect private property and rules, minimize impact, and follow Leave No Trace. In some regions wild camping is restricted—check local regulations and landowner permissions.
Good sleep and sensible limits are the best safety investments on a multi-day trip. If a day feels unsafe to ride, accept the cost of an extra night—it’s cheaper than an accident or mechanical breakdown far from help.
A practical camp routine and example packing checklist
Establishing a compact morning and evening routine speeds camp chores and reduces mistakes. Practice it once or twice before a long trip.
Evening camp routine (30–60 minutes):
- Settle the bike and apply a cover or lock as needed.
- Pitch tent and organize vestibule for boots and rain gear.
- Dry or air out wet items and place damp gear to reduce condensation inside the tent.
- Cook a simple meal, then clean and store food and trash in bear-safe containers or locked luggage.
- Charge essential electronics and set alarms. Prep clothes and fuel for the morning ride.
- Do a quick safety check: tires, chain, lights, and brakes.
Morning pack-up routine (20–40 minutes):
- Wake, hydrate and do a short body stretch.
- Break camp, shake out dirt from the tent, store damp items last so they ventilate in the top bag.
- Re-pack sleeping gear in a dry sack; use a separate small waterproof bag for electronics and documents.
- Fuel up and check tire pressures and chain slack according to your bike’s manual.
- Re-check route and weather and confirm phone/GPS are charged and working.
Example prioritized packing checklist:
- Documents: license, registration, insurance, emergency contacts.
- Quick-access: rain gear, wallet, phone, snacks, map/tank bag.
- Shelter: tent with footprint and stakes (or tarp system).
- Sleep: sleeping bag (compressible), sleeping pad.
- Cooking: compact stove and pot, lighter/matches, spill-proof mug (see compact cook sets linked on the site).
- Tools & spares: multi-tool, tire repair kit, chain quick link, basic tool set and spare fuses/bulbs.
- Safety: first-aid kit, headlamp, compact emergency blanket, communication device.
- Clothing: base layers, insulating layer, waterproof outer layer, extra socks and gloves.
Use a short pre-ride checklist (documents, fuel, chain, tire, lights) every morning to prevent simple oversights that cause delays or danger.