riderinstinct
Understanding the decision framework: trade-offs and priorities
Every touring equipment choice is a set of trade-offs. The primary variables to balance are weight, volume, security, weather protection, and convenience. What you prioritize on a two-day coastal ride may differ from a multi-week mixed-terrain tour.
Before buying gear, make these decisions: what kind of roads (paved vs. gravel), how much security you need (city stops vs. remote camping), whether you need quick access to items during the day, and how much weight your bike and racks can safely carry. These choices determine whether you pick soft saddlebags, hard panniers, a top box, or a combination.
Uncertainty is normal: you may not know weather conditions or how your bike will handle a particular luggage load. The right approach is conservative—start lighter, test-ride fully loaded at local speeds, and gradually add capacity or protection as you gain confidence. For any weight- or stress-critical values (payload, rack torque, mounting specs), always verify the motorcycle or accessory manufacturer documentation rather than relying on general rules-of-thumb.
Luggage systems: types, mounting and weight management
Choose the luggage system to match trip type and security needs.
- Soft luggage (duffels, saddle bags, dry bags): Light, versatile, and compressible. Best for adventure and variable packing loads. Easier to store off the bike but less theft-resistant and typically less organized.
- Hard luggage (ABS panniers, top boxes): Offers better security, weather resistance, and organization. Heavier and more expensive, but often more convenient for multi-day road touring where leaving the bike unattended is common.
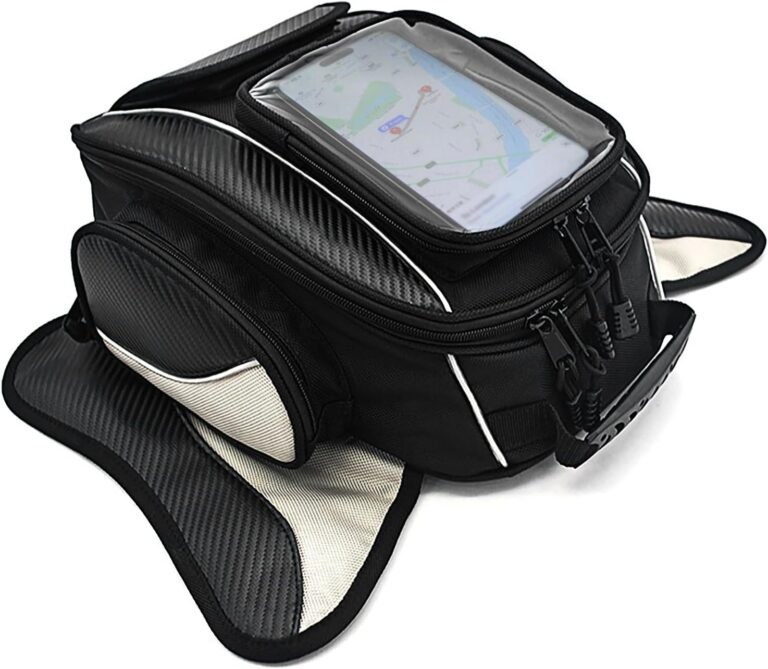
- Tank bags and tail packs: Provide immediate access to phones, maps, documents and snacks. Tank bags keep essential items within reach without dismounting.
Mounting choices matter: bolt-on racks and pannier frames are stable and reliable when installed correctly. Quick-release systems add convenience but check the locking and load ratings for your bike and the rack brand. If you ride a cruiser or touring bike, look for model-specific racks or detachable racks like the ones reviewed on RiderInstinct for compatibility. See our coverage of detachable luggage racks and hard saddlebags for touring Harleys in the internal links for examples.
Weight management is the single most important handling consideration: keep heavy items low and close to the bike’s centerline. That means packing the heaviest items in panniers low on the bike, not on a top box, and using compression to keep the load compact. Always check your motorcycle’s payload rating in the owner’s manual and account for rider + gear + luggage when planning loads.
Riding clothing and weather protection: layers, rain gear and comfort
Comfort and weather management directly affect rider safety because cold, wet or fatigued riders are slower and make more mistakes. Plan clothing around layering and redundancy rather than one heavy piece.
- Base layers: Moisture-wicking next-to-skin fabrics reduce chill and improve comfort on variable days.
- Mid layers: Lightweight insulating layers (fleece or synthetic) for cool mornings and high-altitude riding.
- Outer shell: A protective textile or leather shell with CE-rated armor for impact protection. Consider ventilation panels for warm weather.
- Rain suit: Carry a lightweight waterproof outer layer—either a 2-piece rain suit or a waterproof shell—so you can stay dry between gas stops. RiderInstinct has a rain suit product page that shows the sort of lightweight, packable options available.
- Gloves and boots: Bring a waterproof option and a ventilated option. Dry hands and feet make a big difference to fatigue and control.
For colder or longer tours consider heated gear (vests, gloves, grips) but ensure your bike’s electrical system can support it or use battery-powered options. Test your full riding kit before departure so you know how it fits, where bulk will interfere with luggage straps, and whether you can access zippers and pockets while mounted.
Navigation, power and communications on the bike
Navigation and reliable power are core to stress-free touring. Decide whether you will use a dedicated GPS, a smartphone, or both. A rugged mount and a stable power solution are non-negotiable.
- Mounting: Use a purpose-built handlebar or clamp mount sized for your device. There are motorcycle clamp mounts made for many larger GPS devices—see our mount product link for examples—but make sure the mount is vibration-damped and securely installed to avoid device loss or vibration damage.
- Power: Hard-wire a USB power outlet or a dedicated accessory socket to keep devices charged. Confirm that wiring is fused and professionally routed to avoid interference with steering and controls. Consider a small power bank for overnight backup.
- Audio/Comms: Helmet communicators are useful for calls, music and intercom with a passenger. Verify helmet compatibility and battery life for multi-day use.
Map apps and GPS units behave differently in remote areas—download offline maps and POIs if using a phone, and carry paper maps or GPS waypoints as a backup for areas with unreliable reception. Plan charging stops and know how to safely dismount electronics when changing riders or parking in the rain.
Tools, spares and emergency repair kits
Being able to fix small problems keeps you moving and reduces the chance a minor issue becomes a major delay. Carry the right mix of tools and spares for your bike and your route remoteness.
- Toolkit basics: Multi-bit screwdriver, adjustable spanner, combination wrenches that fit your bike’s common fasteners, pliers, a tire pressure gauge, and a compact socket set. Tailor the sizes to your specific bike—verify fastener types and sizes in your service manual.
- Tire repair: Tubeless motorcycles should carry a plug kit, portable inflator or CO2 cartridges, and/or a compact electric pump. Riders on tube-type wheels should carry spare innertubes, appropriate tire irons, and a pump. Practice changing or plugging a tire at home first.
- Spares: Bulbs and fuses, a length of fuel line, spare clutch or brake cables (if your bike uses cable systems), zip ties, hose clamps and a short roll of high-strength tape or repair tape.
- Emergency signalling: High-visibility vest, small flashlight or headlamp, and a basic first-aid kit sized for the number of riders.
Know how to use every item you pack. A toolkit is useless unless you can operate the tools under stress, in weather, and with limited daylight. If in doubt about a repair, find a safe place to stop and contact local assistance rather than attempting risky fixes on the roadside.
Packing strategy: organization, accessibility and weight distribution
Smart packing makes the day-to-day of touring easier and safer. The goal is to make commonly used items accessible, keep the center of gravity low, and avoid shifting loads while riding.
- Three-tier packing rule: Keep daily-access items (documents, phone, snacks, rain gear) in the tank bag or top of a tail pack; overnight items (sleeping bag, clothes) in panniers; and spare tools and heavy items low and close to the frame.
- Compression and modularity: Use packing cubes or dry bags to keep gear organized and compressed. Compressing soft items prevents movement inside panniers that can affect handling.
- Balance left-to-right: When using two panniers, distribute weight evenly. If carrying a single large tail bag, offset by placing other dense items low on the opposite side if possible.
- Fasten properly: Use ratchet straps or locking cam straps for heavy loads and secondary lashing points to prevent load shift. Re-check strap tension after the first few miles and at each stop.
Before long tours, do a loaded test ride at normal highway speeds and through braking/leaning maneuvers to confirm that the bike still handles predictably. Make incremental adjustments—moving a heavy item a few inches can make a big difference in stability.
Camping and overnight gear: minimalist vs. comfort-focused choices
Camping increases the number of decisions about weight, packability and comfort. Decide whether you want minimalism (lighter load, faster riding) or creature comforts (larger tent, thicker mattress, more clothing).
- Shelter: A compact, three-season tent is a common touring choice. Make sure it packs small and uses a lightweight footprint to reduce damage and drying time.
- Sleeping system: Inflatable sleeping mattresses save weight and pack small but choose one that has reliable valve mechanisms. Consider temperature-rated sleeping bags for the coldest nights you expect.
- Cooking: A small canister stove or alcohol stove is efficient. If cooking gear adds complexity, plan for simple meals or roadside food options instead.
- Hygiene: Pack small quantities of necessary items (towel, toothbrush, wet wipes) and plan for laundry opportunities on multi-week trips.
If camping rarely, a small roll of duct tape or a few spare tent stakes can save a night. If you plan to sleep in commercial accommodation most nights, prioritize secure, weatherproof luggage over bulk camping items.
Daily planning, fatigue management and route contingency
Equipment is only half the equation—how you plan each day determines how well that equipment supports you. Long days, poor weather, and late starts compound fatigue quickly.
- Daily mileage: Plan realistic distances based on road type and rider fitness. A day of twisty mountain roads takes more time and energy than the same distance on a highway.
- Stop frequency: Aim for breaks every 60–90 minutes for hydration and stretching. Use stops to check tire pressures, straps, and luggage security.
- Weather windows: Track weather forecasts and set conservative targets for exposed or high-altitude segments. If heavy rain or high winds are forecast, delay or reroute as necessary.
- Contingency options: Identify service towns along your route, note tow operators, and confirm cell coverage gaps. Carry local emergency numbers and consider a satellite communicator for remote regions.
A good touring rhythm is steady riding, frequent short breaks, and attention to comfort. Most mechanical and human issues are solved by slowing down, resting and checking gear rather than pushing on when things feel marginal.
Security, parking and theft prevention
Touring often includes urban stops where theft risk is higher. Choose practical security measures that match the value of gear and the environment.
- Locks: A disc lock or heavy chain is useful but only one part of a security plan. Use locks in combination with secure parking and avoid leaving visible valuables if possible.
- Hard luggage: Hard panniers and top boxes provide better theft resistance than soft luggage. If you use soft luggage, remove it and take it inside when staying overnight in locations without secure parking.
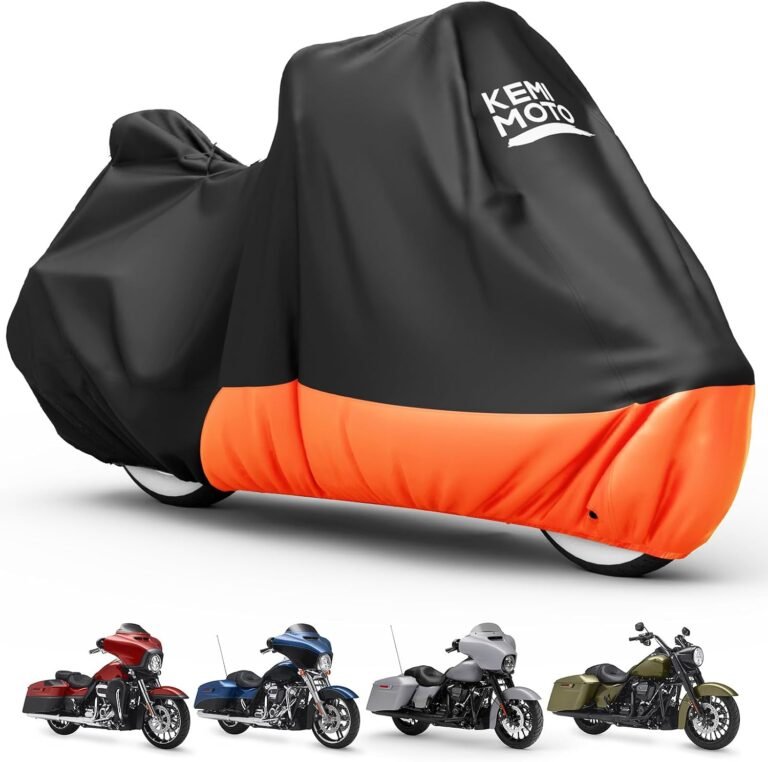
- Cover and concealment: A full-coverage motorcycle cover can deter opportunistic theft and protect your bike from weather when parked for long periods. See our reviews on touring bike covers to compare offerings.
- Insurance and documentation: Carry digital and paper copies of ownership and insurance details and check that roadside assistance covers trailers, tows, or cross-border needs if relevant.
Security reduces risk but never eliminates it. Plan to minimize exposure: choose secure parking, remove easy targets, and keep a low profile in unfamiliar urban areas.