riderinstinct
What "touring skills" really means and how to frame decisions
Touring is a category of riding where the environment is variable and the consequences of mistakes are magnified by distance and isolation. That makes planning, conservative technique and predictable bike setup more important than short‑term performance. Before you start making choices about routes, gear or luggage, set three priorities: safety, comfort and contingency.
Safety: reduce exposure to preventable risks. That means conservative speeds, clear sightlines, and a bike that’s checked and predictable.
Comfort: better ergonomics and wind management reduce fatigue and maintain concentration. Comfort extends range more than trying to push longer days without breaks.
Contingency: assume something will go wrong—weather, mechanical or a rider health issue—and plan for it. Good contingency planning is the difference between a day‑trip inconvenience and being stranded miles from help.
Trade‑offs you’ll meet: adding luggage increases carrying capacity but changes handling; heavier clothing increases warmth but costs mobility and packing space; choosing scenic backroads increases enjoyment but often reduces service availability. Accept uncertainty—weather, road conditions and traffic are variable—and choose a plan that gives you escape options, not a rigid schedule that forces risky decisions.
Pre‑ride preparation: bike, documents and basic spares
Preparation before the first mile removes many common causes of breakdowns and stress. Do a full pre‑ride check at least the day before a long ride, and again the morning of departure.
- Mechanical checks: tires for tread and visible damage, brakes for pad thickness and free play, chain or shaft drive tension/lubrication, fluid levels (engine oil, coolant, brake fluid), lights and indicators, battery condition, and fasteners. For torque and exact specifications consult your owner’s manual—don’t guess on safety‑critical values.
- Documentation and admin: valid license, registration, insurance (including roadside assistance if you have it), and emergency contact details. Photograph or scan documents and store them encrypted in the cloud or on your phone.
- Tools and spares: basic tool kit sized to your bike, tire repair kit (plug kit, portable compressor or CO2 inflator), spare fuses, zip ties, a few meters of duct tape or Gorilla tape, and a small bottle of chain lube. If your bike uses tubed tires or specialist electronics, verify which roadside fixes are possible before leaving civilization.
- Pre‑trip test ride: load the bike with a similar weight and take a short shakedown ride to detect handling oddities, rattles, or fitment issues.
Packing and luggage strategy: weight, balance and accessibility
Packing for touring is a discipline. Excess weight, especially high on the bike or far aft, degrades stability, increases braking distances and makes crosswinds worse. Use the three‑zone approach: heavy items low and central, mid‑weight items near the rider, and lightweight, bulky items high.
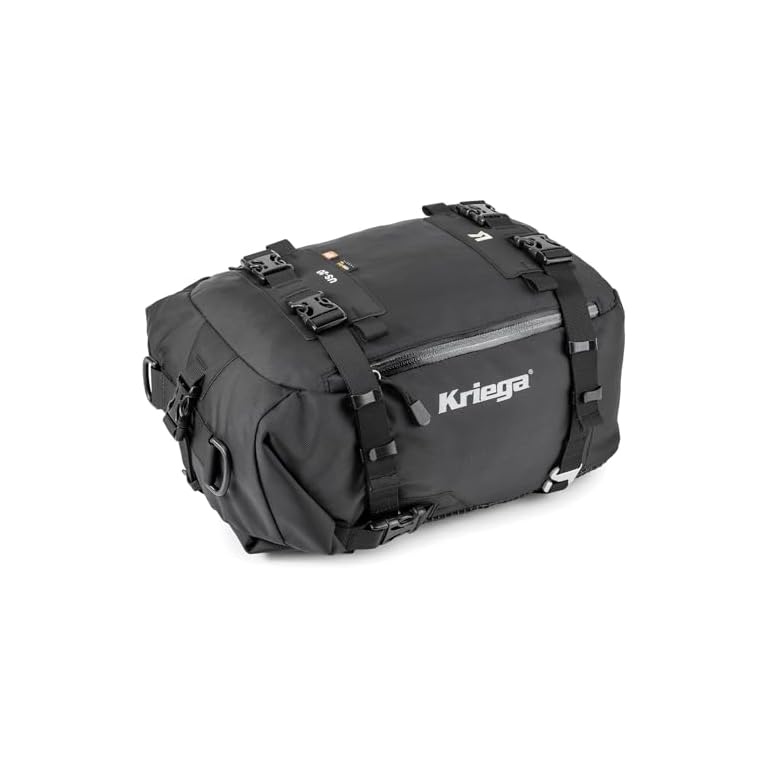
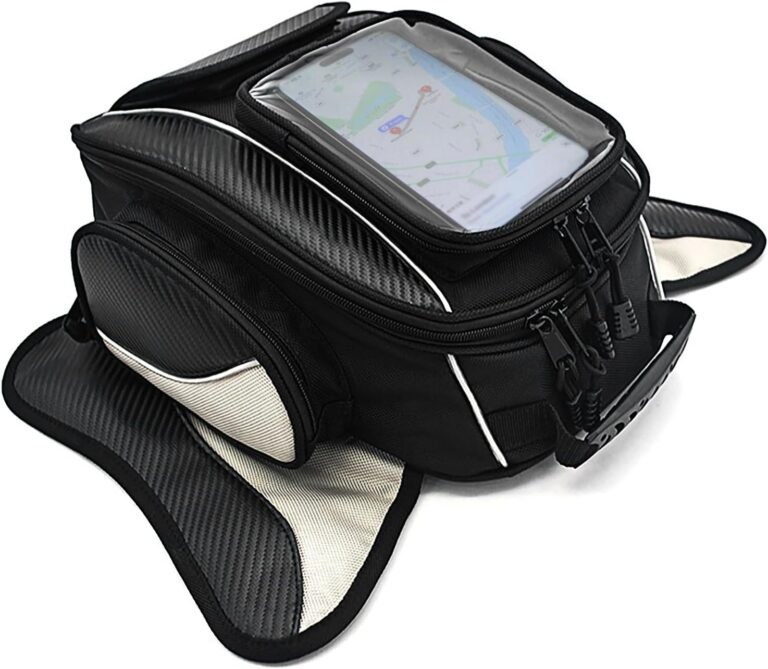
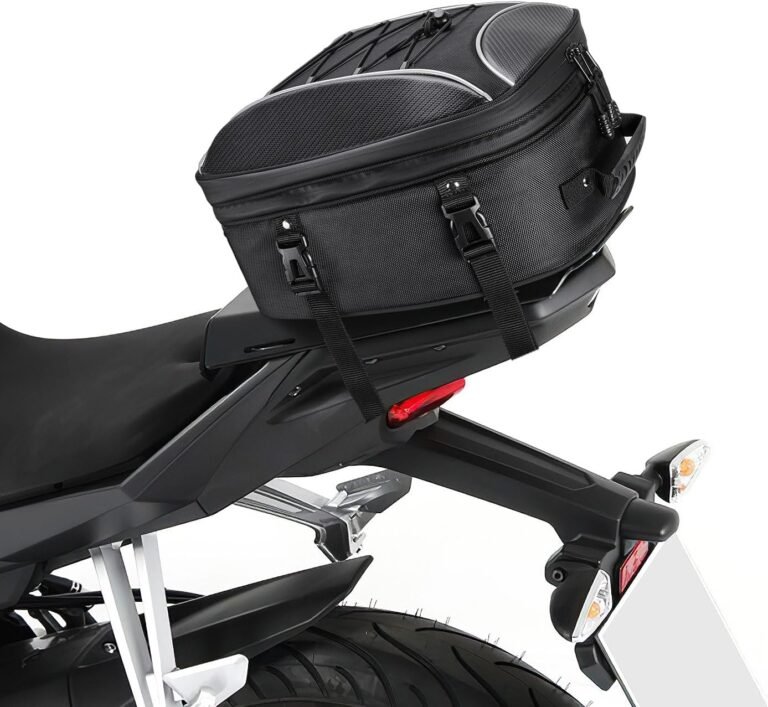
- Choose the right luggage: soft panniers or a saddlebag are usually lighter and more forgiving than hard cases; a top case helps with security but raises the center of gravity. Consider a small tail bag for items you need on the road.
- Waterproofing and organization: use dry bags or waterproof liners inside panniers. Keep one waterproof bag with spare clothes and your electronics as an extra safeguard.
- Accessibility: pack items you might need while stopped (rain gear, maps, snacks, phone charger) in an easily reachable bag. Never assume you can unzip a pannier on the roadside safely—get off the road and park securely before you rummage.
- Weight limits: respect your bike manufacturer’s payload rating. If that number isn’t available, err well under what feels like a safe load and ride cautiously with a heavy pack.
Ergonomics and comfort on long days
Small ergonomic adjustments have big impact on fatigue. Before a long day, dial in seating position, wind protection and control reach so you’re not holding tension for hours.
- Seat and handlebars: a seat that reduces pressure on your sit bones and a reach that doesn’t overstretch your shoulders will reduce lower‑back and neck strain. If you can’t change hardware, modify posture—scoot forward or back an inch every hour to shift pressure points.
- Wind protection: a windshield that directs airflow over your helmet and chest reduces helmet buffeting and neck fatigue. Small adjustments in screen height or angle can be surprisingly effective; experiment on short rides before a long tour.
- Footpegs and foot position: use the balls of your feet on the pegs for better leverage. Standing briefly at rest stops or on rough sections eases circulation and stiffness.
- Clothing layering: start cool and add layers; overheating is as draining as being cold. Waterproof layers should be breathable; a lightweight base layer manages sweat and reduces chill when you stop.
On‑road techniques for efficient, safe touring
Touring leans on smooth, predictable inputs. That reduces rider workload, improves fuel economy and keeps the bike balanced with luggage. The following are practical habits to adopt and practise:
- Smooth throttle and progressive braking: accelerate gently when exiting corners and when overtaking; use progressive braking well before intersections or tight turns rather than hard, last‑second stops.
- Use lane position proactively: ride where you are most visible and have the best view of the road ahead, adapting for corner geometry and surface quality. Your lane position is also your escape route—keep it open.
- Cornering with a load: slower entry speed, later and smoother throttle application through the apex, and reduced lean angle for the same corner speed. Practice corners at a conservative pace with a loaded bike before committing to unfamiliar roads.
- Scan and anticipate: look farther ahead on open roads to spot hazards early—potholes, debris, animals or slow vehicles. Early detection allows gentle correction rather than emergency inputs.
- Fuel and tire awareness: watch fuel range and tire condition visually during long sections. Expect handling to change as fuel tanks empty—some bikes get lighter and more flickable, others less stable; note how your particular bike behaves and adjust.
Route planning, navigation and contingency thinking
Good route planning balances daily distance, terrain difficulty, service availability and enjoyment. A stretch of scenic, twisty roads may cut your average speed dramatically—plan for the reality, not the map distance.
- Daily distance targets: set conservative targets that account for photo stops, lunch, traffic, and slower moving sections. Many experienced tourers aim for 300–400 km (180–250 miles) as a comfortable day on mixed roads; adjust based on your bike, rider fitness and road types.
- Fuel and services: identify fuel stops on your route and the gaps between them. In remote areas, plan extra fuel margin and know where the nearest towns and mechanics are located.
- Alternate routes and bailout options: have a plan B for each major section—an easier route if weather deteriorates, a highway option to cover ground quickly, or identified stops for shelter.
- Navigation approach: use a combination of reliable maps, GPS devices or smartphone apps and paper backups. Battery life matters—bring charging options and a power bank. Reprogram your phone for offline maps where cellular coverage is poor.
- Group vs solo planning: if riding with others, build a shared plan and agree on pace, regroup points and procedures for mechanicals or navigation errors. Solo riders should leave their itinerary with a trusted contact and check in at agreed times.
Managing fatigue, hydration and nutrition
Fatigue is a major factor in touring incidents. Recognize it early and treat it as equally important as any mechanical issue.
- Schedule breaks: stop every 60–90 minutes for 10–20 minutes. Short microbreaks—stretching shoulders, legs and neck—reset circulation and concentration.
- Hydration: carry water and sip regularly; dehydration impairs decision making. In hot climates, electrolyte tablets or sports drinks help preserve salt balance.
- Nutrition: eat balanced meals and avoid long gaps between food. Prioritize slow‑release carbohydrates and protein; avoid heavy meals right before riding stretches that induce sleepiness.
- Caffeine and stimulants: caffeine can temporarily sharpen awareness but isn’t a substitute for rest. Use it sparingly and never rely on stimulants to push through dangerous fatigue.
- Sleep and fatigue management: aim for good sleep the night before a long day. If you notice tunnel vision, repeated lane drift, or slowed reactions—pull over and rest. Consider an overnight stop instead of pushing through when you’re not confident.
Adverse conditions, basic roadside procedures and when to get help
Weather and mechanical issues are inevitable. The key is conservative decisions and basic competence to stabilize a situation until professional help arrives, if needed.
- Riding in rain: reduce speed, increase following distance, avoid sudden inputs, and be wary of painted surfaces, metal gratings and oil slicks. Put waterproof gear on before the rain becomes heavy—don’t wait until you’re soaked.
- Crosswinds and high winds: reduce speed, anticipate gusts around open trucks or gaps in roadside vegetation, and keep a firm but relaxed grip to allow the bike to settle.
- Heat and cold: in heat, prioritize shade, hydration and lighter layers; in cold, keep extremities warm and consider heated gear. Always carry an extra insulating layer in cooler climates.
- Basic roadside fixes: use a tire plug and inflator for many punctures on tubeless tires; carry tools appropriate for your bike for minor adjustments; secure a loose pannier with straps or zip ties. If you are unsure whether a repair is safe, don’t guess—call roadside assistance or a tow.
- When to call for professional help: if you can’t restore reliable braking or steering, see mechanical fluid leaks, smell burning, or have a crash, stop and get professional assistance. For serious injuries, call emergency services immediately and follow local protocols.
Practical practice and training—how to build competence before a big trip
Touring skills are best learned progressively. Don’t treat your first long ride as a testing ground—build skill and confidence through staged practice.
- Load practice: do short loaded rides with the gear set up as you plan to carry it. Practice tight turns, low‑speed maneuvering and emergency stops with the luggage fitted.
- Night and bad‑weather riding drills: train in controlled conditions to learn how your chassis and tires behave in wet pavement and dim light. Practice braking earlier and smoother as conditions worsen.
- Consider formal training: advanced riding courses and long‑ride workshops teach practical cornering, braking and positioning techniques in a structured environment. They cover hazard recognition and recovery in ways solo practice can’t replicate.
- Use reputable resources: supplement seat‑of‑the‑pants experience with reputable guides and instruction. RiderInstinct’s resources on improving touring skills can help you plan a training path: How to Improve Your Touring Skills Safely.