riderinstinct
What is touring and how to decide the right approach
Touring covers a wide range of two-wheeled travel: daylong loops, weekend escapes, multi-day country crossings, and months-long adventures. Before you pack, decide what kind of experience you want. The main trade-offs are:
- Comfort vs. agility: More wind protection and luggage make long days gentler but add weight and change handling.
- Distance vs. exploration: Covering long miles in a day reduces time for sightseeing; slower paces let you explore but extend the calendar.
- Simplicity vs. self-sufficiency: Traveling light and relying on hotels and shops is easier; carrying spares and tools increases independence but adds complexity and weight.
Define your priorities early—comfort, scenery, fast progress, or independence—and let them guide choices about the motorcycle, luggage and daily schedules. When in doubt, err on the side of conservative planning: conservative route choices, shorter daily goals, and redundant contingency plans reduce risk and stress on the road.
Planning routes, fuel and contingencies
Good planning narrows uncertainty. Start with a route framework and build layers of detail: realistic daily stops, fuel range check-points, and alternate routes if roads close or weather worsens.
- Daily distance and stop timing: Pick target start and stop towns for each day, but keep those targets flexible. Consider daylight hours, terrain and expected traffic—mountainous or twisty roads reduce daily achievable miles compared with flat highways.
- Fuel strategy: Know your bike’s usable range and typical fuel stops along the route. In regions with sparse fuel stations, identify guaranteed refuel points and have a backup plan. If your motorcycle’s exact fuel range is equipment-specific, verify in the owner’s manual or with a trip-specific test ride.
- Weather and seasonal planning: Check climate normals and short-term forecasts. Build alternate low-elevation routes for mountain passes that can close or become treacherous in bad weather.
- Paperwork and support contacts: Carry license, registration, insurance proofs and any necessary visas or permits. Store emergency contacts and local towing or insurance phone numbers offline—paper copies or saved in your phone’s local files.
Prepare a simple trip packet (digital or print) with day-by-day plans, a list of key towns for fuel and lodging, and notes on any service centers along the way. This packet is most useful when you review it each morning and adjust expectations for the day.
Setting up your bike and ergonomics for long days
A comfortable, predictable motorcycle reduces fatigue and improves safety. Focus on ergonomics and secure, low-mounted luggage placement.
- Seat, bars and foot position: Test and, if necessary, fit a seat that relieves pressure points for long hours. Small changes to handlebar position or footpeg placement can reduce neck, shoulder and back fatigue—make incremental adjustments and test them locally before leaving on a multi-day trip.
- Wind protection: Wind noise and buffeting create fatigue. A windshield or fairing that reduces torso and head wind is often worth the weight. If adding hardware, check that mounting is secure and won’t interfere with steering or suspension movement.
- Suspension and loading: Luggage changes the bike’s load and center of gravity. Increase rear preload or adjust suspension according to the owner’s manual and luggage weight so the bike’s geometry and handling remain predictable. If your motorcycle has adjustable suspension, set it for the additional weight; if not, consult a technician.
- Lighting and electrical checks: Verify headlight aim, turn signals and brake lights before departure. If you’ll be carrying charging devices or GPS units, confirm that your charging ports or auxiliary battery can handle the load, and hide wiring so it cannot snag or chafe.
Make changes early and test them with a loaded practice ride. Avoid last-minute modifications the night before a long run.
Luggage systems and smart packing
Luggage strategy is a balancing act between what you need and what your motorcycle can safely carry. Pack light, choose durable containers, and distribute weight low and centered.
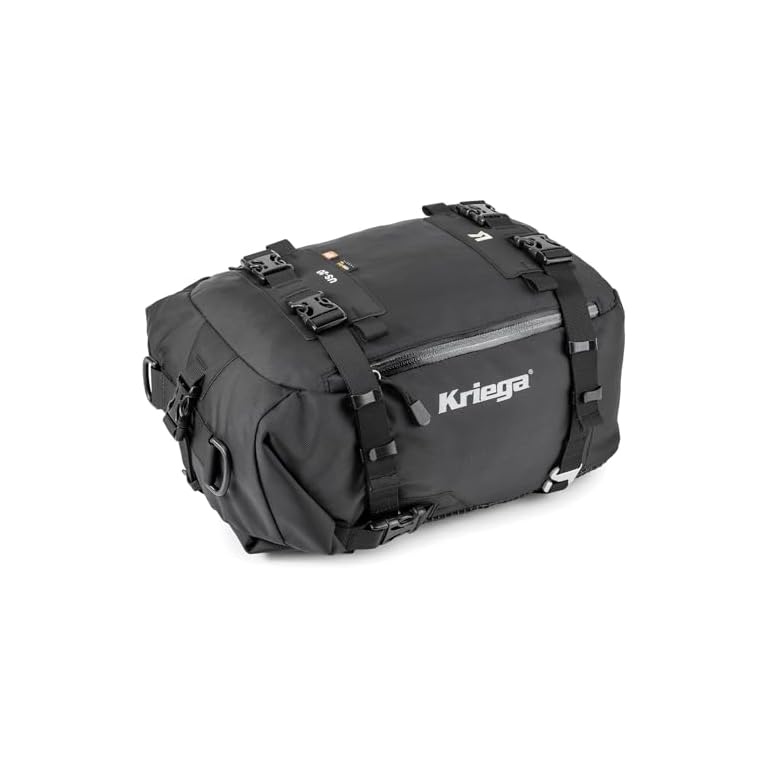
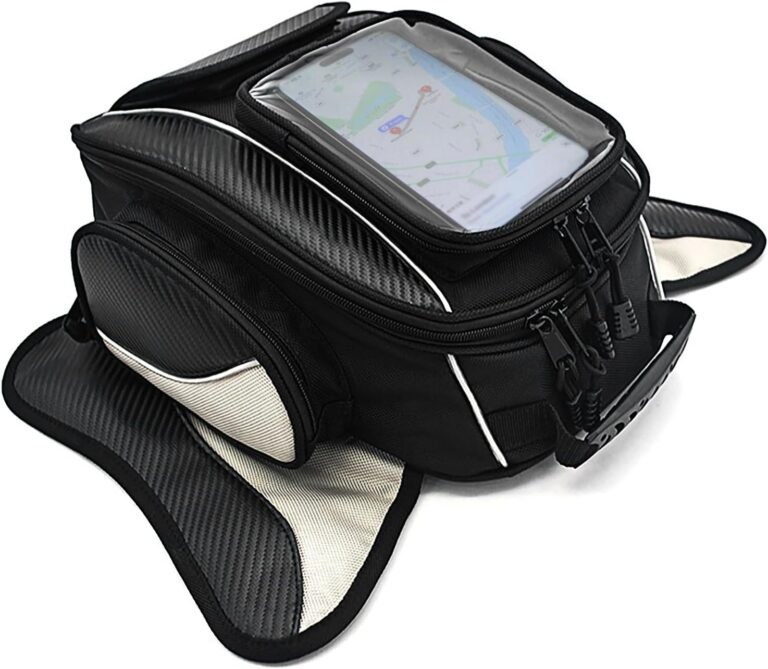
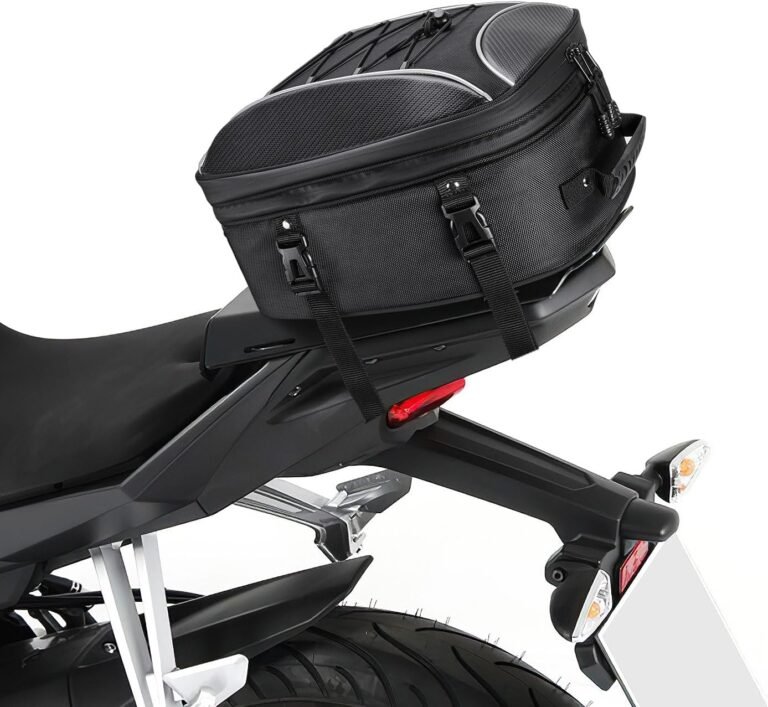
- Soft vs. hard luggage: Soft bags are lighter, compressible and often more forgiving on odd-shaped loads; hard cases offer security and water resistance but add weight and change mounting points. Choose based on your priorities: long off-road routes favor soft, while secure storage in urban areas may favor hard cases.
- Weight distribution: Keep the majority of luggage mass low and close to the bike’s centerline. Heavy items should be packed low (e.g., tools, spare parts) and near the center rather than high on top of top boxes or hard panniers.
- Compression and organization: Use packing cubes or compression sacks for clothing to reduce bulk and keep items accessible. Keep roadside essentials (rain gear, basic tools, first-aid) in an easy-to-reach place.
- Waterproofing and redundancy: Use dry bags or waterproof liners inside luggage, especially for electronics and documents. Carry backups for critical items like a spare key if possible.
Before heading out on a long tour, do a full dry run: load the bike as if you were leaving and ride a few hundred miles. That will expose fitment, comfort or balance issues early when they’re easier to fix.
Riding technique for a loaded motorcycle
A loaded motorcycle handles differently—braking distances increase, turn-in is slower, and the bike is generally less willing to change direction quickly. Adopt smooth, predictive inputs and keep a larger safety margin around you.
- Smooth throttle and steering inputs: Use gradual throttle changes and avoid abrupt steering corrections. Smooth inputs let the bike settle rather than creating rapid weight transfers that unsettle a loaded chassis.
- Earlier braking and observation: Start reducing speed earlier approaching corners and hazards. Increase following distances to give yourself time and space for unexpected stops.
- Corner speed and line selection: Lower your corner entry speed and choose wider, stable lines to reduce lean angle, particularly when visibility or traction is uncertain. If you’re unsure about grip or the bike’s behavior, slow down more and re-evaluate.
- Slow-speed control: Practice clutch friction control and balance at low speeds with the loaded setup; this is often where panniers make a bike feel top-heavy. Stationary maneuvers and U-turns require more input—practice alternatives such as multi-point turns in safe locations.
- Braking technique: Rely on both wheels without grabbing at the front brake. If your bike has ABS, respect its limits but don’t treat it as a license to brake later—ABS won’t shorten stopping distances in all conditions.
Wherever possible, practice these techniques on short loaded rides before relying on them on a long tour. Conservative speed and good observation beat bravado when you’re far from home.
Group touring: formations, communication and leadership roles
Riding with others is social and efficient but requires discipline. Establish rules and communication before you leave.
- Pre-ride briefing: Agree on daily targets, rest stops, fuel plans, and what to do if someone drops off or has mechanical trouble. Clarify who is the leader and who is the sweep (last rider) to manage the group’s pace and safety.
- Staggered formation: A staggered formation (left, right, left within a lane) enhances visibility and reaction space while keeping group cohesion. Single-file is appropriate on narrow or twisty roads, or when visibility is restricted.
- Signals and radios: Use simple hand signals for turns and hazards and agree on basic radio usage if you have headsets. Limit chatter; key messages should be short and clear: hazards, slowdowns, stops, or mechanical issues.
- Gap management: Maintain consistent gaps and avoid bunching; a safe spacing strategy reduces the chance of chain-reaction incidents. If the group stretches out, the leader should slow at planned points to let the group regroup rather than forcing riders to over-ride safe behavior to keep up.
Riding as a group is about shared responsibility—everyone should look out for others and report hazards, mechanical issues or rider fatigue immediately.
Fatigue, hydration and on-the-road health management
Tired riders make poor decisions. Managing energy levels is as important as mechanics.
- Schedule regular breaks: Plan a short break (5–15 minutes) every hour to rest eyes, hands and lower back. Longer breaks for meals and stretching should be scheduled every 2–3 hours or sooner if you feel tired.
- Hydration and nutrition: Drink regularly—don’t wait until you’re thirsty. Carry easy-to-eat, moderate-energy snacks (nuts, fruit, sandwiches) rather than heavy meals that can induce drowsiness.
- Sleep quality: Prioritize a full night’s sleep. Short nights compound fatigue across days; it’s better to reduce daily mileage and sleep well than push on exhausted.
- Watch for distraction and micro-sleep: If you notice lapses in concentration, blurred vision, or delayed reactions, stop and rest. Micro-sleeps on a motorcycle are dangerous—don’t risk them.
- Physical preparation: Regular conditioning—light strength work for core and neck, and flexibility routines—reduces discomfort on long days. Simple on-bike stretches during stops help loosen tight muscles.
If you’re feeling impaired by fatigue, it’s a clear sign to cease riding until rested. There is no substitute for sleep and recovery.
Essential roadside skills and maintenance checks
Basic mechanical competence can keep you moving or at least stabilize a situation until help arrives. Learn basic checks and carry a compact set of tools and spares.
- Pre-ride checks: Every morning or before extended legs, inspect tires for correct pressure and damage, check oil and coolant levels, verify lights and signals operation, and ensure fasteners and luggage mounts are secure. For exact tire pressures and fluid specifications, consult your motorcycle’s owner’s manual.
- Compact tool kit and spares: Carry tools appropriate for your bike, common fasteners, a spare fuses set, basic electrical tape, a tire repair kit or canister appropriate to your wheel/tire type, and a small inflator if space allows. Tailor the kit to your mechanical comfort level—don’t carry items you don’t know how to use.
- Chain and drive maintenance: If your bike uses a chain drive, monitor tension and lubrication on long rides. Consult your owner’s manual for service intervals and adjustment procedures; practice adjustments at home before relying on them roadside.
- When to stop and call for help: If a problem affects structural integrity (frame, forks), brakes, steering, or causes significant oil/coolant loss, stop riding and arrange professional assistance. Mobile repair shops and towing services vary by region—include relevant contacts in your trip packet.
Take a basic motorcycle maintenance course or work through your bike’s service tasks at home to build competence and confidence before a long tour.
Riding in weather and varied terrain: techniques and limits
Weather and road surfaces are primary risk modifiers. Adapt speed, lines and suspension settings to conditions and know when to change plans.
- Wet roads: Reduce speed, avoid abrupt inputs, and use more progressive braking as traction is reduced. Avoid painted lines and metal surfaces where possible, and be mindful of increased braking distances.
- Crosswinds and gusts: Reduce speed and counter-steer smoothly into gusts. Be especially cautious when passing high-sided vehicles or crossing exposed bridges where gusts are amplified.
- Gravel, dirt or sand: Stand where appropriate to lower the center of gravity on adventure bikes, keep weight rearward on steep climbs, and use steady throttle to avoid washing the front end. If unsure of a surface, dismount and inspect on foot before committing.
- High-altitude and temperature extremes: Expect reduced engine performance at altitude on non-turbo engines and check tire pressure changes with temperature swings. For specific altitude or temperature effects on your motorcycle, consult manufacturer guidance.
If conditions exceed your comfort or skill level, choose a safer route or stop. Modern motorcycles and gear mitigate many risks but cannot eliminate them.
Progressive practice and training to become a confident tourer
Skills for touring are best developed progressively. Treat each trip as practice for the next, and invest in targeted training where useful.
- Start small: Build from day rides to overnight trips, then multiple days. Each step reveals new considerations—packing, fatigue, comfort—that you can adjust without major consequences.
- Focused skill practice: Practice slow-speed maneuvers, emergency braking, and cornering on a loaded bike. If you plan to tour on mixed surfaces, practice controlled riding on gravel and dirt in safe areas.
- Consider professional courses: Advanced rider and adventure riding courses teach techniques that are directly applicable to touring, such as cornering a loaded bike, long-distance strategy, and off-pavement skills. These courses also provide structured feedback that self-practice cannot.
- Debrief after rides: Keep a short log of what worked and what didn’t—comfort items, gear failures, route surprises—so you improve incrementally.
Touring skill growth is cumulative. Conservative, deliberate practice reduces risk and expands the range of conditions in which you can ride confidently.